Tips For the Best At-Home Blowout
4 Tips For Achieving a Salon-Quality Blowout at Home

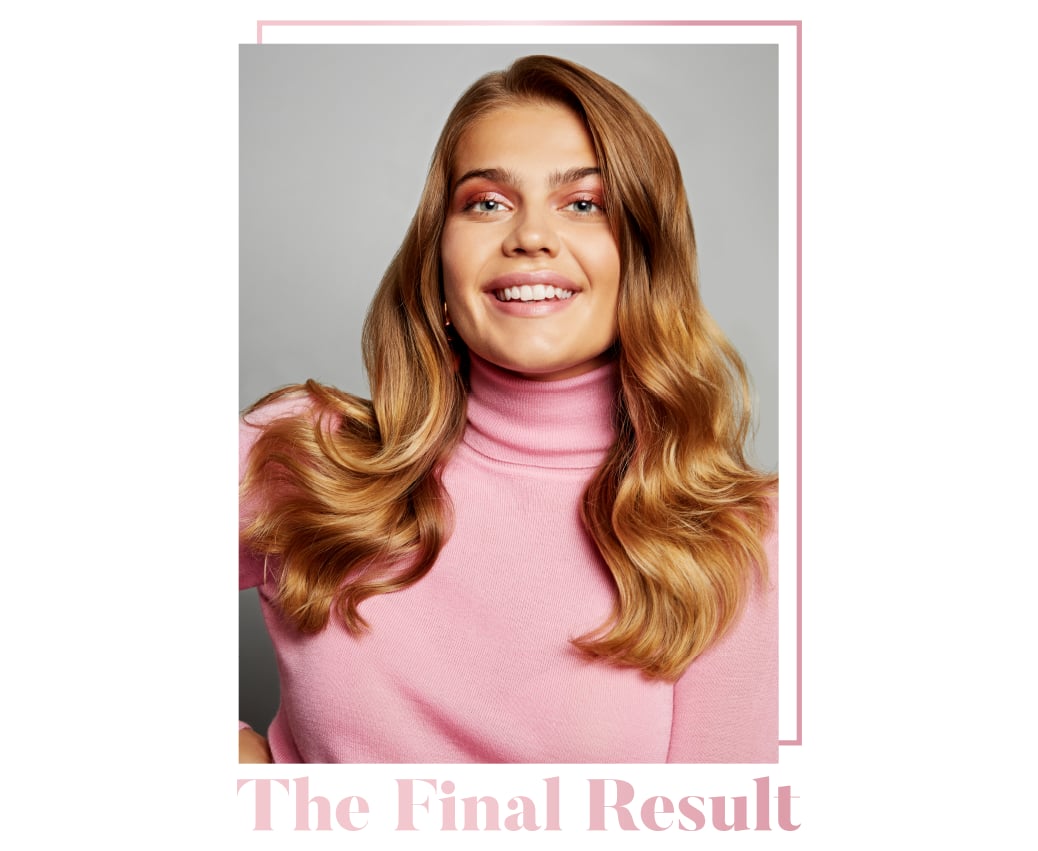
The difference between getting a professional blowout and DIYing one at home might feel reminiscent of an "expectation vs. reality meme" — insanely Instagram-worthy on one side, and effective (just maybe not as exciting) on the other. But when you’re putting in the effort, you want to see your hard work pay off; you want to recreate the body, bounce, and shine in your hair that you leave the salon with.
Get this: you can achieve that same gorgeous look with an at-home blowout — and it’s easier than you probably think! Equipping yourself with the right products is all it really takes. Combined with a little technique, you can score a victory every time you pick up your blowdryer. Keep scrolling as we break it down in four easy steps.
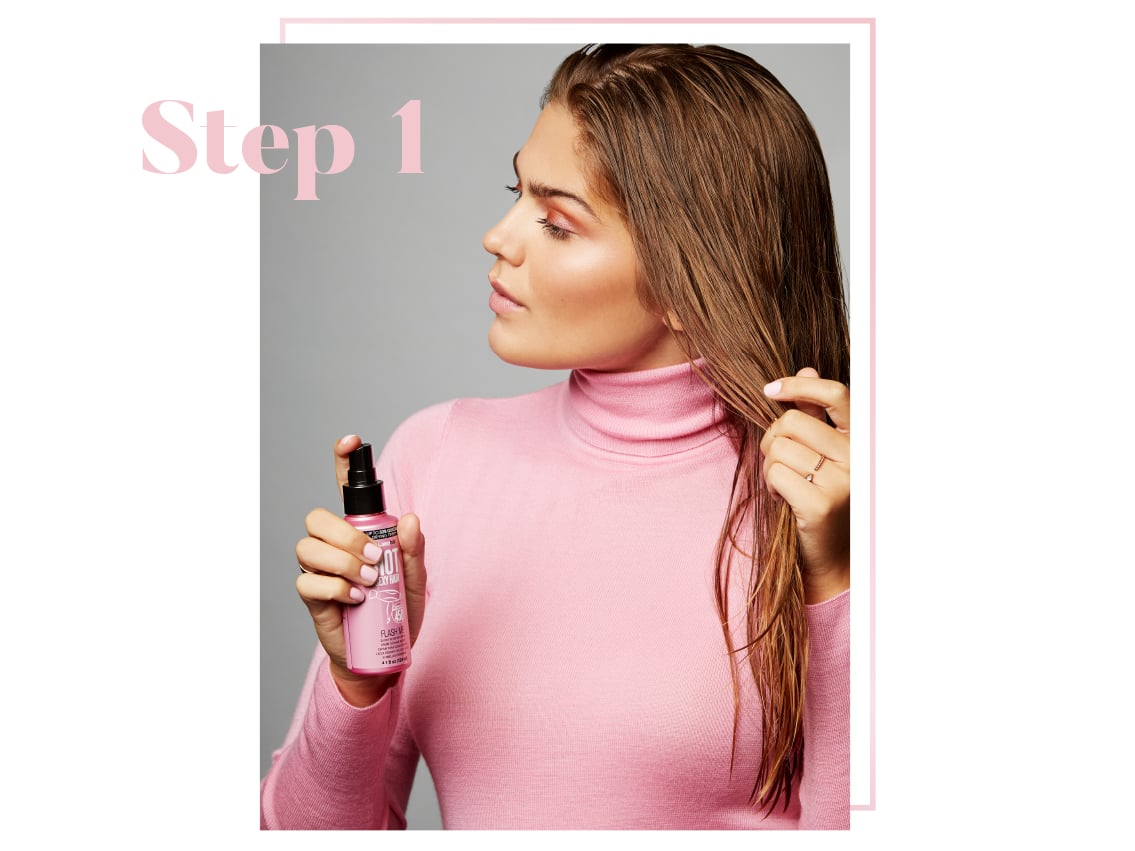
If you're an avid user of heat tools — or even a makeup junkie, in fact — you know that the steps you take to prep are key. Products like heat protectants and primers can give whatever canvas you're working with exactly what it needs to yield impressive final results.
When a blowout is on your beauty agenda, you'll want to use a spray made for blowouts, like the Flash Me Quicky Blow Dry Spray ($18.95) from Sexy Hair. Formulated to protect up to 450 degrees, dry strands up to 50 percent quicker, and infuse hair with crunch-free style memory, the spray provides a trifecta of essential benefits. All you have to do is shake and mist on damp (not dripping wet — this is key!) hair.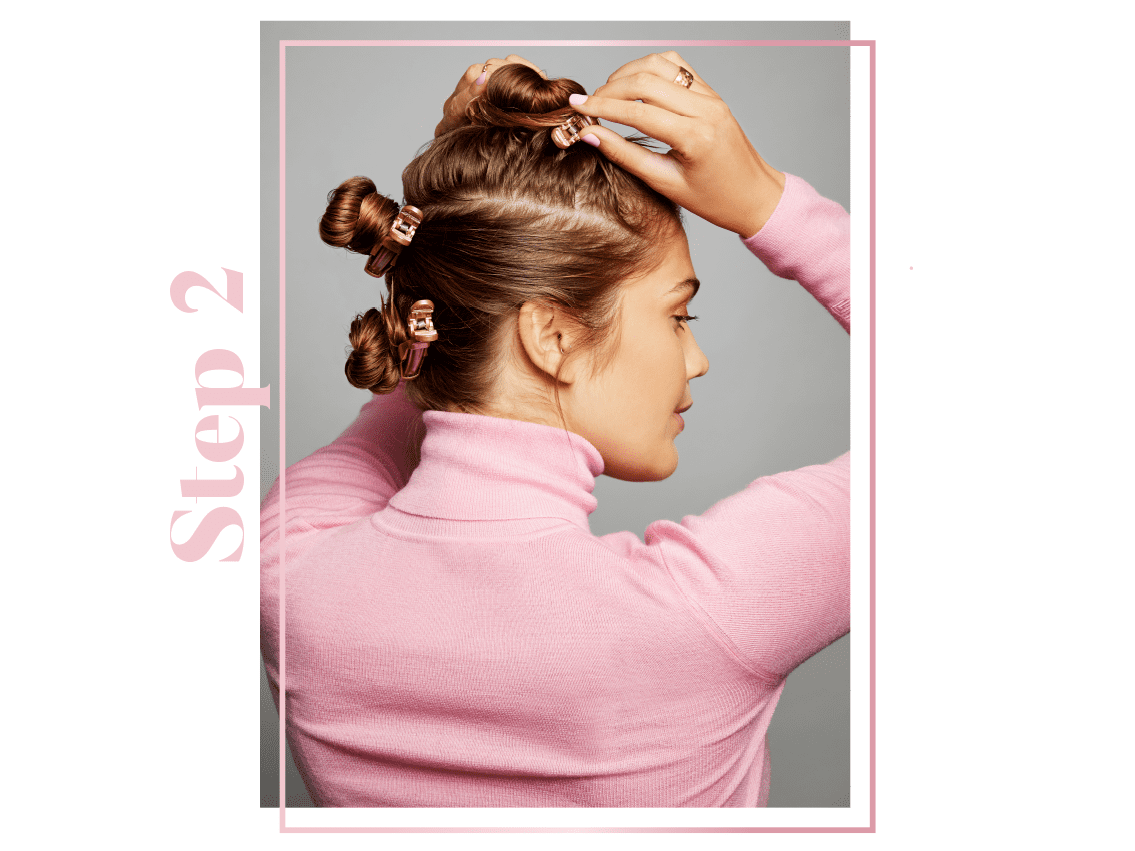
With your hair primed and ready, it's time for step two. Don't let the photo fool you — we're not creating a fauxhawk (this time). We're just getting strategic with how we section our hair before styling.
Though you may think taking a blow dryer to all your hair at once can get the job done quick and that sectioning it off is a waste of time, it's actually quite the contrary. It really only takes a few extra seconds — and you'll be shocked how much faster your hair dries this way. Working horizontally from the top down, divide your hair into three or four sections, twisting and securing each into a bun with a strong-hold alligator clip. This not only allows you to focus on one portion of hair at a time, but it reduces the overall volume to dry your strands significantly faster.
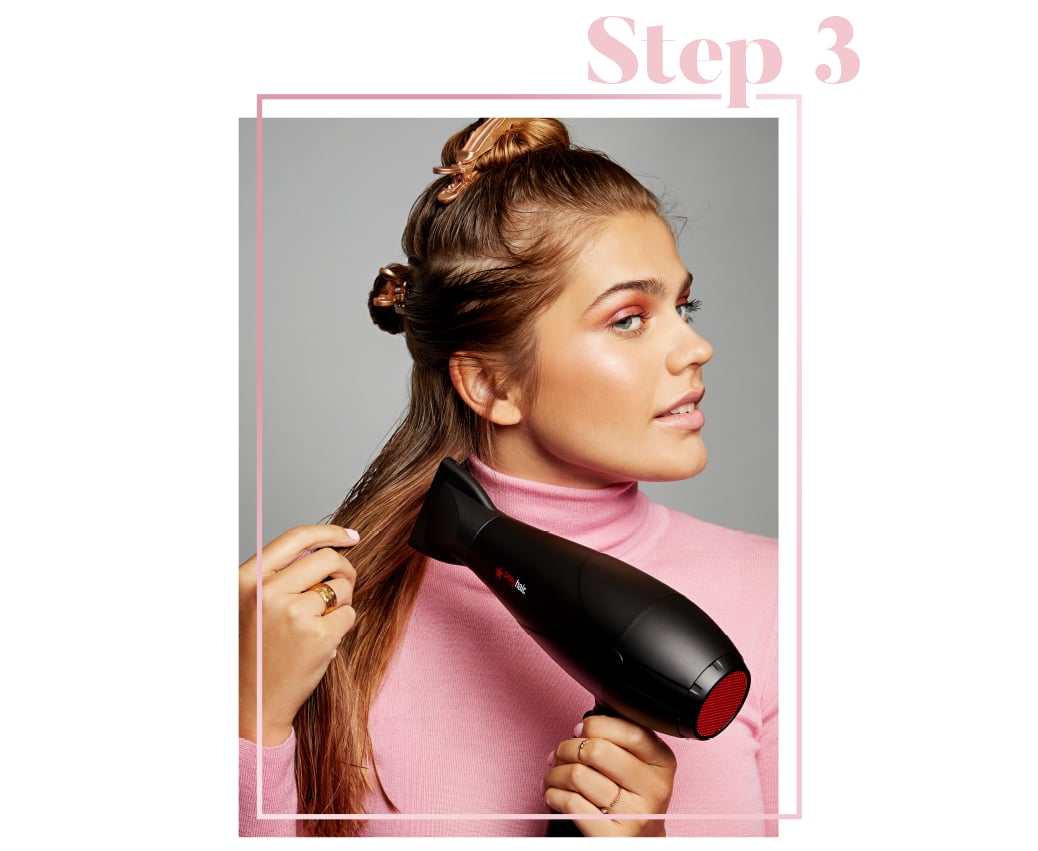
And now, the moment you've all been waiting for — it's time to break out your blow dryer! Release the bottom section of your hair and turn your dryer on, working from root to tip.
One of the biggest mistakes people make when blowing out their hair is immediately taking a round brush to their ends in pursuit of that flouncy, flipped look. While this can be effective in achieving that style, it often leaves the top of your hair looking flat, frizzy, or both. Prioritize your roots for double the benefits instead. One, this will prevent frizz from forming right off the bat. Two, it will add significant volume and lift to the top of your head — one hallmark of a great blowout. Then, you can reach for that round brush and move on to the ends. After each section is completely dry, move upward until you've conquered them all.
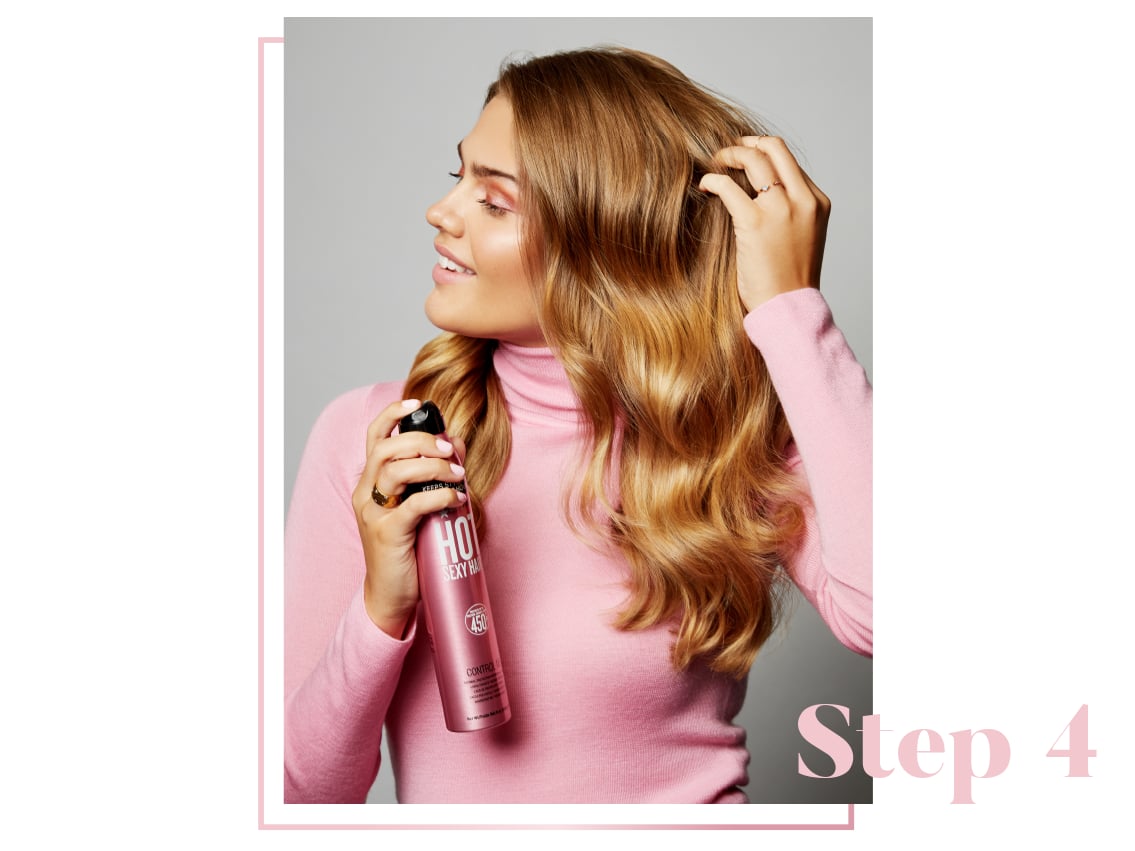
Similar to how you prepped and primed your hair, ensure your hard work stays all day by locking it in at the end. We like to think of this in two parts.
Before you turn off your blow dryer, don't forget to press that cool shot button. No, it's not a useless option built into every dryer — it's got a purpose you should definitely take advantage of! Cold air essentially seals the cuticle of the hair, which will help secure the shape of each strand and give your entire look body and movement. For good measure, you'll also want to pair this with a hairspray; we like Sexy Hair's Control Me Thermal Protection Working Hairspray ($18.95) in particular. It holds for up to 72 hours, adds undeniable shine, and can even be used to protect hair up to 450 degrees, should you want to add waves or loose curls for a more defined texture.