I'm a sucker for a good beauty hack [2] — especially when it comes to hair. My own hair-care knowledge is elementary at best, so whenever I see someone on my TikTok FYP schooling me on how to do something better [3], I'm mesmerized. Naturally, when I came across the "pixie diffusing" method for curly hair, I bookmarked it immediately.
Like many others on TikTok, I used to think I had straight hair. Discovering the curly method and learning how to plop my hair [4], however, promptly changed that. Still, I've yet to nail down the best hair-care routine for my hair type [5]. My mom and my sister both have extremely curly hair and know exactly how to style it, but mine has always been stuck somewhere between wavy and curly (but only on a good day, if the mood is right, and so on). Even when I do dedicate the time to scrunch and plop [6], I'm plagued with uncontrollable frizz.
The tutorial for pixie diffusing, however, seemed different. The user mentions that she, too, had always assumed she had straight hair before unlocking this new hairstyling method; she also addresses the frizz factor. She does such a great job breaking down each step that I knew I needed to give it a try.
After washing and conditioning my hair as usual, I started the tutorial for pixie diffusing, which instructs you to apply your styling products to sopping-wet hair (similar to the plopping method). I chose to scrunch Living Proof Curl Definer Conditioning Cream [7] ($34) into my ends. The next step is using a hair dryer with a diffuser attachment to dry your hair; I grabbed my Dyson Supersonic Hair Dryer [8] ($399).

With the pixie method, it's important that you diffuse your hair the right way. With your head upside down, gently gather your hair into the bowl, turn the hair dryer on low (both in speed and heat), and hold. Switch the dryer off before moving on to a new section (or moving the hair dryer at all, for that matter). While the process is easy, it's pretty time consuming — my arms started to fall asleep after just a few sections.
Once you've dried your ends to about 80 percent, move your head around and dry your roots on each side to help encourage movement. According to the tutorial, this helps promote volume at the crown of the head — something I always struggle with when styling my hair curly. I did this for three minutes, then flipped my hair back. I'm not sure what I was expecting, but it wasn't that much volume and definition. At that point, I'd been at it for about 15 minutes — longer than I typically like to spend drying — but the amount of volume I got made it all worth it.
Throughout the entire process, it's important to be gentle and touch your curls as little as possible — this helps them form while also cutting down on frizz. After your hair is sufficiently dry, it's time to scrunch. This step, according to the tutorial, helps break up any coating on your hair from your styling products. (I'd never considered scrunching after my products were already in, which may explain why my curls are occasionally stiff. The more you know!)
I used the Gisou Honey Infused Hair Oil [9] ($46) to help with the scrunching process and reduce frizz. Scrunching and shaking out my roots took another five minutes. (We're up to 20 minutes total at this point, for anyone counting.)
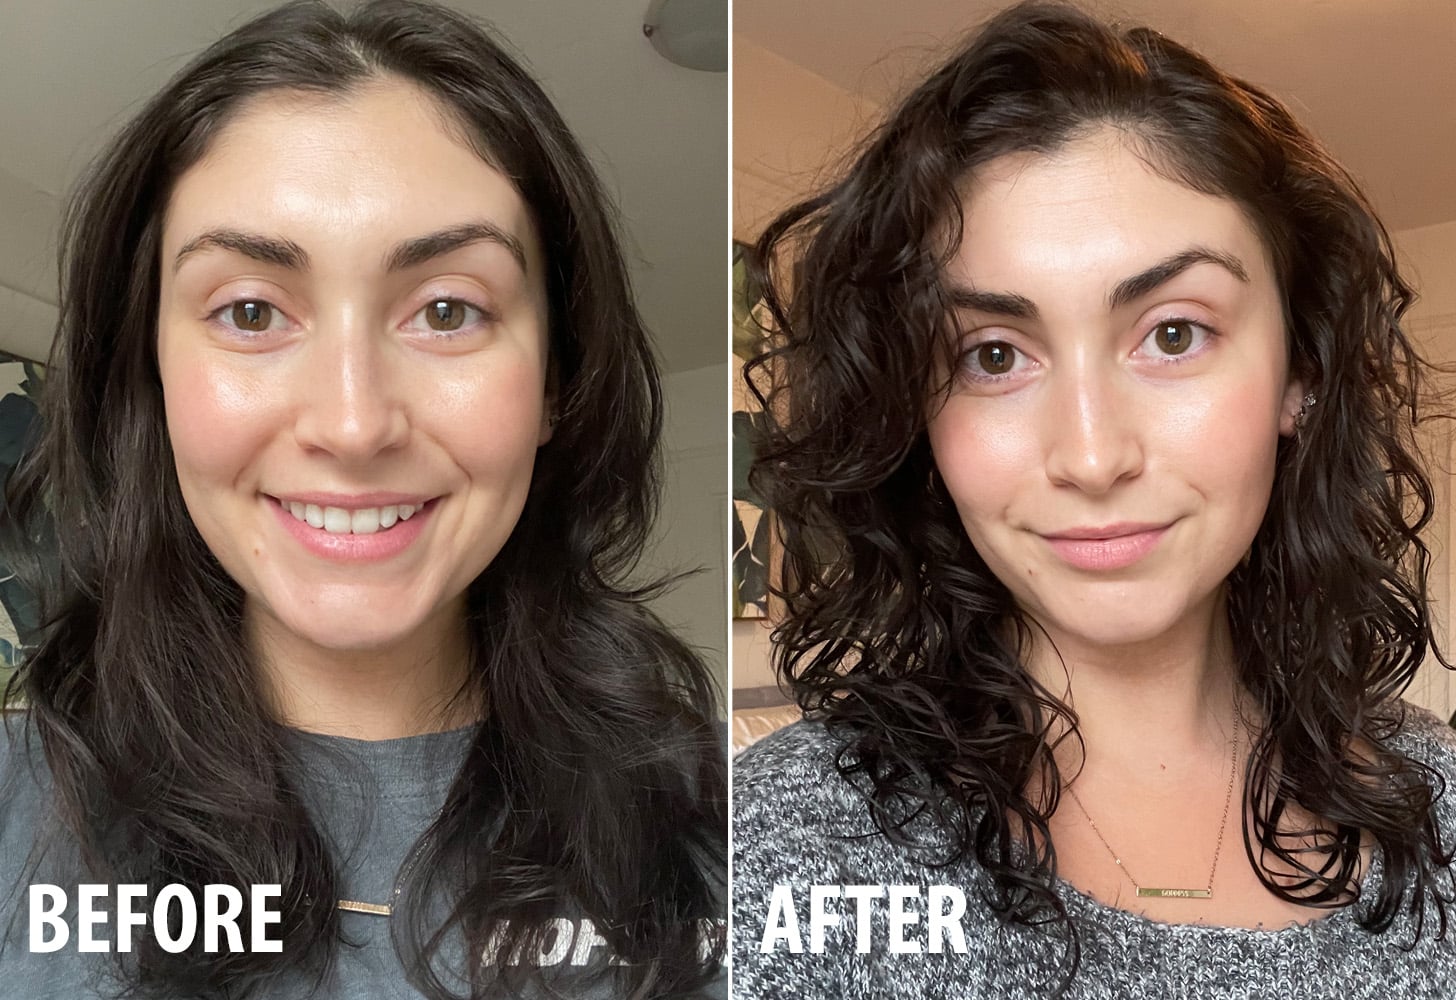
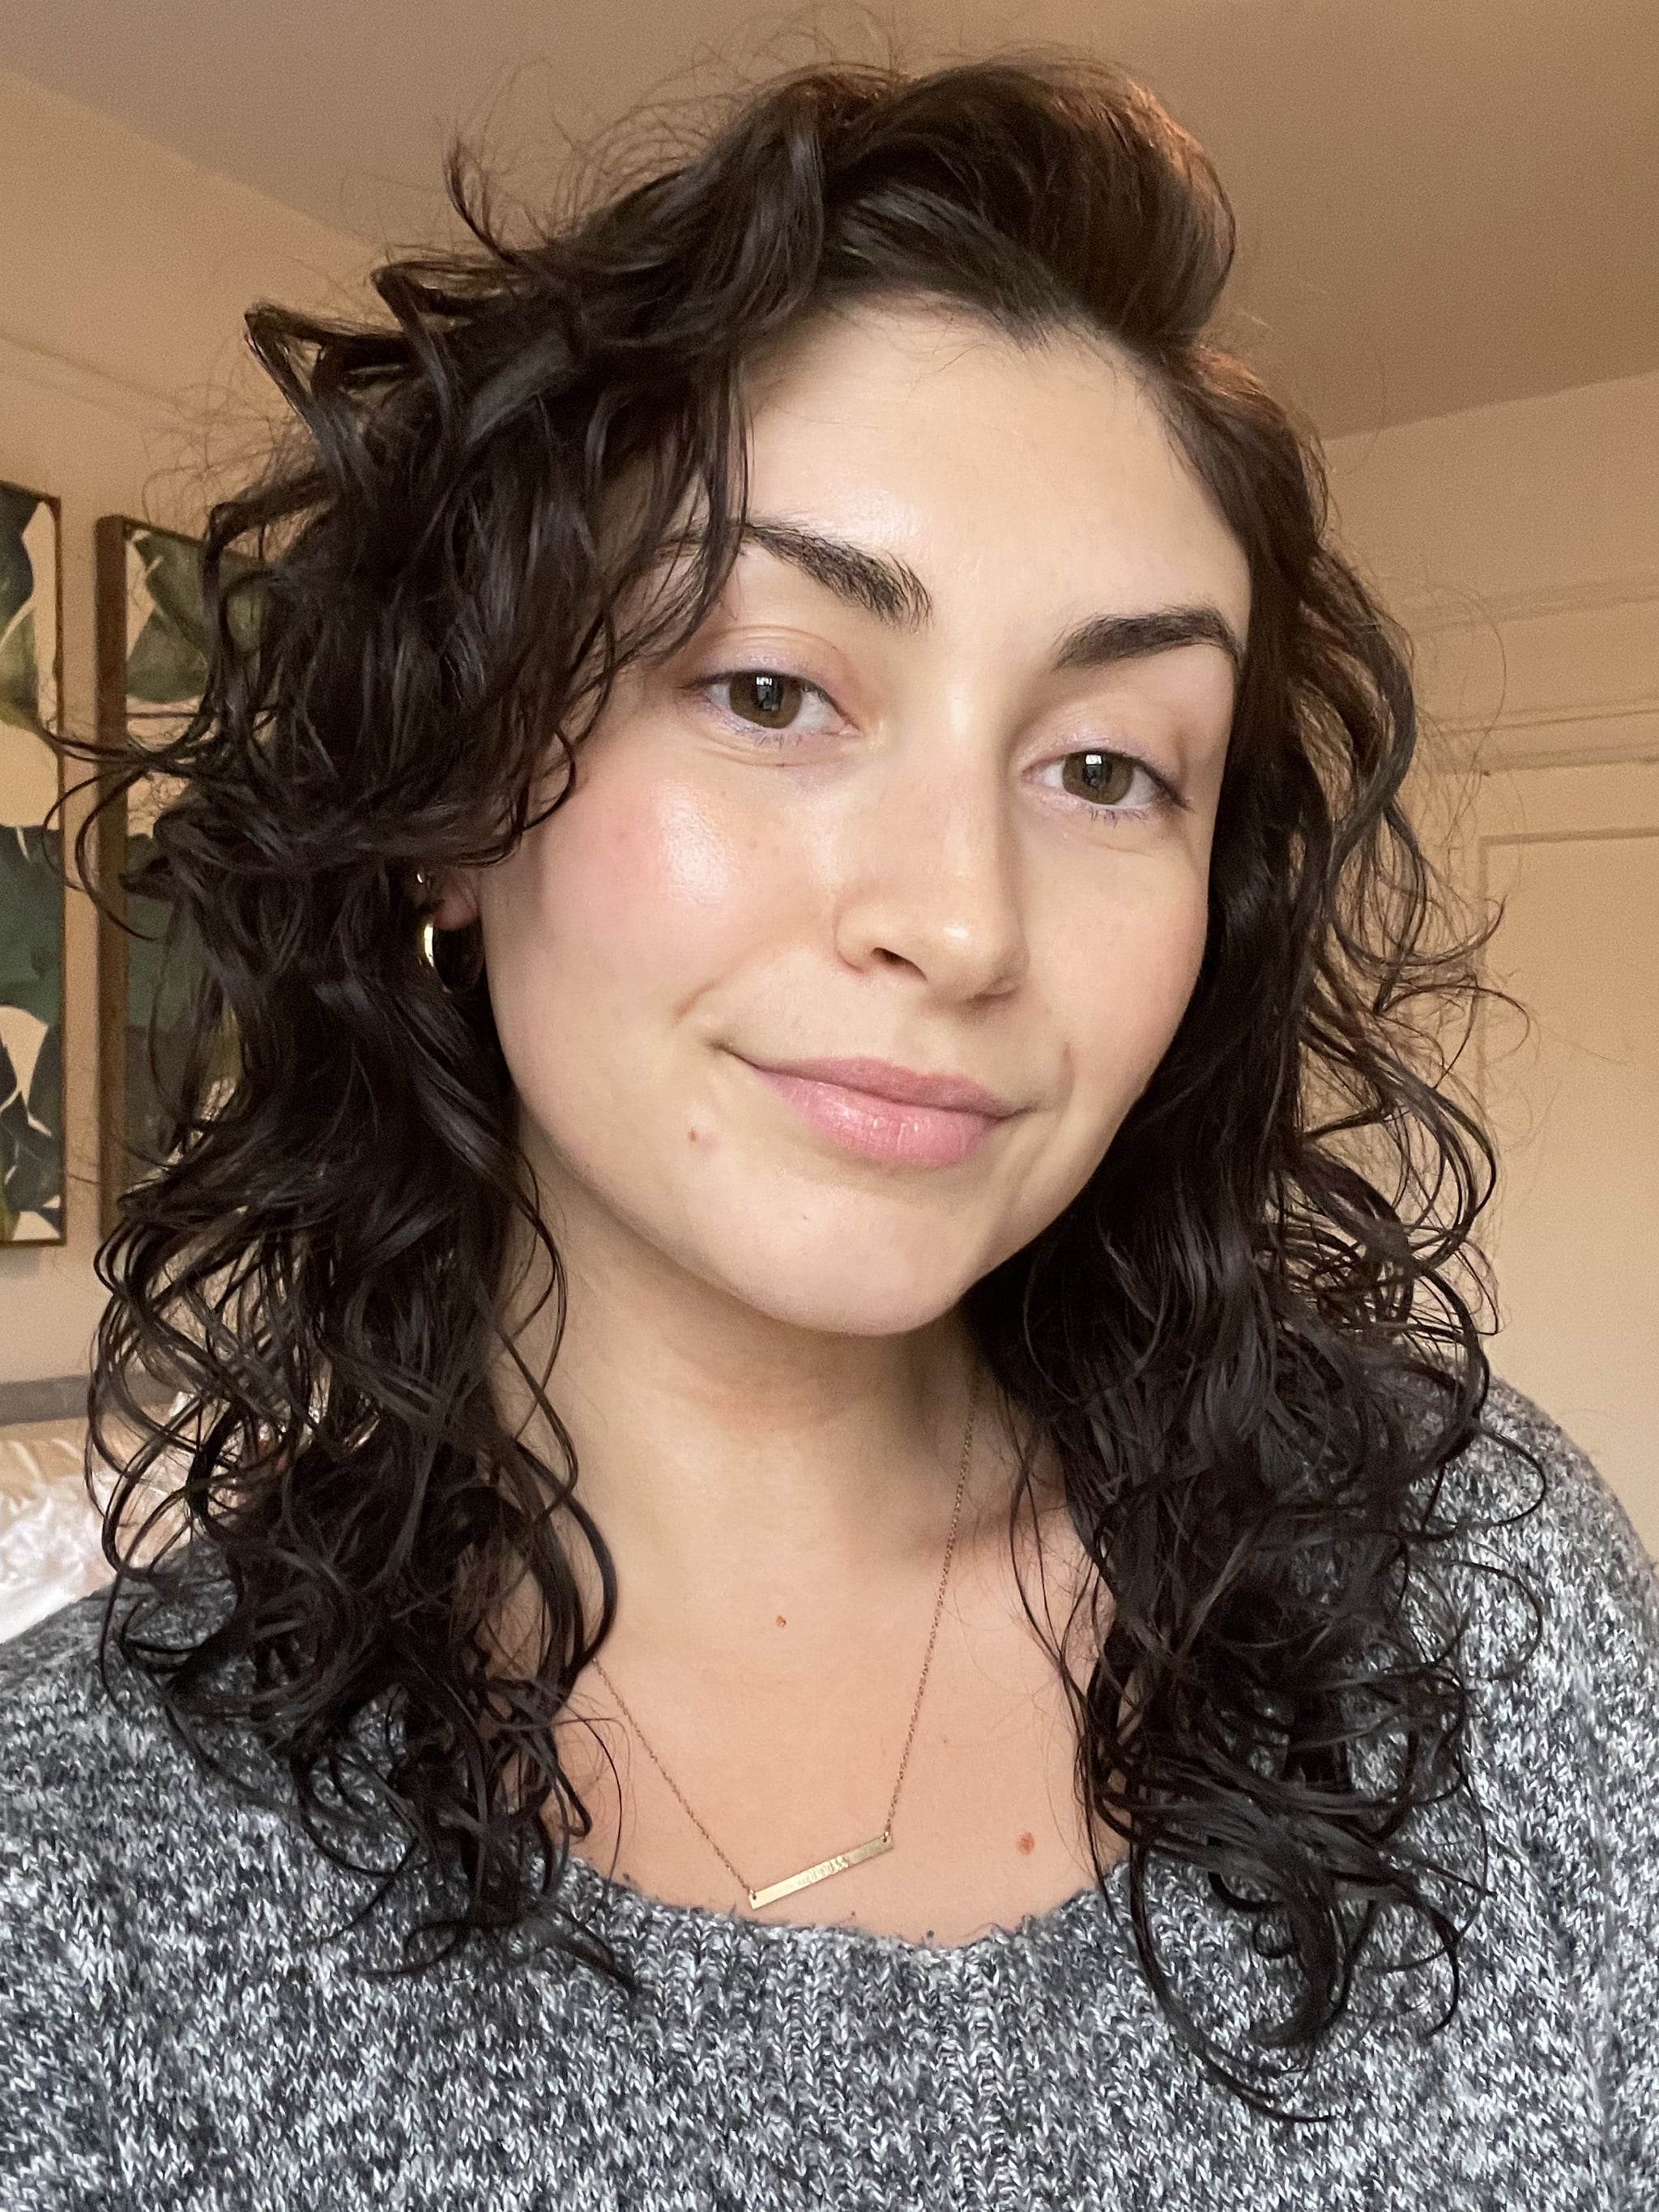
While tedious, pixie diffusing worked better on my hair than any other curly-hair method I've tried. The proof was in my defined, voluminous, and — most importantly for me — frizz-free curls. Despite the curl cream, my hair felt soft to the touch and moveable, and there was little-to-no frizz visible — something I didn't think was possible. If you have the time necessary for the pixie method, I can't recommend it enough. I feel like I've finally cracked the code once and for all on drying my curly hair — at least until a new hack comes up on my FYP.