When my family and I moved into a new space [1] and got past the unboxing space, we had a long list of projects to tackle. My phone was filled with "saves" of beautifully finished spaces and decor [2], but sometimes getting started can be the most overwhelming part. Instead of trying to do everything at once, I tried to be thoughtful about purchases and taking on one small space at a time.
We painted our walls white, which has a very clean look, but also a bit stark. I knew I wanted to warm up the space a bit and make it feel like home. I thought a gallery wall would be a great place to start but wasn't exactly sure what I wanted it to look like. What will the gallery wall layout be? What size should it be? What color framing? How do you place them in a way that is unexpected but still looks really pulled together?
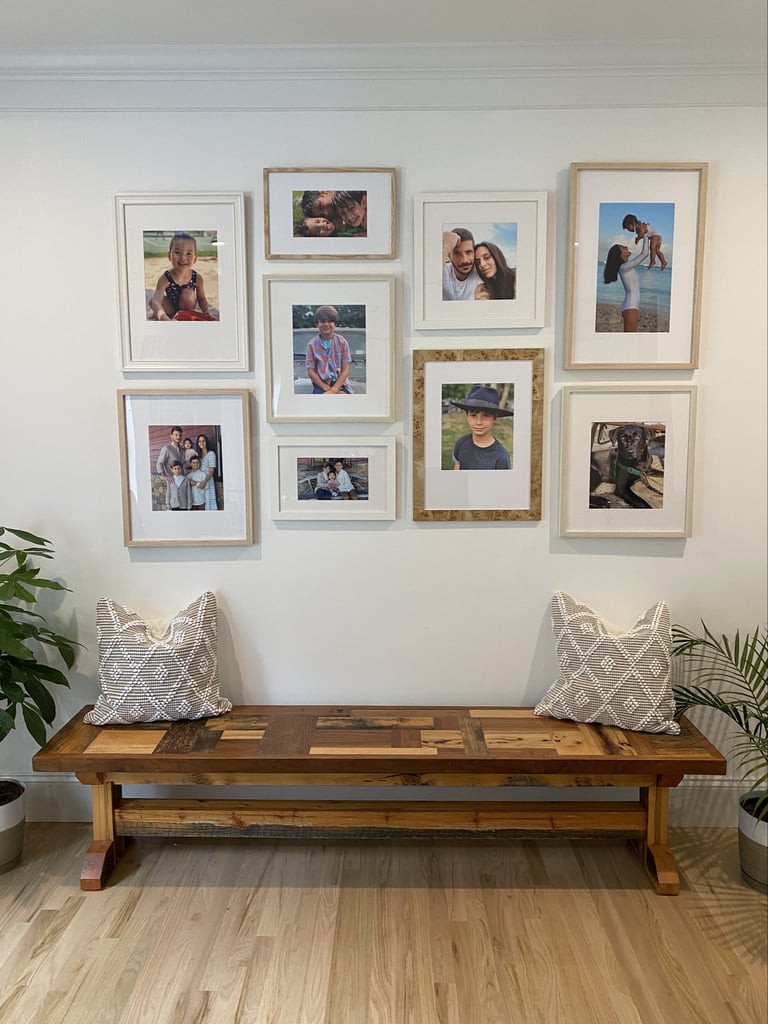
I decided to take the guesswork out of it and go with Framebridge [3], and the process was so easy. I selected the staggered grid [4] and uploaded nine photos from my phone. (It's worth noting the site prevents you from uploading anything that isn't hi-res enough.) I virtually arranged them on the wall, and in less than a week they arrived beautifully framed and ready to hang.
I want to preface this by saying that I am no expert when it comes to DIY projects [5] — or even hanging photos — but Framebridge made it so simple. They sent a paper "gallery map" that you hang up first with X's for where to hammer in the nails. Then you tear away the paper and hang up your photos; that's it! They're perfectly spaced and look just like the digital rendering I had planned out. It took about ten minutes to hang them. You could, of course, go with art prints for this, but I love having one central spot for my favorite photos.
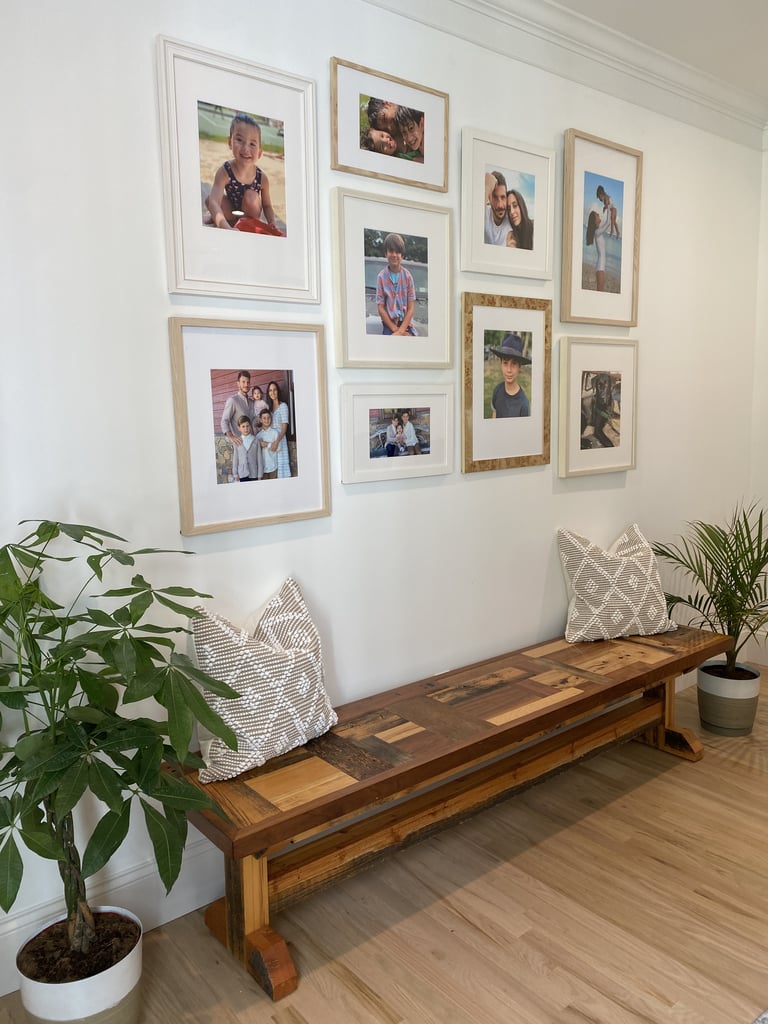
Need inspiration to learn how to make a gallery wall yourself? Scroll ahead to see how mine turned out.

My Completed Gallery Wall
Dana Avidan Cohn [7] is the former PS executive style director.