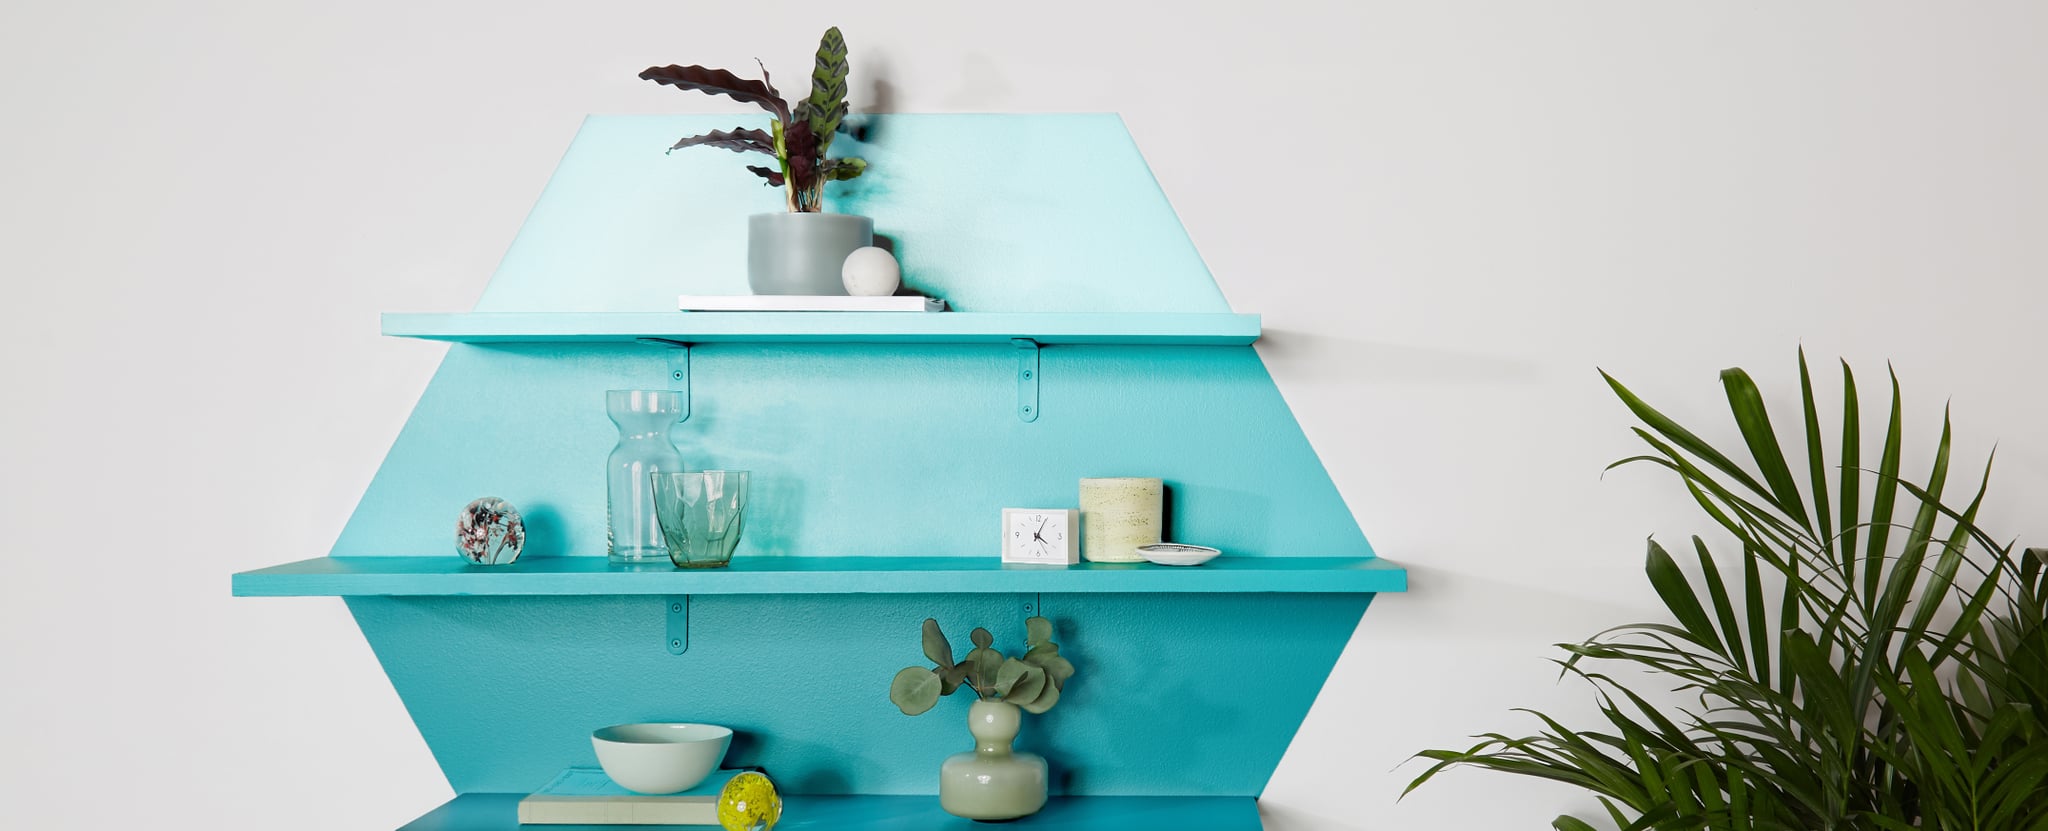
Trendy Ombré Shelving DIY
This DIY Ombré Shelving Is the Statement Decor Your Living Room Needs

Simple, streamlined cabinets may be a classic decor choice, but 2018 is all about open shelving — and there’s no better way to display your favorite objects in their best light than with a colorful custom shelving unit. With a few key items and a fresh coat of paint, you can transform a simple wall into a beautiful statement storage solution that holds your finest treasures. Read on to discover helpful hints for creating DIY ombré shelves that will brighten your home — and your Instagram feed!
Step 1: Assemble Your Tools
With the right tools, you can simplify the process of fashioning your ombré shelves. You'll need:
- 1 gallon of Sherwin-Williams Emerald® Urethane Trim Enamel in Aquarium SW 6767
- 1 gallon of Sherwin-Williams Emerald® Urethane Trim Enamel in Highly Reflective White SW 7757
- Level
- 4 one-quart cups for mixing your paint
- Paint tray
- Ruler
- Pencil
- 24-inch board
- 18-inch boards
- Drop cloth
- Paint roller with 4 roller heads for use in each separate color
- Painter's tape
Step 2: Plan Out the Shape on Your Wall
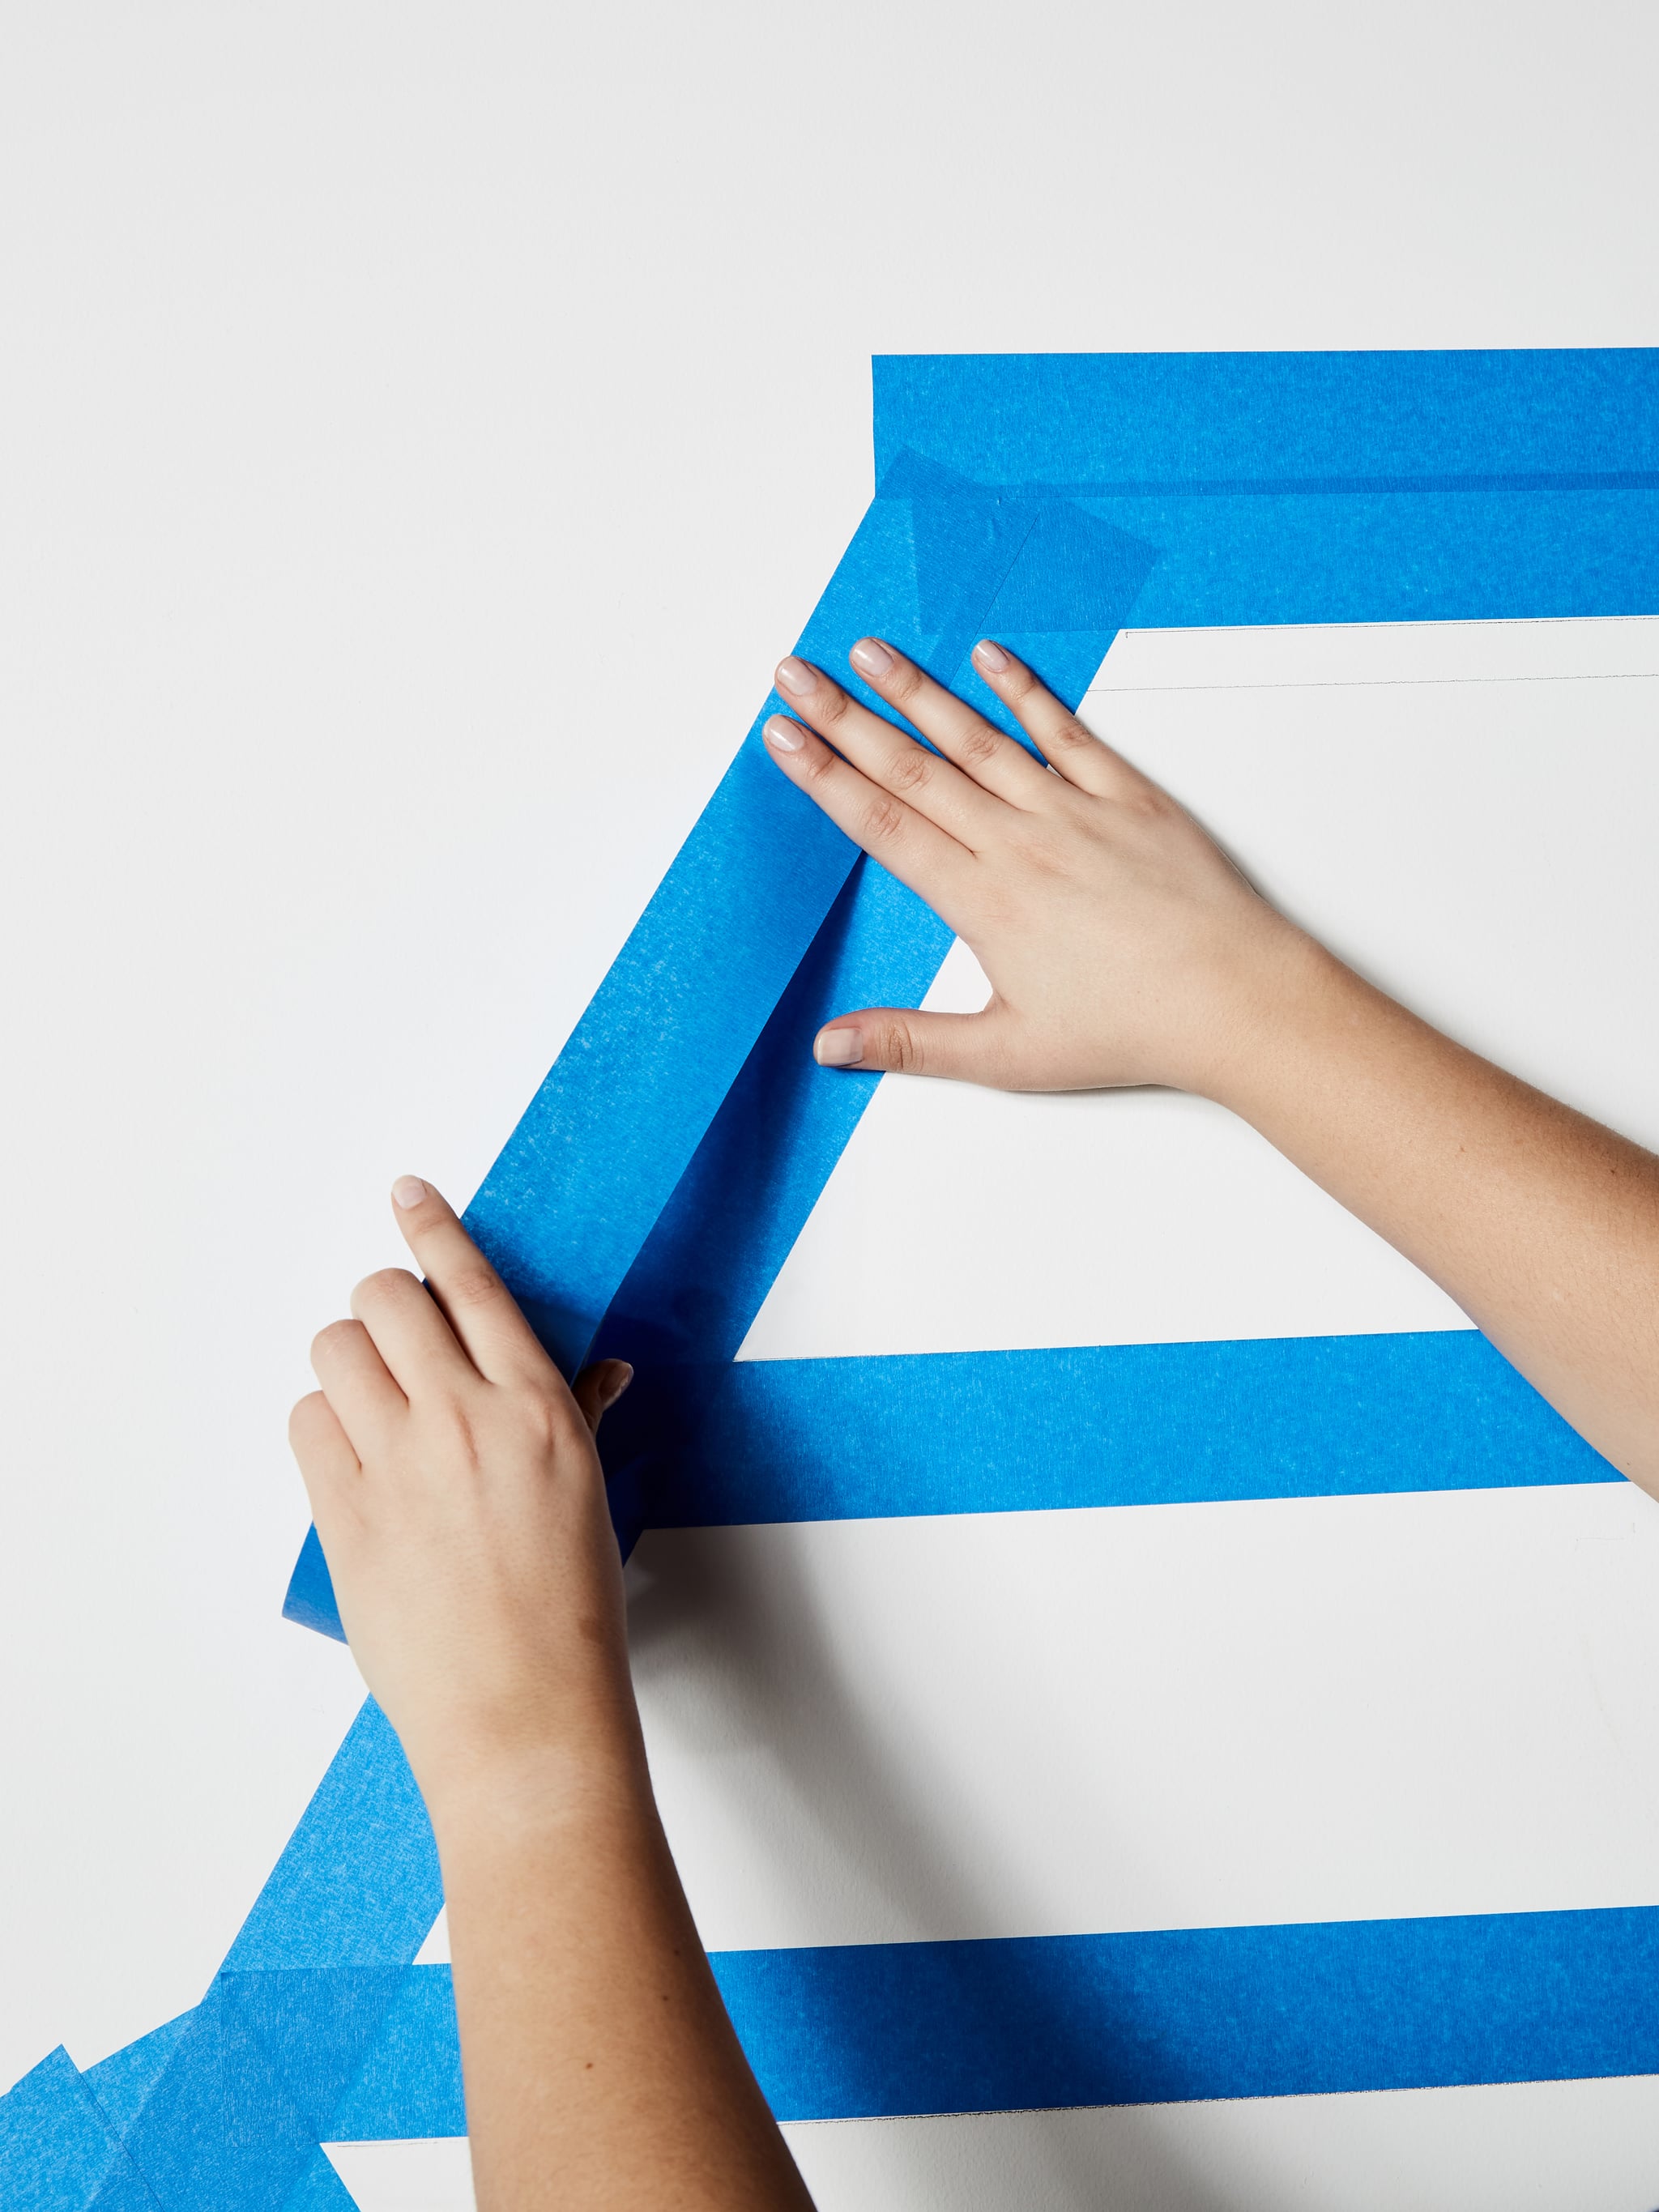
In order to create the perfect open shelving DIY, map out the pattern on your wall with tape and a ruler.
- Start by selecting a hexagonal space on your wall with a 24-inch diameter.
- Using your pencil and ruler, mark off a horizontal 24-inch section in the middle, where your largest shelf will be placed. Place a strip of painter's tape across the line.
- Moving approximately eight inches inches upward, measure out a horizontal 18-inch section where your top shelf will be placed, centered directly above the 24-inch tape line. Place a second strip of tape across this line.
- Next, plan out the space you'll use for your third shelf by using a ruler to measure out another 18-inch shelf eight inches below your middle shelf. Ensure the area is centered below the middle shelf and place a strip of tape over the line.
- Use your ruler and pencil to sketch additional horizontal lines eight inches above your highest tape line and eight inches below your lowest tape line. To create the hexagonal shape, measure out lines that are approximately 14 inches wide. Tape over these lines.
- Finally, use your tape to create diagonal lines that connect the corners of the hexagon between each shelf and outline the shape.
Step 3: Mix Your Ombré Paint Colors
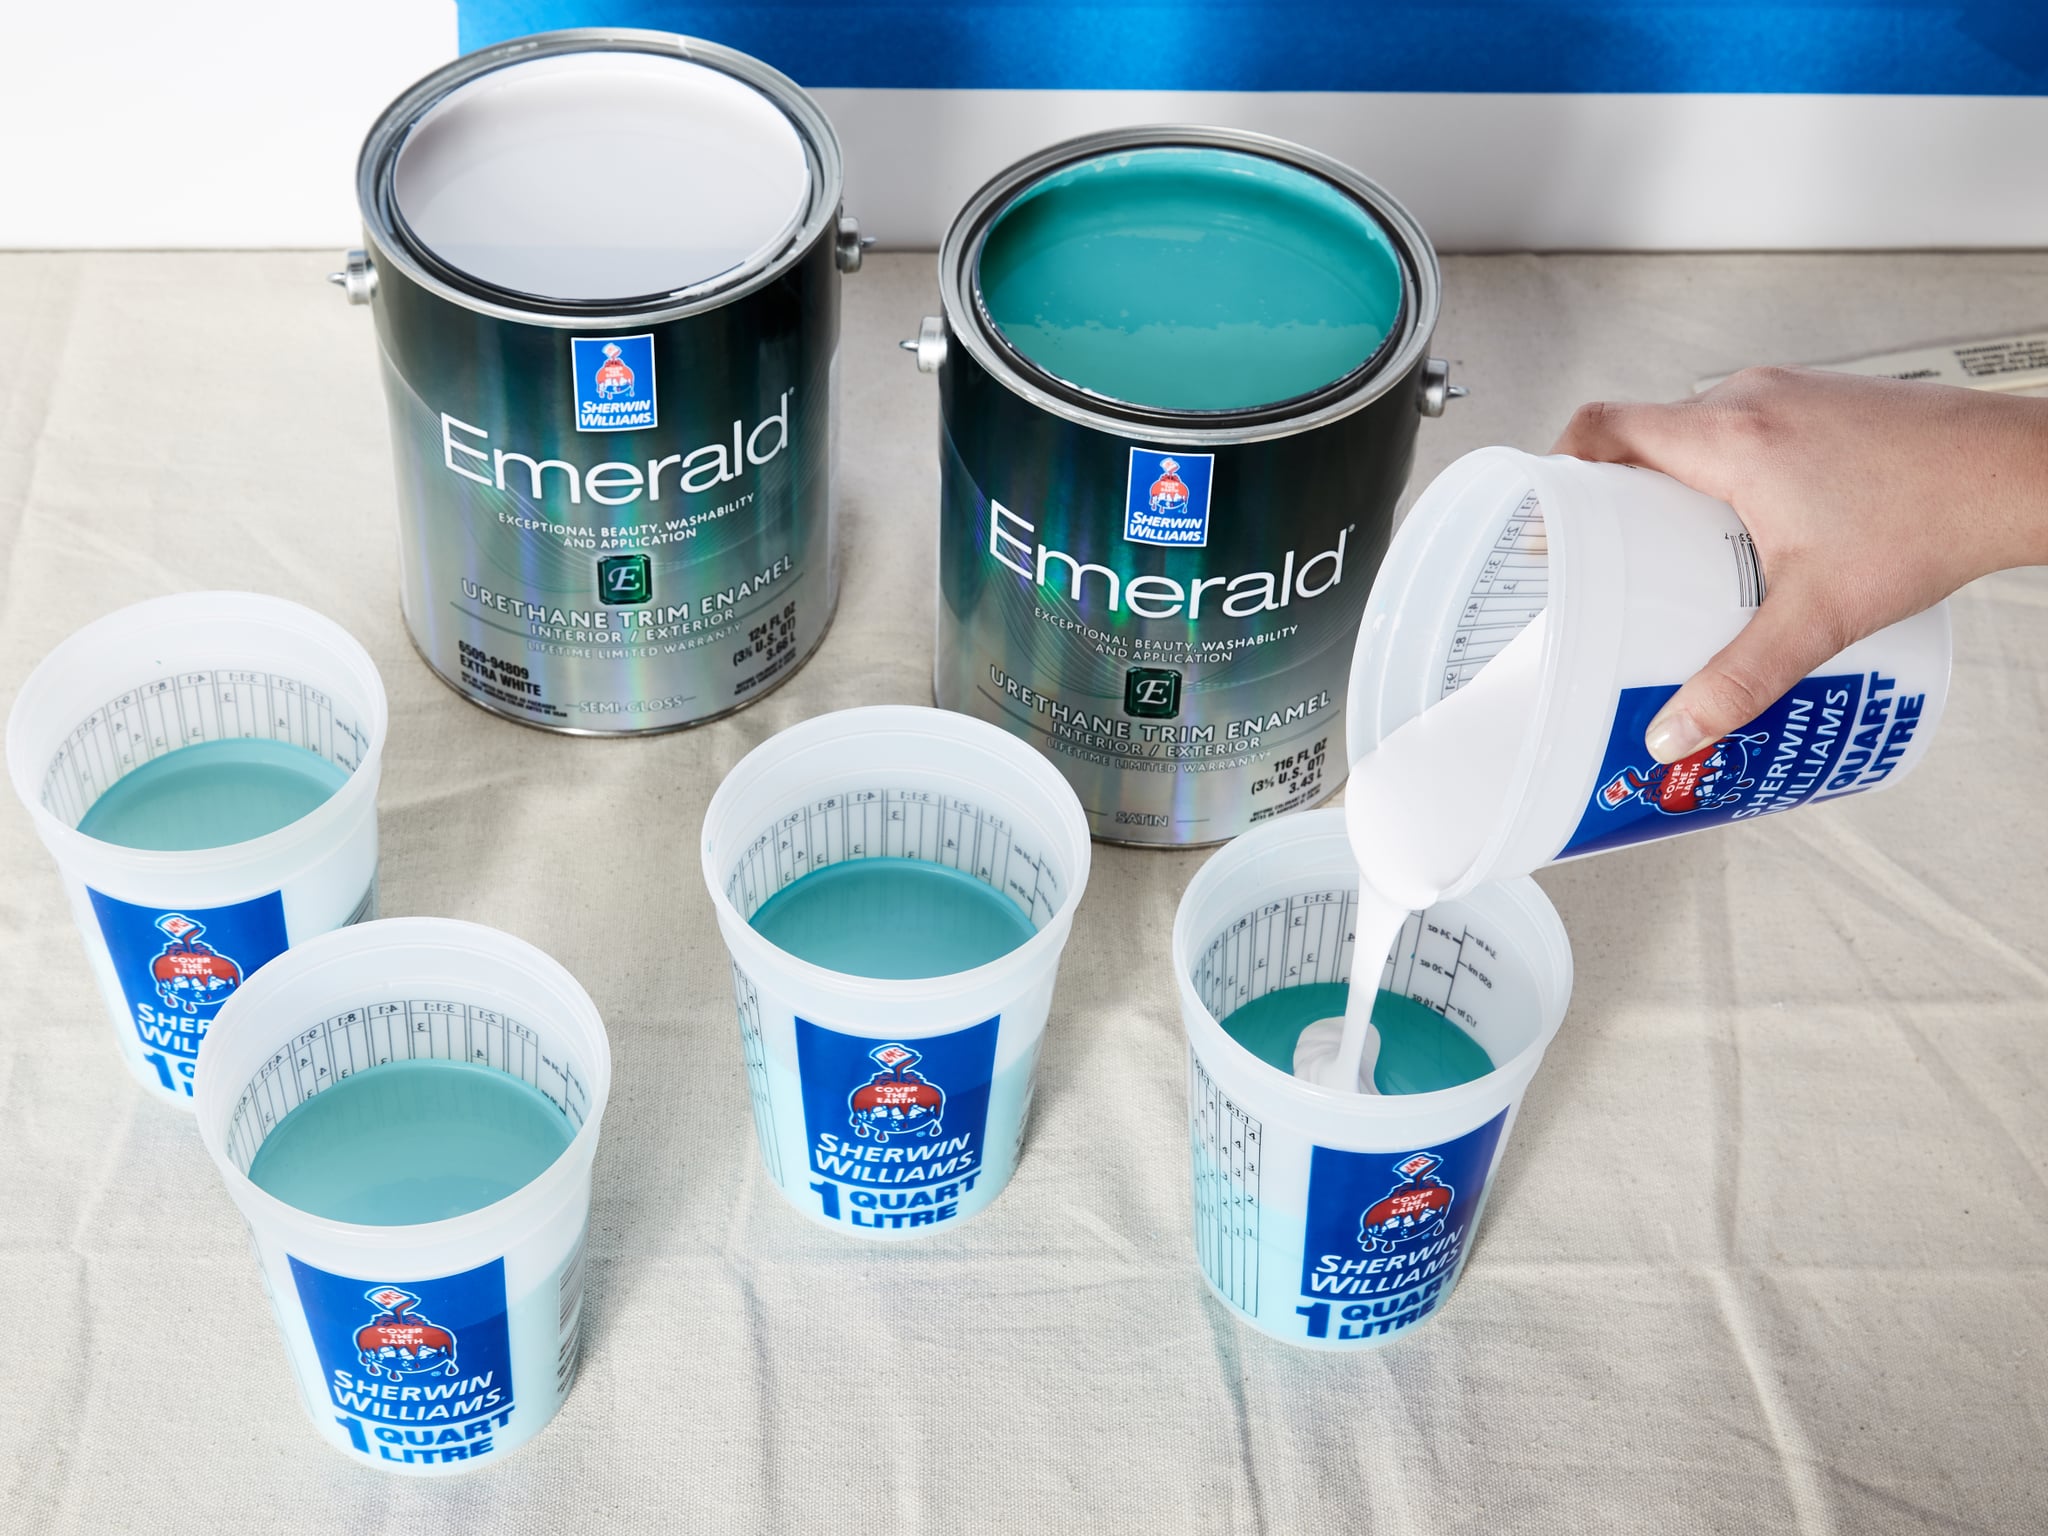
Using your two paint shades and one-quart cups, blend three custom colors that are several shades lighter than Aquarium SW 6767 for an ombré effect. To create the color, pour a half-quart of Aquarium SW 6767 into each of three cups and gradually add Highly Reflective White SW 7757 to lighten the blue shade various degrees, stirring as you go. Test-drive your custom shades by painting a swatch on a piece of cardboard or paper, and use your best judgment to determine when you've reach your desired colors.
Step 4: Paint!
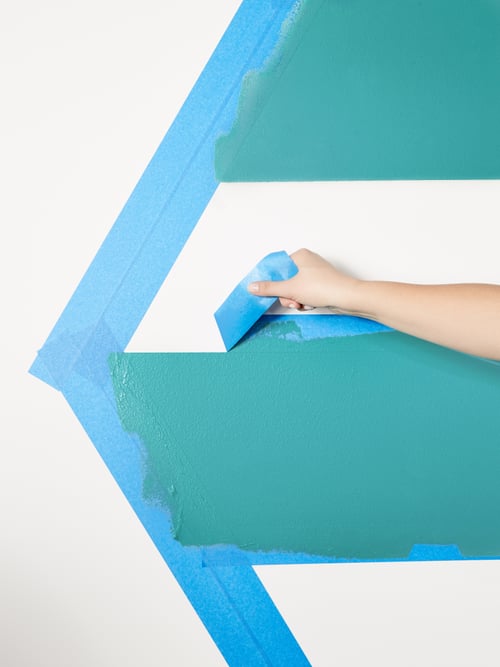
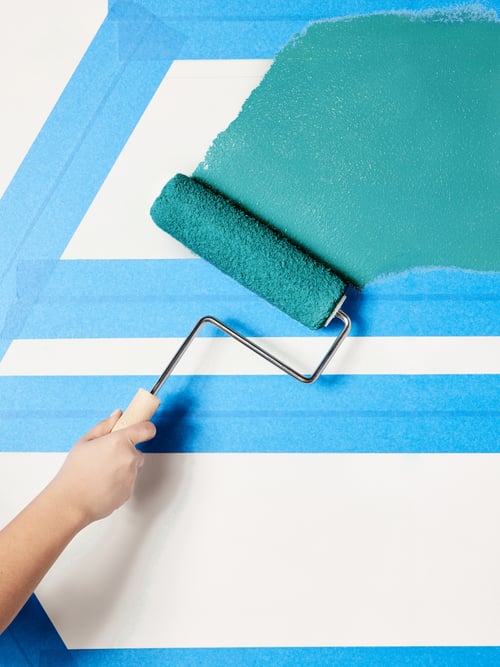
After you've plotted out your shape, it's time to paint!
- Using your paint roller, paint the top section of your shelving unit in the lightest shade of your paint.
- Switch the roller head and paint the middle section (the third section down) in the third-lightest shade.
- Wait for your first coat to dry before removing the tape.
- After you've removed the tape, retape your hexagon.
- Then, paint the second section from the top in the second-lightest shade. Finally, paint the bottom section in your darkest shade, Aquarium SW 6767.
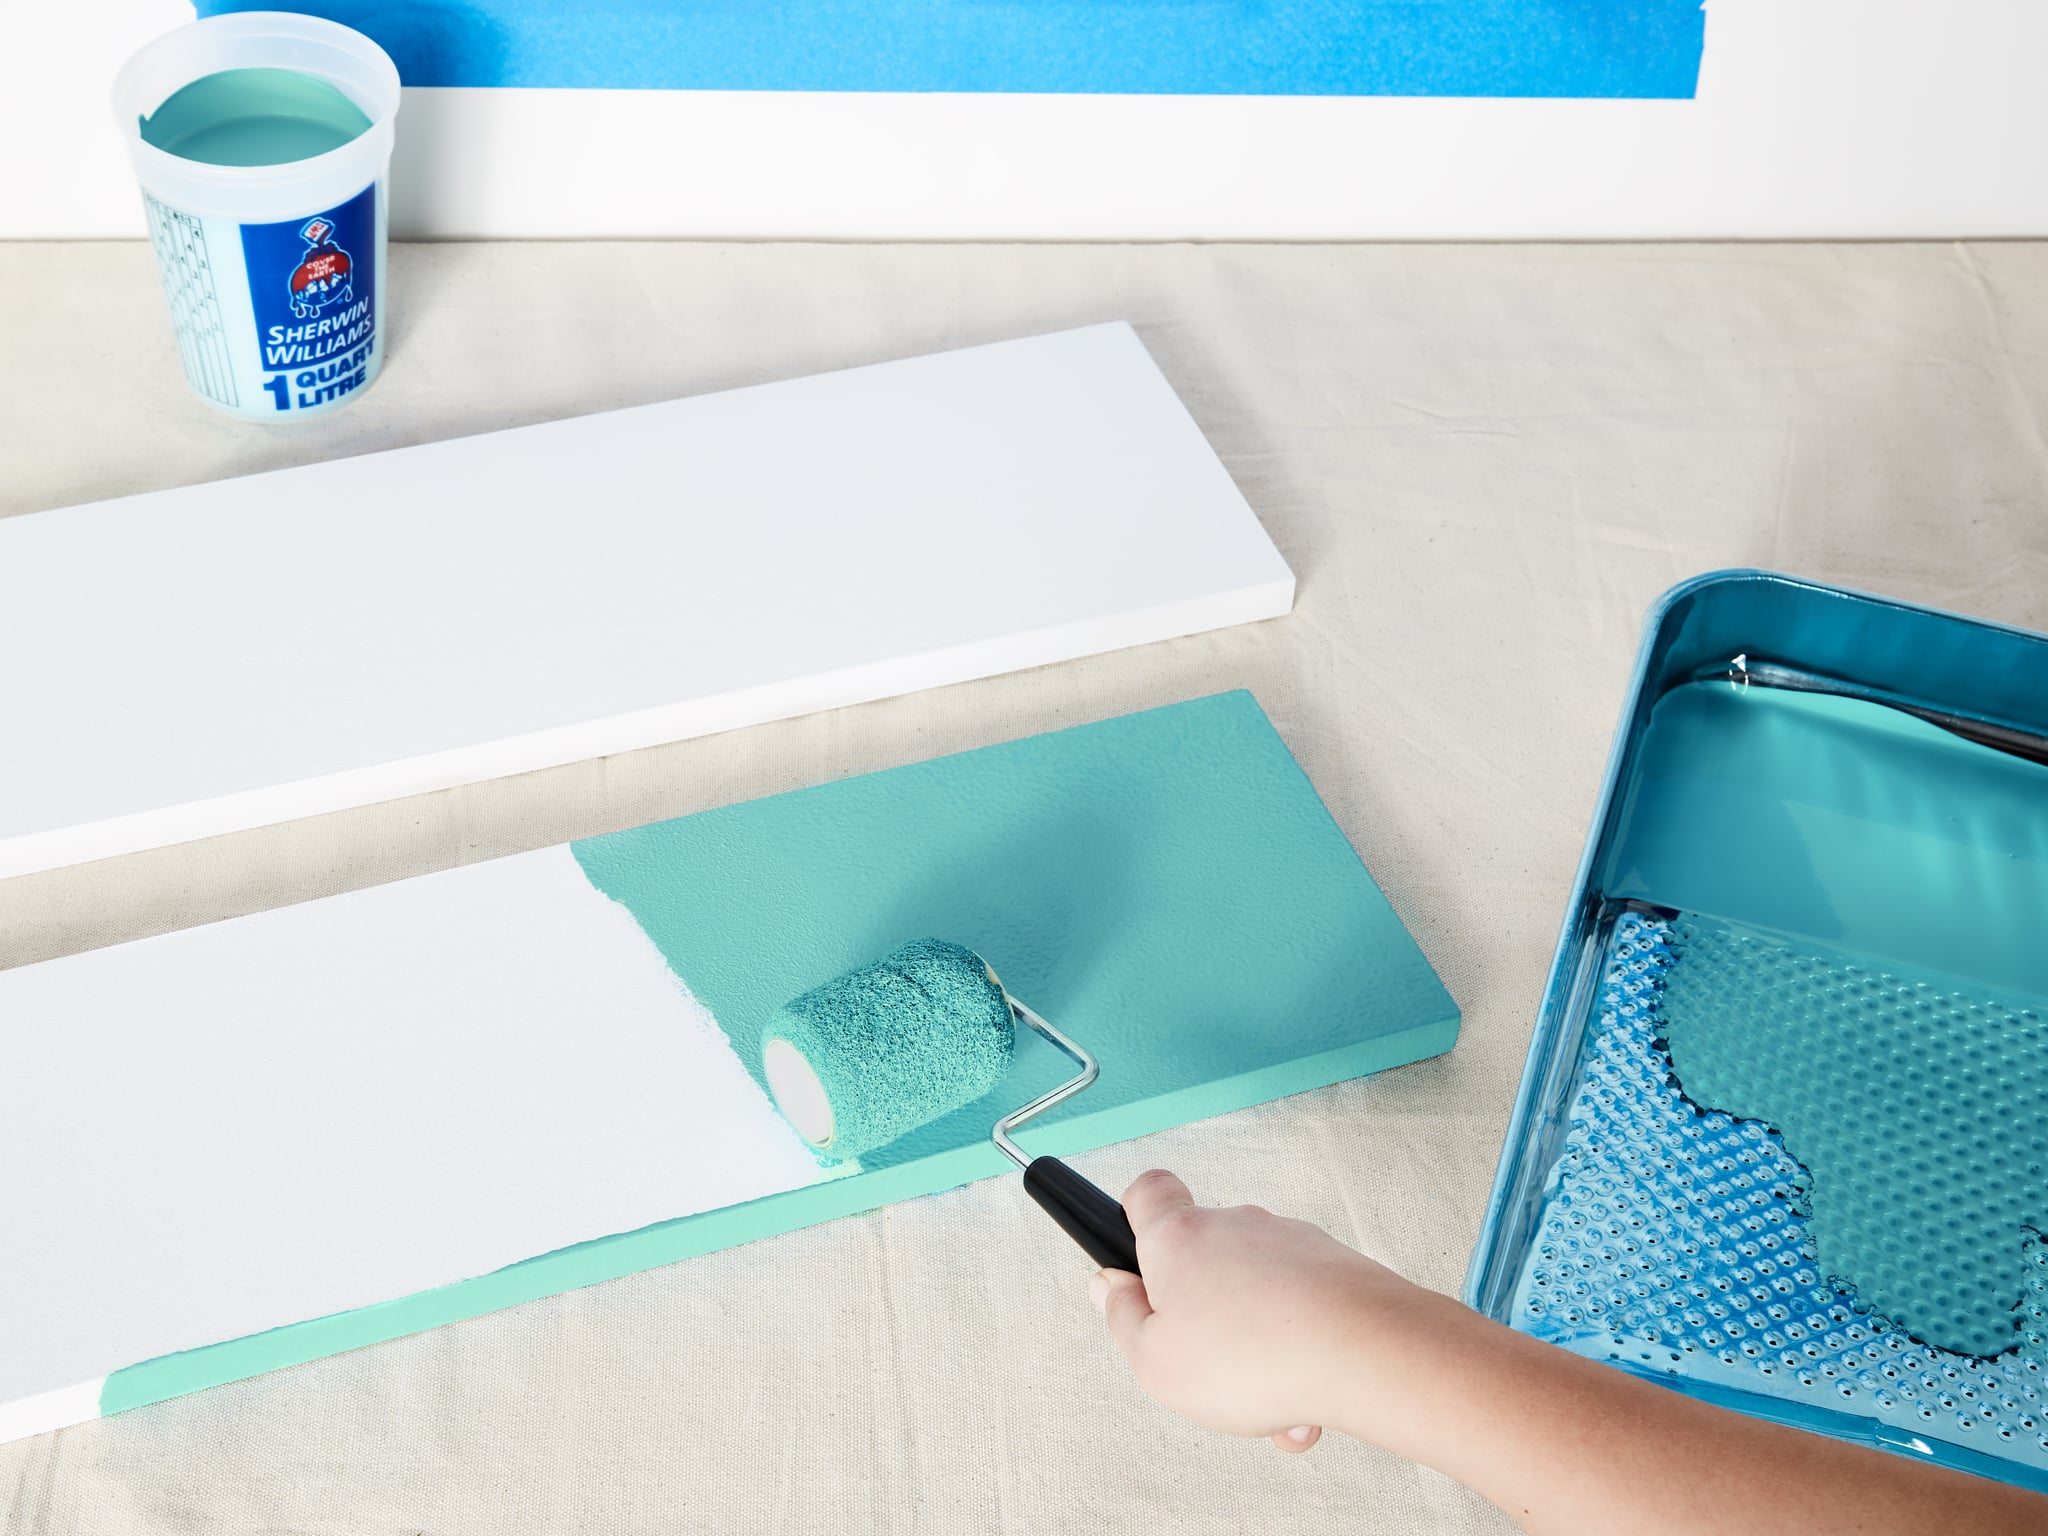
While you wait for your wall to dry, begin painting your shelves.
- Use the roller head designated for your lightest shade of paint on the topmost 18-inch shelf, covering all surfaces but the bottom of the shelf with an even layer.
- Next, paint your 24-inch shelf with the second-lightest shade.
- Finally, paint the last 18-inch shelf in Aquarium SW 6767, the darkest shade.
- Allow all three shelves to dry before moving on to the next step.
Step 5: Break Out the Hardware
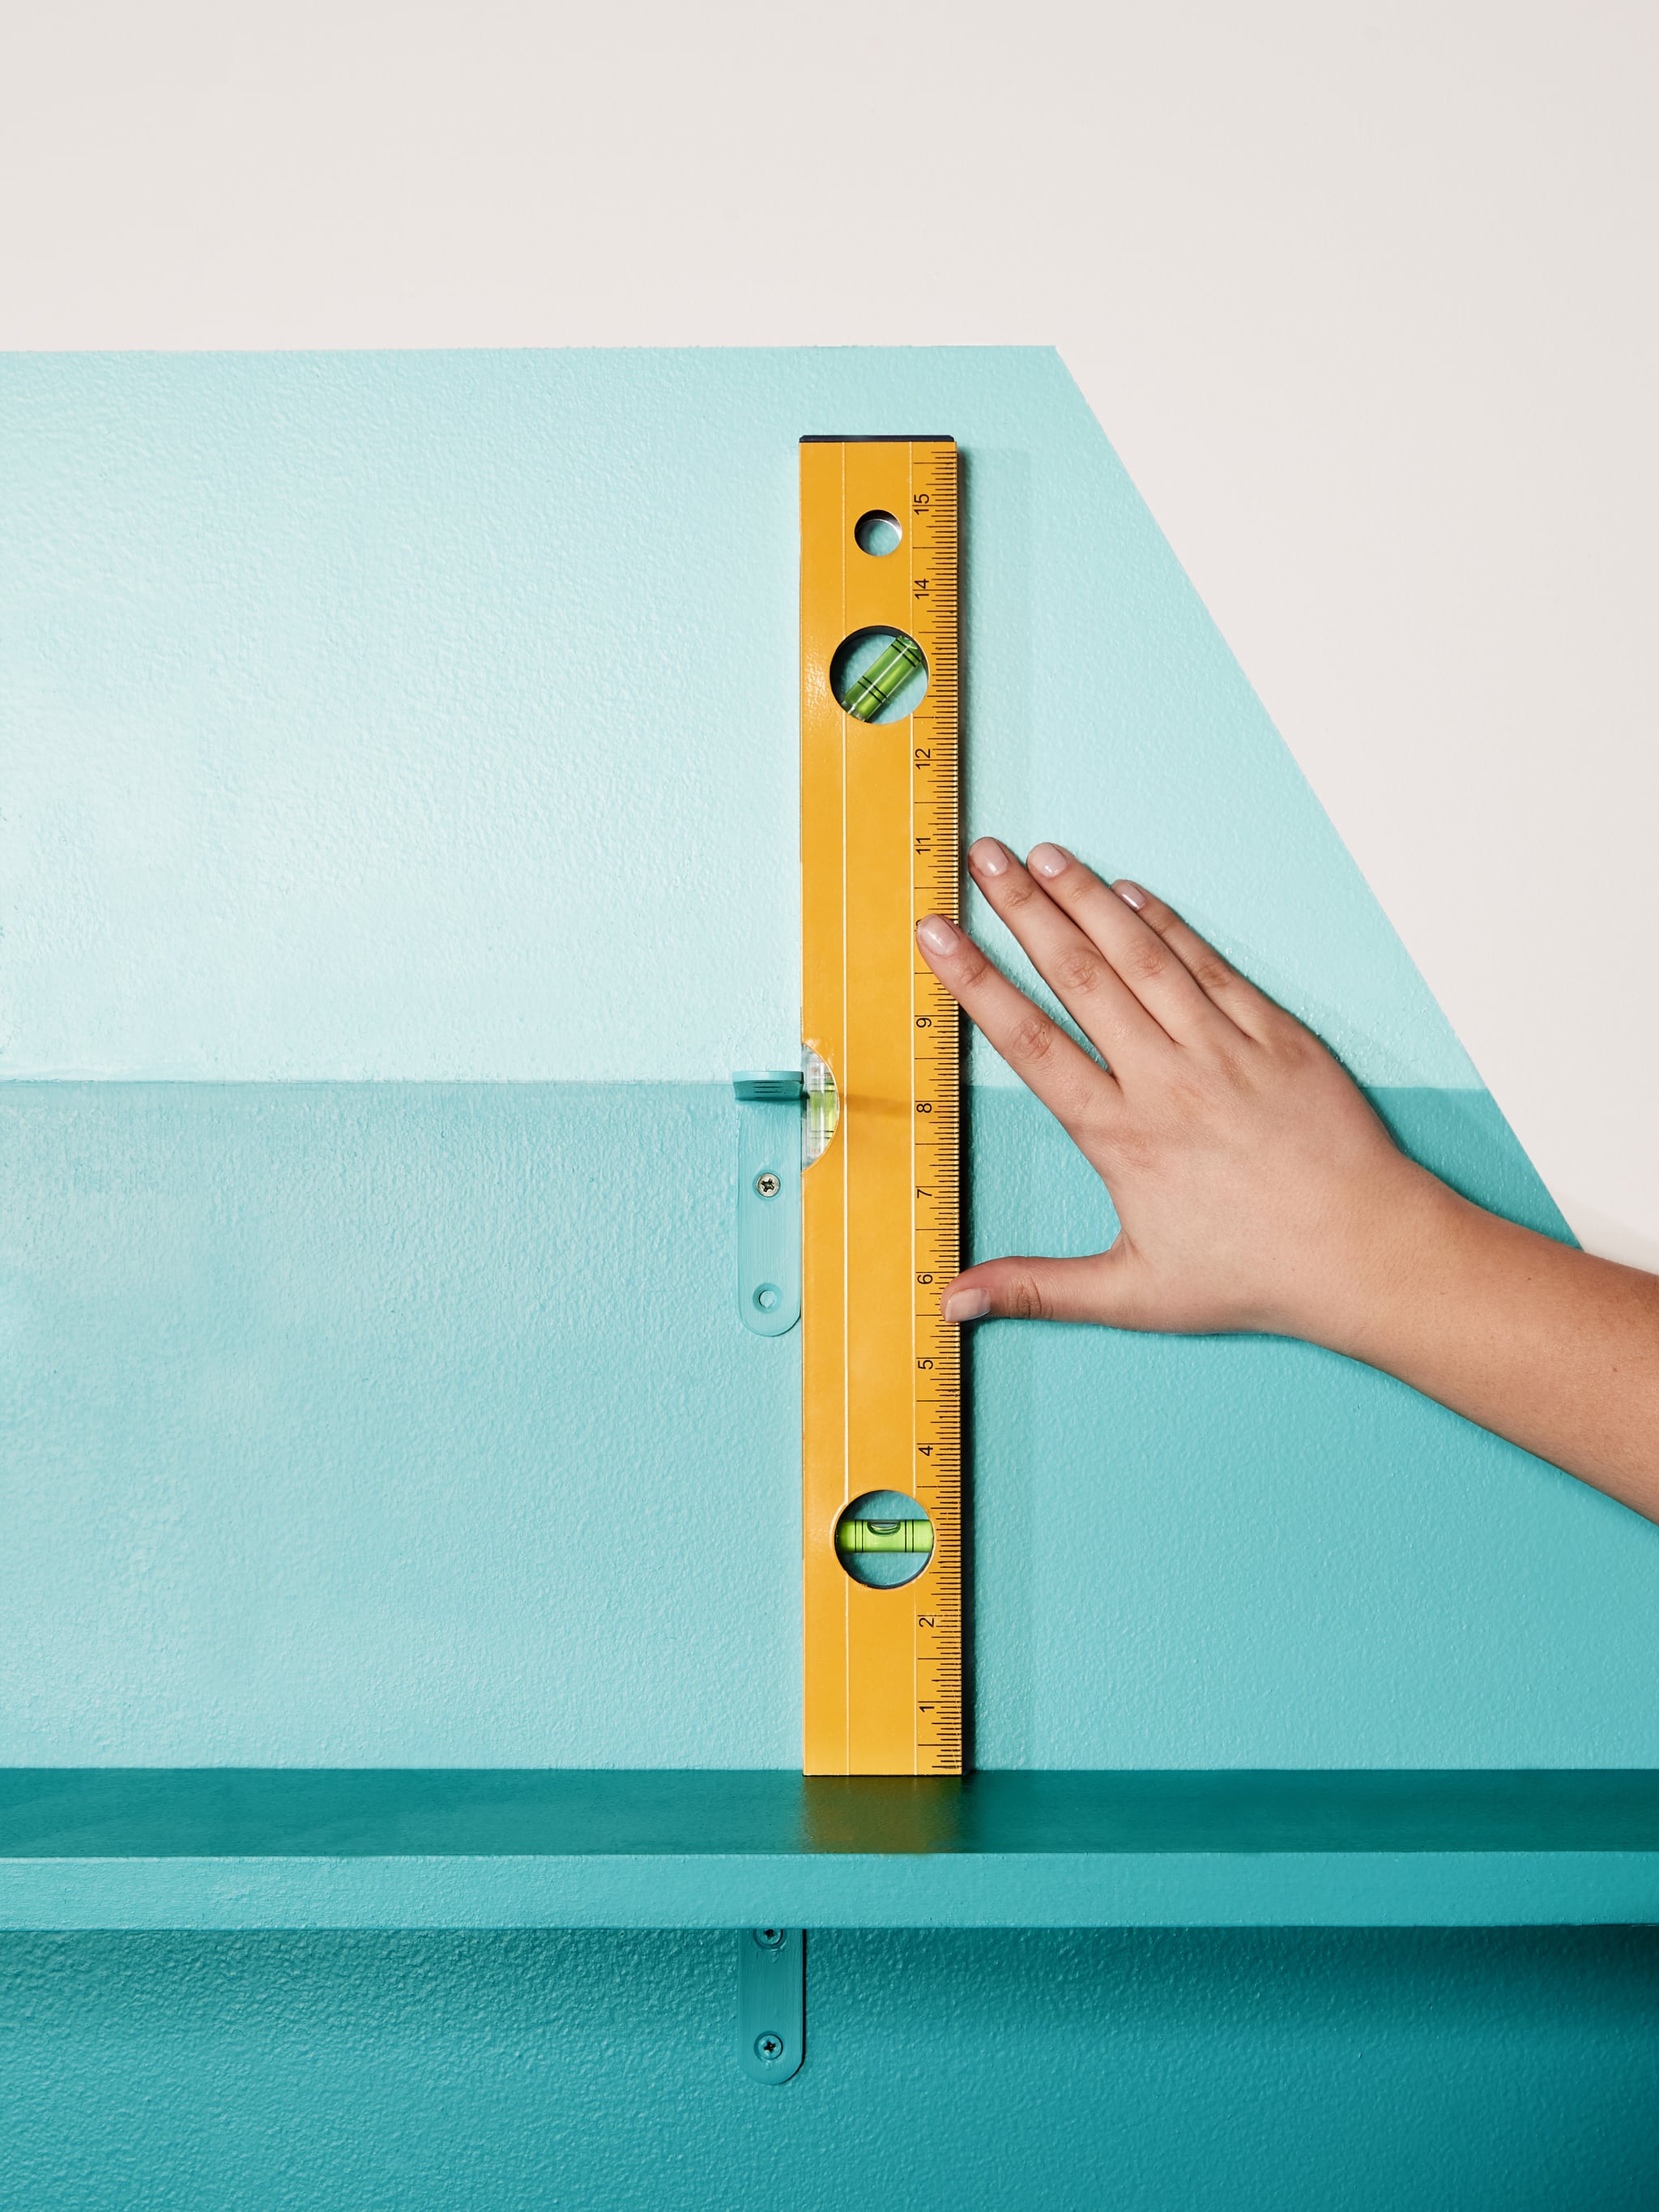
After your wall and shelves have dried, it's time to dig into your hardware.
- Place a set of two brackets flush against the wall where each shelf will be placed and drill in screws to fasten the brackets to the wall.
- Use a level to ensure each shelf will be completely flat based on its placement.
- Place the shelves on top of the brackets and drill screws into the bottom of each shelf. Paint each set of brackets to ensure the color is consistent.
- Enjoy your handiwork, and get ready to style your shelves! Coordinating the color of your decor with the paint colors will add further allure to the DIY.

Credits: Photography: Diggy Lloyd; Art Direction: Anne von Hemert; Set Design: Astrid Chastka; Production: Sasha Bar-Tur
