This DIY [1] project from Kat and Cam of Our Nerd Home [2] will help you make your geeky dream home a reality.
We had a fairly large empty spot on one of our walls, and we weren't quite sure what to put there . . . so we made some Tetris-inspired shelves.
We've seen quite a few different sets of Tetris shelves online this past year — we even pinned some to our Pinterest [3] and Tumblr [4] pages, promising that we would add them to our DIY [5] geek decor to-do list. Well, we finally got around to actually making some!
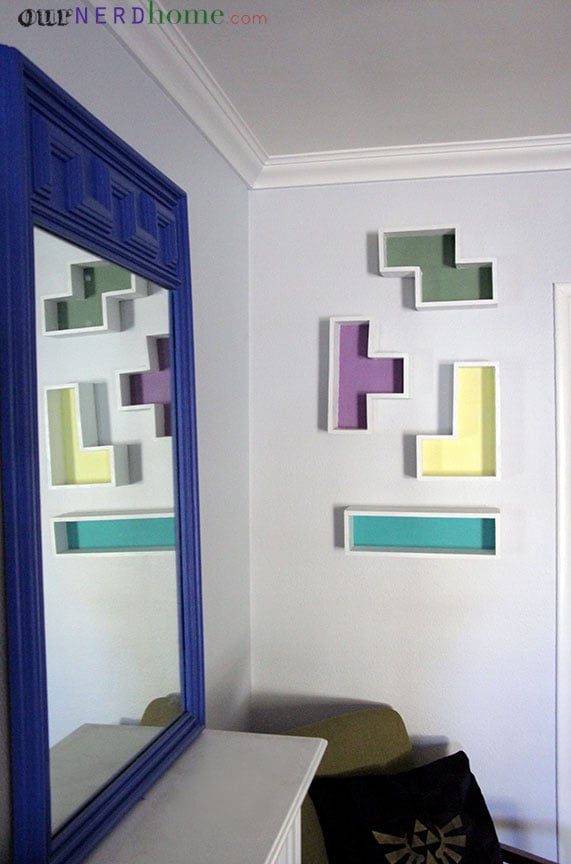
There are lots of online tutorials for how to make Tetris shelves. Most of the ones we found were a little more time-consuming complicated than what we wanted to do (we like to keep things pretty simple around here). By all means, if you plan to sell yours or gift them, you probably want to miter, dovetail, bevel, etc., but yeah . . . we skipped all that. Plus, we don't really have the necessary equipment for that kind of work.
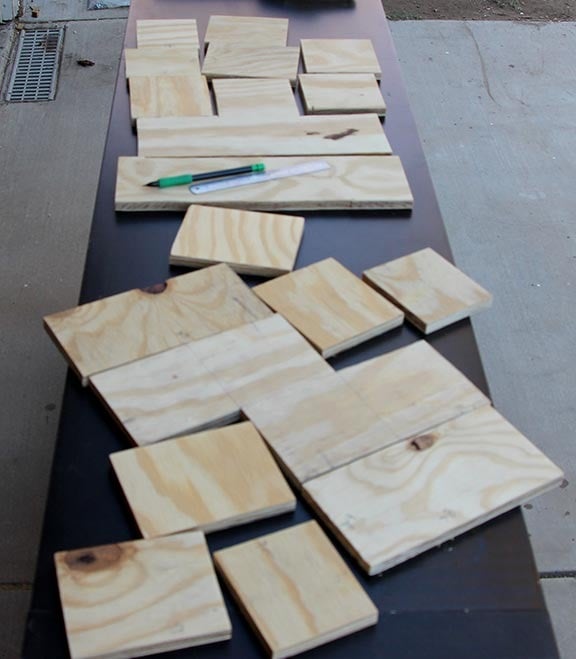
For ours, we started with some 1/2-inch plywood that we had in the garage. A sheet of it is just over 10 bucks at Home Depot. We drew a grid on it, to be able to easily draw our Tetris shapes out. You know the ones. Making a grid like this means you don't have to measure your individual cuts (just count out the squares). Our grid squares were each 4 inches by 4 inches.
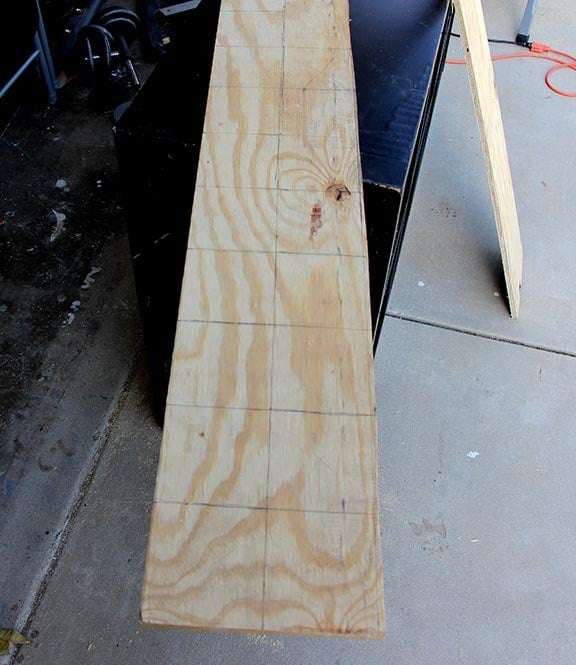
After drawing your shapes, cut them out with a jigsaw. If you don't have a jigsaw, get one. They're $30 and will become your favorite thing.
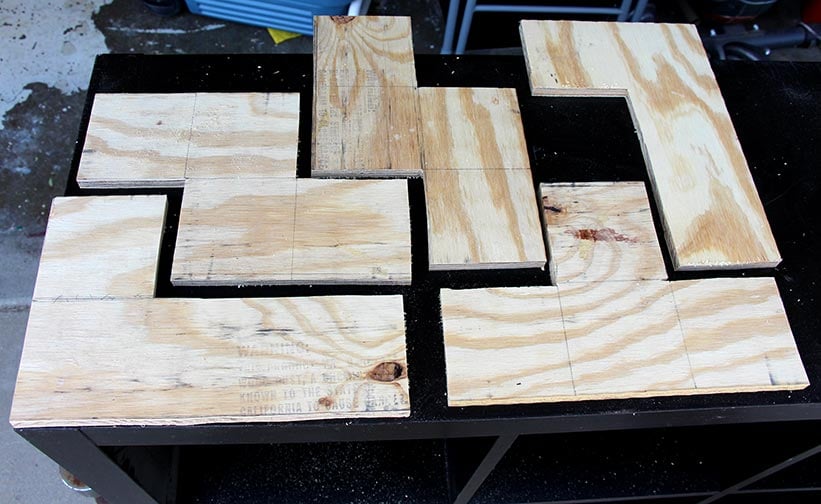
So far, so good. Now you need to cut out the pieces for the sides. We started with the one-by-four rectangle shelf, since it only needs four sides (easiest). The other shelves need more. Since we do not have mitered sides, we had to add 1/2 inch to some of the pieces, in order for everything to fit.
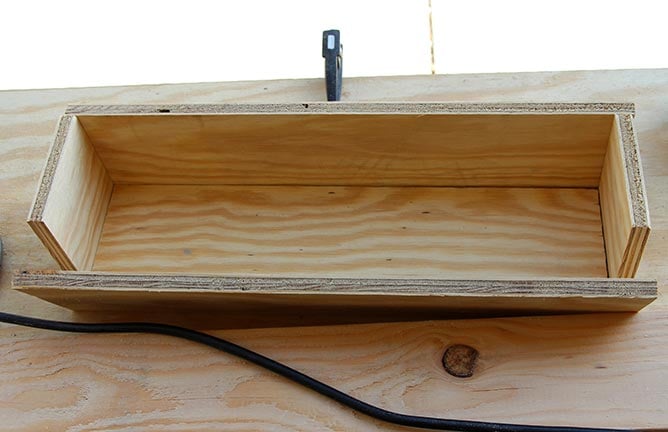
Basically, it's like a really simple puzzle to get the rest of the sides together, with some pieces the same length as the base and some 1/2 inch longer. We plan on making a few more of these shelves, and if we do, we'll update this post with specific cut lists if anyone is interested and hates math.
We assembled everything using wood glue and regular finishing nails.
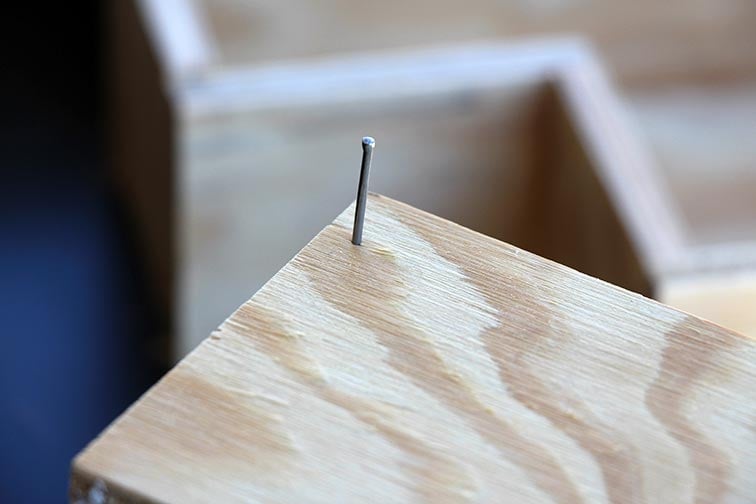
Once they were all put together, we used wood filler up the seams and on the edges, to give a smoother look for painting.
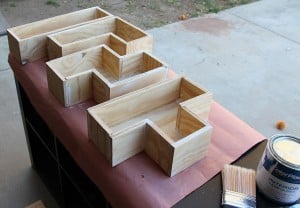
We did have some uneven edges, so we went in with a sander and fixed everything.
That's really it. Stain, paint, whatever you want to do now. We painted them white, then added a pop of color to the insides with cheapo $0.69 craft paint.
Here it is with a Lego R2-D2, for scale. The size is totally up to you, for the space you're putting them in.
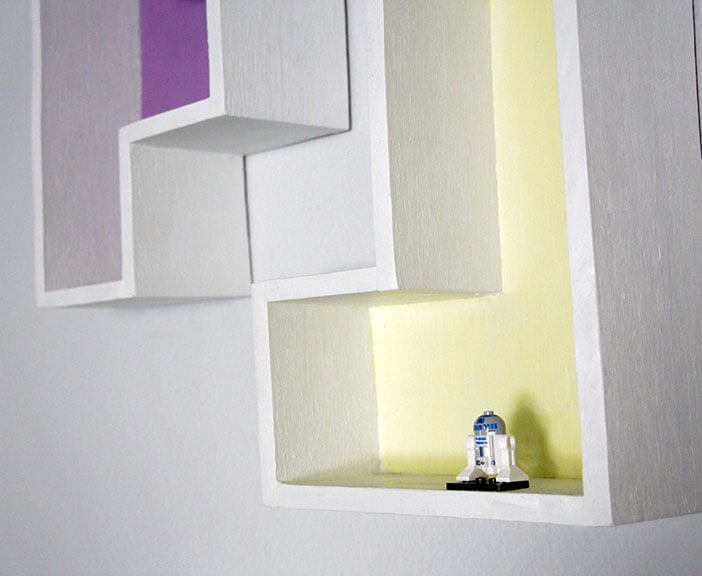
For more context, they're on the wall perpendicular to our 8-bit fireplace [6], above our new DIY [7] Legend of Zelda pillow [8]. It's actually on the same wall as our DIY built-in bookcase [9] (our first project!).
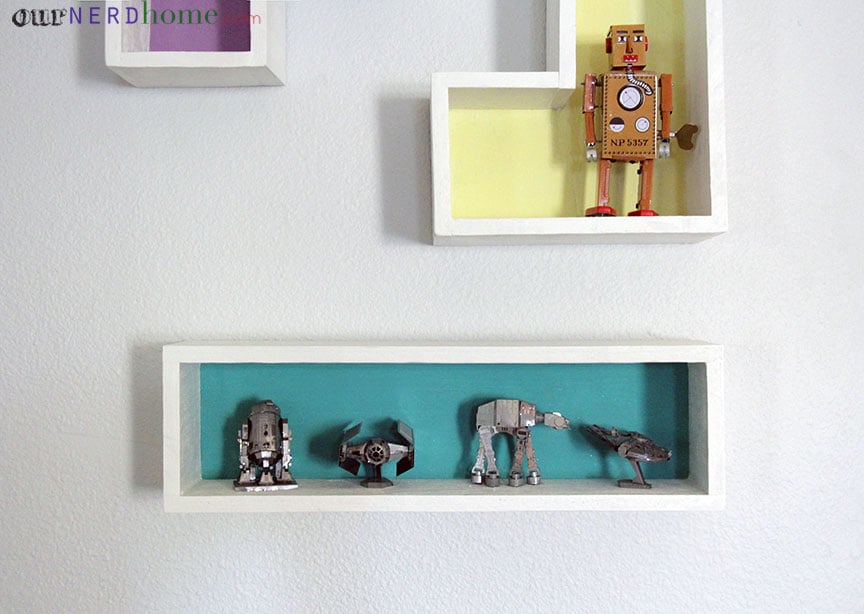
We're debating if we should leave the shelves bare or use them as display shelves. Here they are with stuff. Those are the Star Wars Metal Model Kits [10] from ThinkGeek on the bottom shelf. Which we love (plus they were fun to put together!). The vintage-y robot on the yellow shelf is this awesome guy [11]. And yes, he winds up and walks.