How to Get Sofia Richie’s “Quiet Luxury” Bun
Sofia Richie Breaks Down How to Get Her "Quiet Luxury" Bun
As POPSUGAR editors, we independently select and write about stuff we love and think you'll like too. If you buy a product we have recommended, we may receive affiliate commission, which in turn supports our work.
@kathleen_hair Replying to @klanducci for all 2023 brides 🥰😘 for hers I added some volume at the crown 🤍 the key is doing the bun in sections and making sure the front / sides are perfectly symetrical. If you have layers try adding some @shaehair extensions to conceal the layers and to make the bun perfect
♬ Aesthetic - Tollan Kim
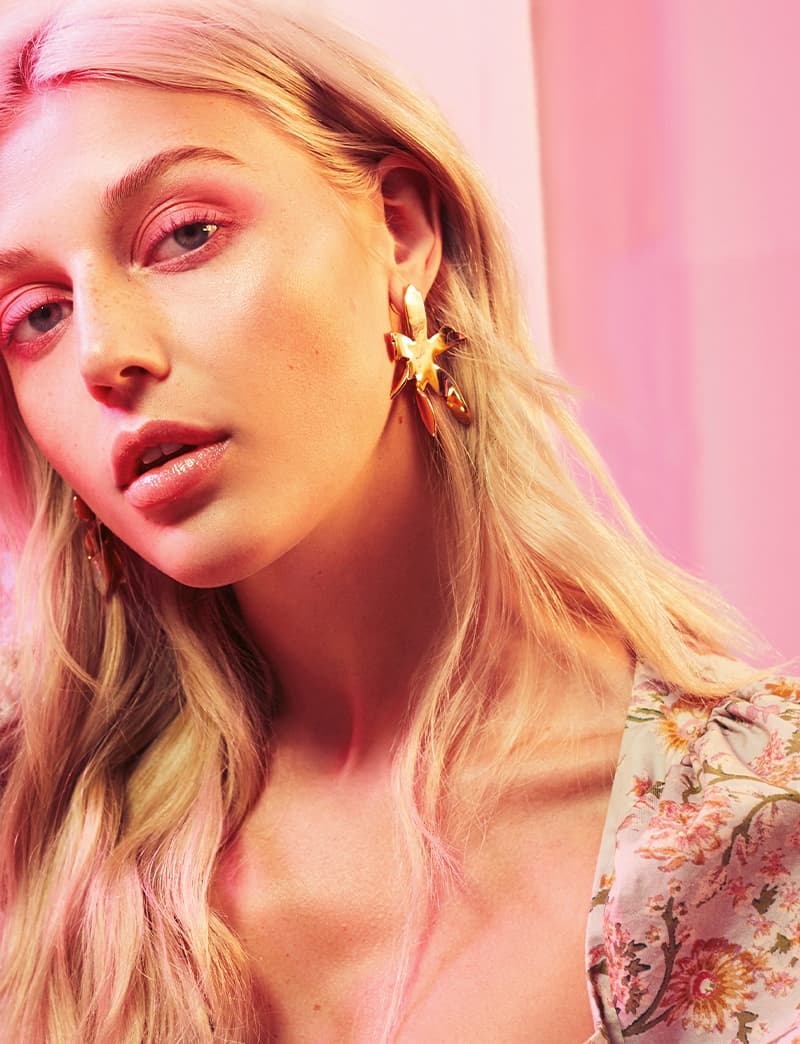
Sofia Richie has officially secured herself as the queen of "quiet luxury," and we're taking notes. The aesthetic, which essentially focuses on minimal and simplistic looks, has been taking over both our social media feeds and our lives these last few months. We've been searching for more ways to embody the trend — and we're not gatekeeping.
Whether it's swapping a maximalist nail look for a more option, like "rose-water" nails, or paring down our makeup routine for something more effortless, we're on board. Richie has become our go-to gal for all things quiet luxury, so we've dubbed her signature low bun the official hairstyle of the movement.
Richie's polished, sleek low bun – which she wore at her wedding to Elliot Grainge in April 2023 and frequently wears on the day-to-day – sparked thousands of attempted re-creations on social media. It's that good.
Although the look is simple and chic, there are a few key steps to getting it right. Luckily, we were able to chat with Kathleen Riley, Richie's hairstylist and the woman responsible for creating some of the star's most iconic looks, viral wedding hair including. Even better? Richie has also weighed in on the bun in a recent TikTok video, and we've got all the deets on that as well.
Ahead, check out the breakdown on how to achieve Richie's quiet luxury bun at home.
Step 1: Start With Wet Hair
Richie says that her number one tip for what she likes to call her "lazy girl bun" is starting out with wet hair, and then combing through it after using a detangling product. Richie's pick is the Unite 7 Seconds Detangler ($42). Another biggie? She uses a hair mask to get her hair slicked back rather than a gel or mousse, which she says helped her grow it out after bleaching it.
Step 2: Prep the Hair
If you're starting out with dry hair, no worries, but you'll want to prep your hair with a smoothing product to smooth any flyaways and make everything look shiny. Using a small amount of hair oil, like the Rôz Santa Lucia Styling Oil ($45) on dry ends, will help keep hair hydrated and sleek without weighing it down. Richie says she uses the Oribe Matte Waves Texture Hair Lotion ($42) for this step.
Step 3: Part the Hair and Section It Off
This look always features a middle part, so you'll want to divide your hair into a straight line down the center of your head. From there, sectioning everything off is key. "The biggest tip is to do the bun in sections and use a barber's brush or a fine-tooth comb to get everything flat and sleek," Riley tells POPSUGAR. Separate the front section from the back and clip it up to keep it out of the way. Then, brush the bottom half into a low ponytail and secure it with a hair tie.
Step 4: Brush the Top Section of Hair Into the Bottom
Once you have the bottom half of your hair secured into a low ponytail, combine the top half into the bottom half using a barber's brush or fine-tooth comb. (Our current favorite is the Gran Naturals Boar Bristle Slick Back Hair Brush ($20).) Pro tip: Riley suggests spritzing the brush with hairspray first to cut down on frizz. She also recommends brushing one-half of the middle part into the ponytail, securing it, and then doing the same on the other side — this will help you cut down on bumps.
Step 5: Apply Styling Gel
Before twisting the hair into a bun, Riley suggests going over everything using a styling gel. "The key product I used for her slicked-back bun is the Got2Be Glued Styling Spiking Hair Gel ($6)," Riley says. "It makes everything really sleek and keeps any flyaways in place." We recommend only using a small amount. While Richie's hair is certainly locked in place, it doesn't have the wet look of your typical slicked-back bun, which is what gives it the "quiet luxury" vibe.
Richie, on the other hand, says she likes to use a hair oil like the Unite Blonda Oil ($50), which she says gives her hair that "extra sleek shine."
Step 5: Create a 3-Strand Braid and Secure it With Bobby Pins
Next, you'll want to take your low ponytail, braid it, and then secure the end using a small hair tie. From there, twist the braid into a low bun and secure everything using bobby pins. If you aren't into bobby pins, Richie says she typically secures her hair using a plain old hair tie.
Step 6: Final Spritz and Cool Shot
To make sure the look lasts all night, Riley suggests following two final steps. "I like to end with strong-hold hairspray and blow-dry the hair with cool air," she says. And you're done.