Quick and Easy DIY Nail Art
Anyone Can DIY These 5 Nail Art Looks — and They Dry in 60 Seconds

If you're a beauty girl, we'd be willing to bet that you save and "like" more than your fair share of nail art looks. Trust us, we feel you; we love to fawn over them, too. The real issue is that they always seem too difficult or intimidating to try ourselves. But not anymore.
To break down this notoriously complicated and time-consuming beauty task, we found a handful of nail art looks that are actually simple to DIY. The inspiration behind all of them is something you know well: buzzy makeup trends. From boho-inspired music festival dots to shimmering strobing effects, we guarantee you'll find a look that suits your style.
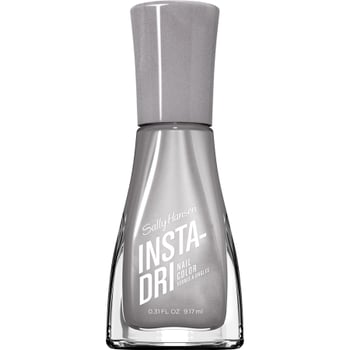
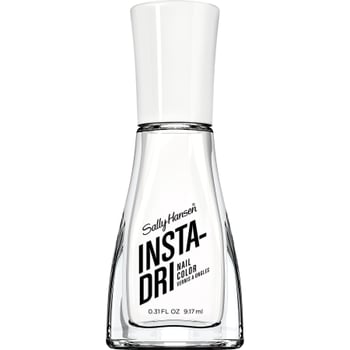
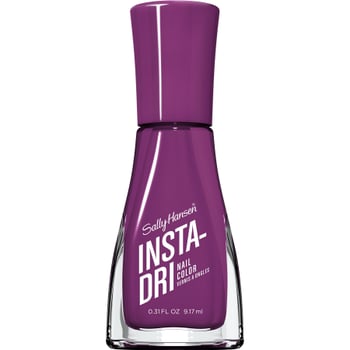
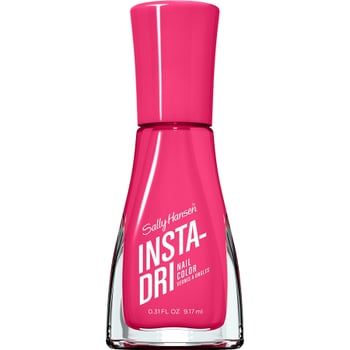
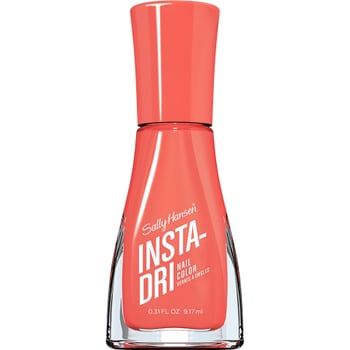
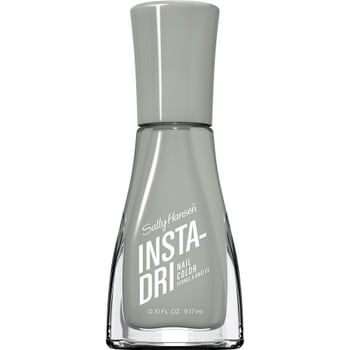
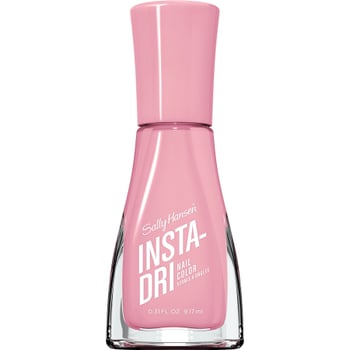
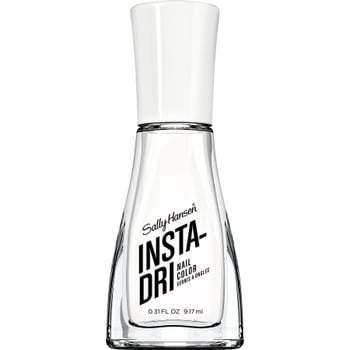
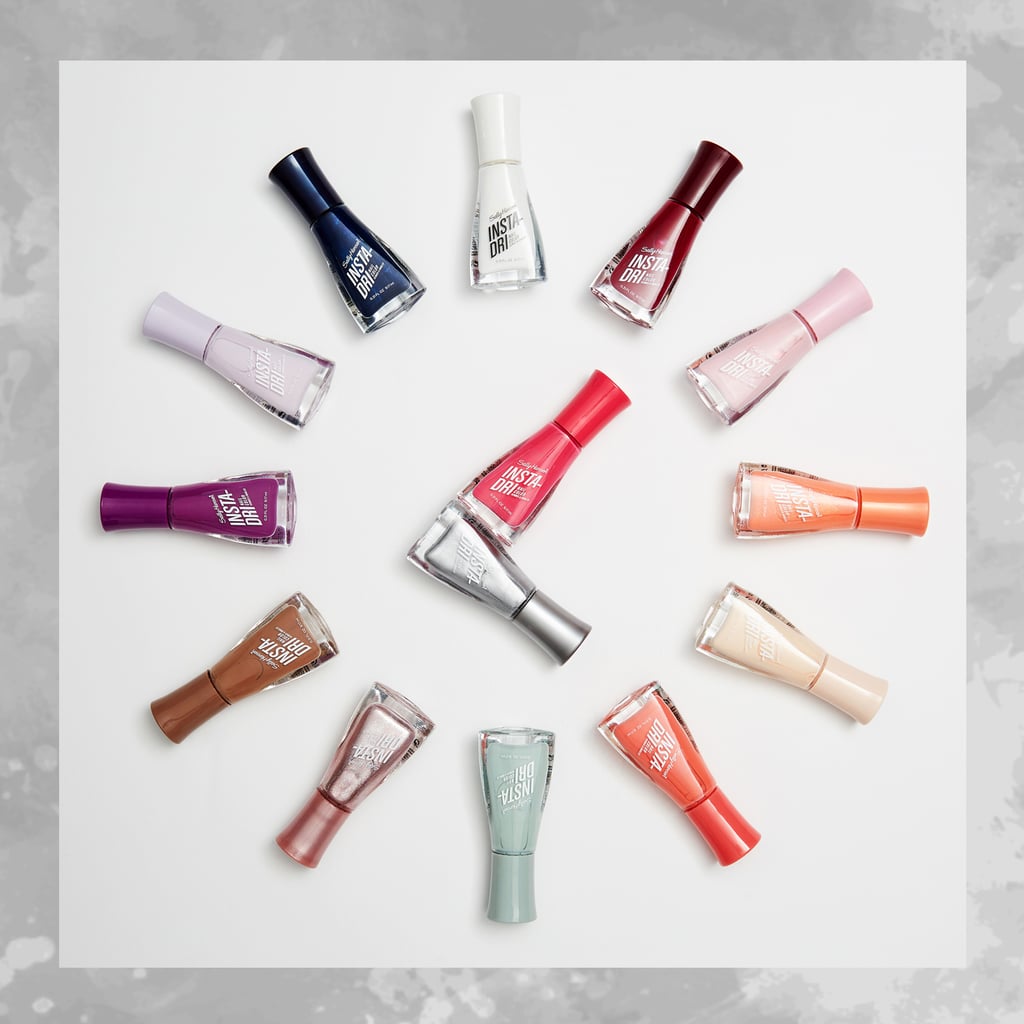
And the best part? Each look was created with Sally Hansen's Insta-Dri nail polish, which means every look only needs one coat and dries down in‚ wait for it — a mere 60 seconds! So no more stressing about last-minute nail emergencies or having to prioritize your manicure over your routine coffee run. These supereasy (yet seriously impressive) designs won't budge. Read on for tips to achieve these eye-catching looks using the newest Insta-Dri shades and ridiculously practical tools. Spoiler alert: you already have them lying around the house!

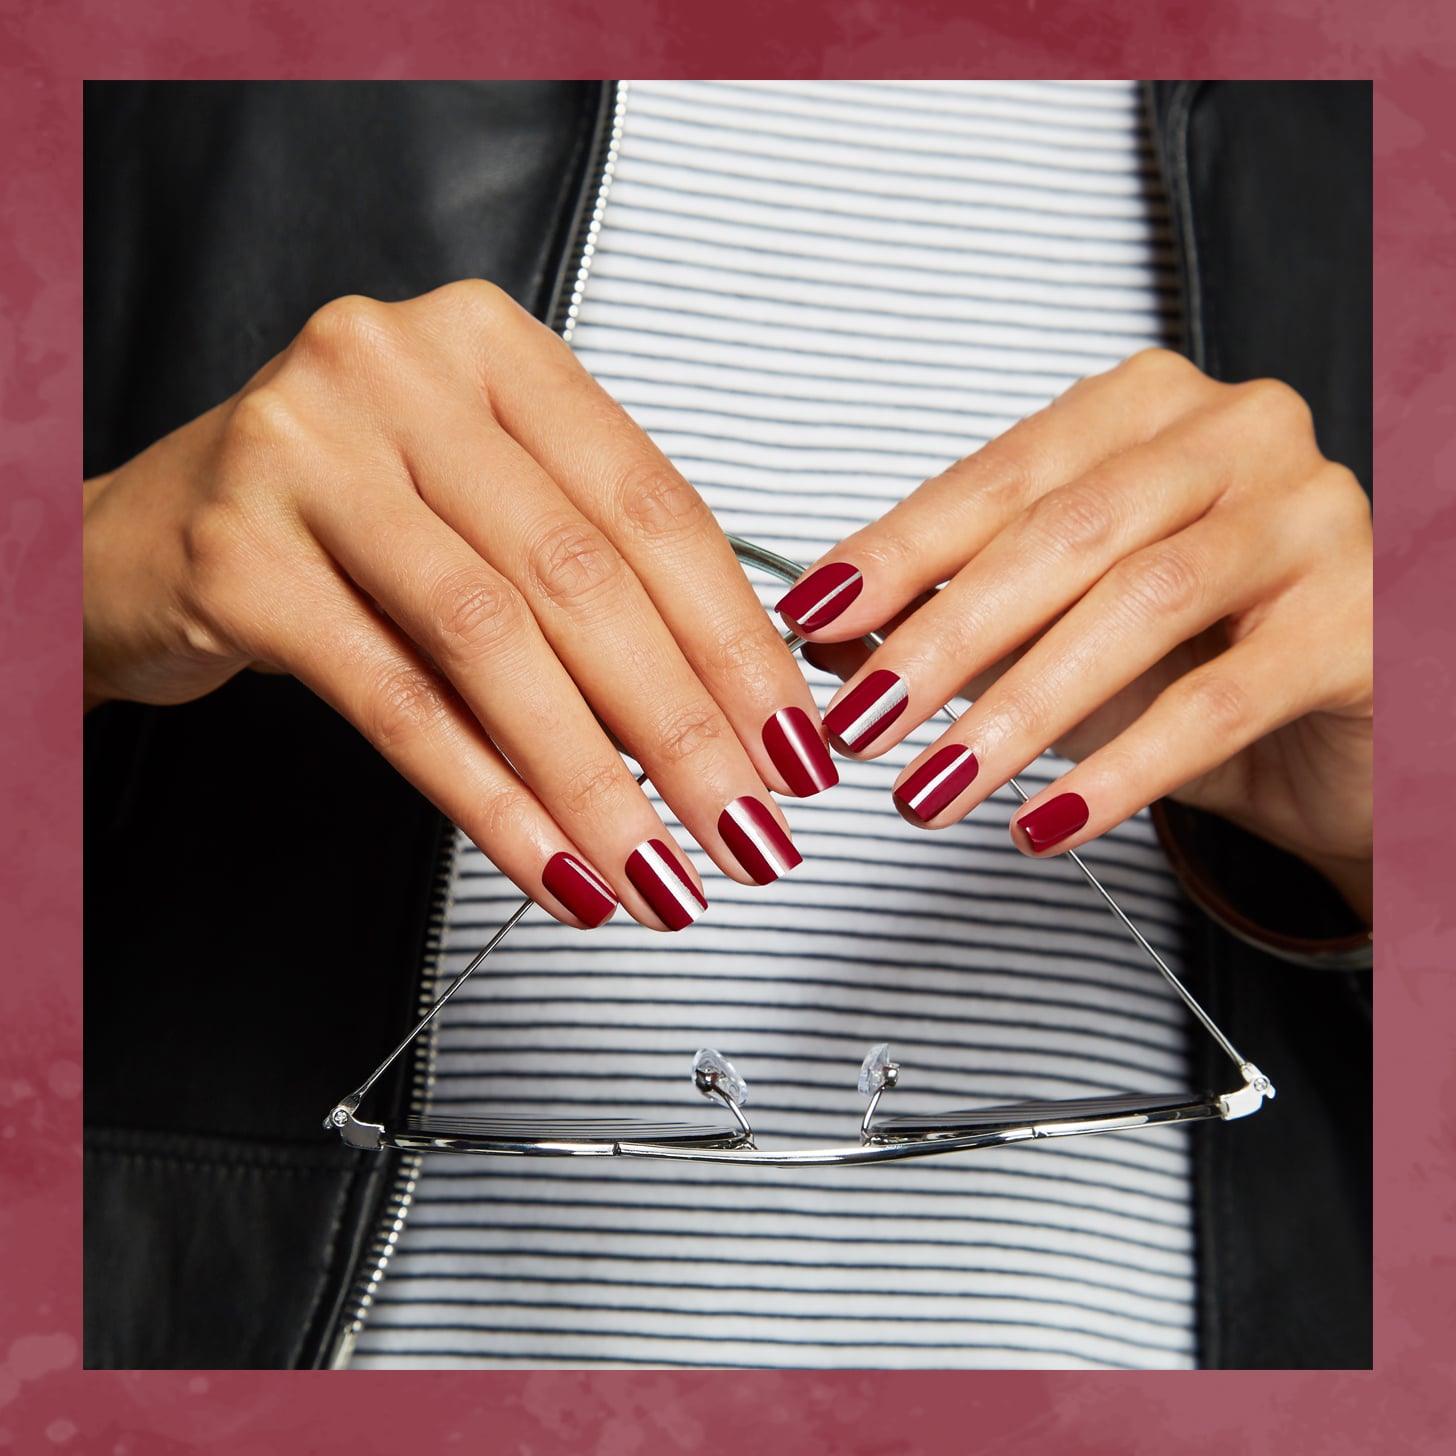
Strobing, highlighting, glowing all the way to outer space — whatever you call it, we can't get enough. While this glistening technique has a permanent spot in our makeup routines, there's a place for it on our nails, too. To add a shimmery touch to an otherwise regular nail look, all it takes is a metallic or glitter polish and a little bit of tape.
Begin by painting your nails with a solid color (or one on each nail, if that's more your style). After your base coat is fully dry, apply two small strips of tape slightly longer than your nails and leave a portion of the base color exposed in the center. On top of this, take a reflective polish — silver, gold, or any type of glitter — and paint between the pieces of tape. Let it dry for a few seconds to ensure the color doesn't bleed, then remove the tape to reveal your perfectly straight stripes.
Pro tip: Alternating the stripe width on each nail will give it more of an abstract, less uniform look. You also have the option to apply the design on one or a few nails instead of all 10.
SHOP THE LOOK

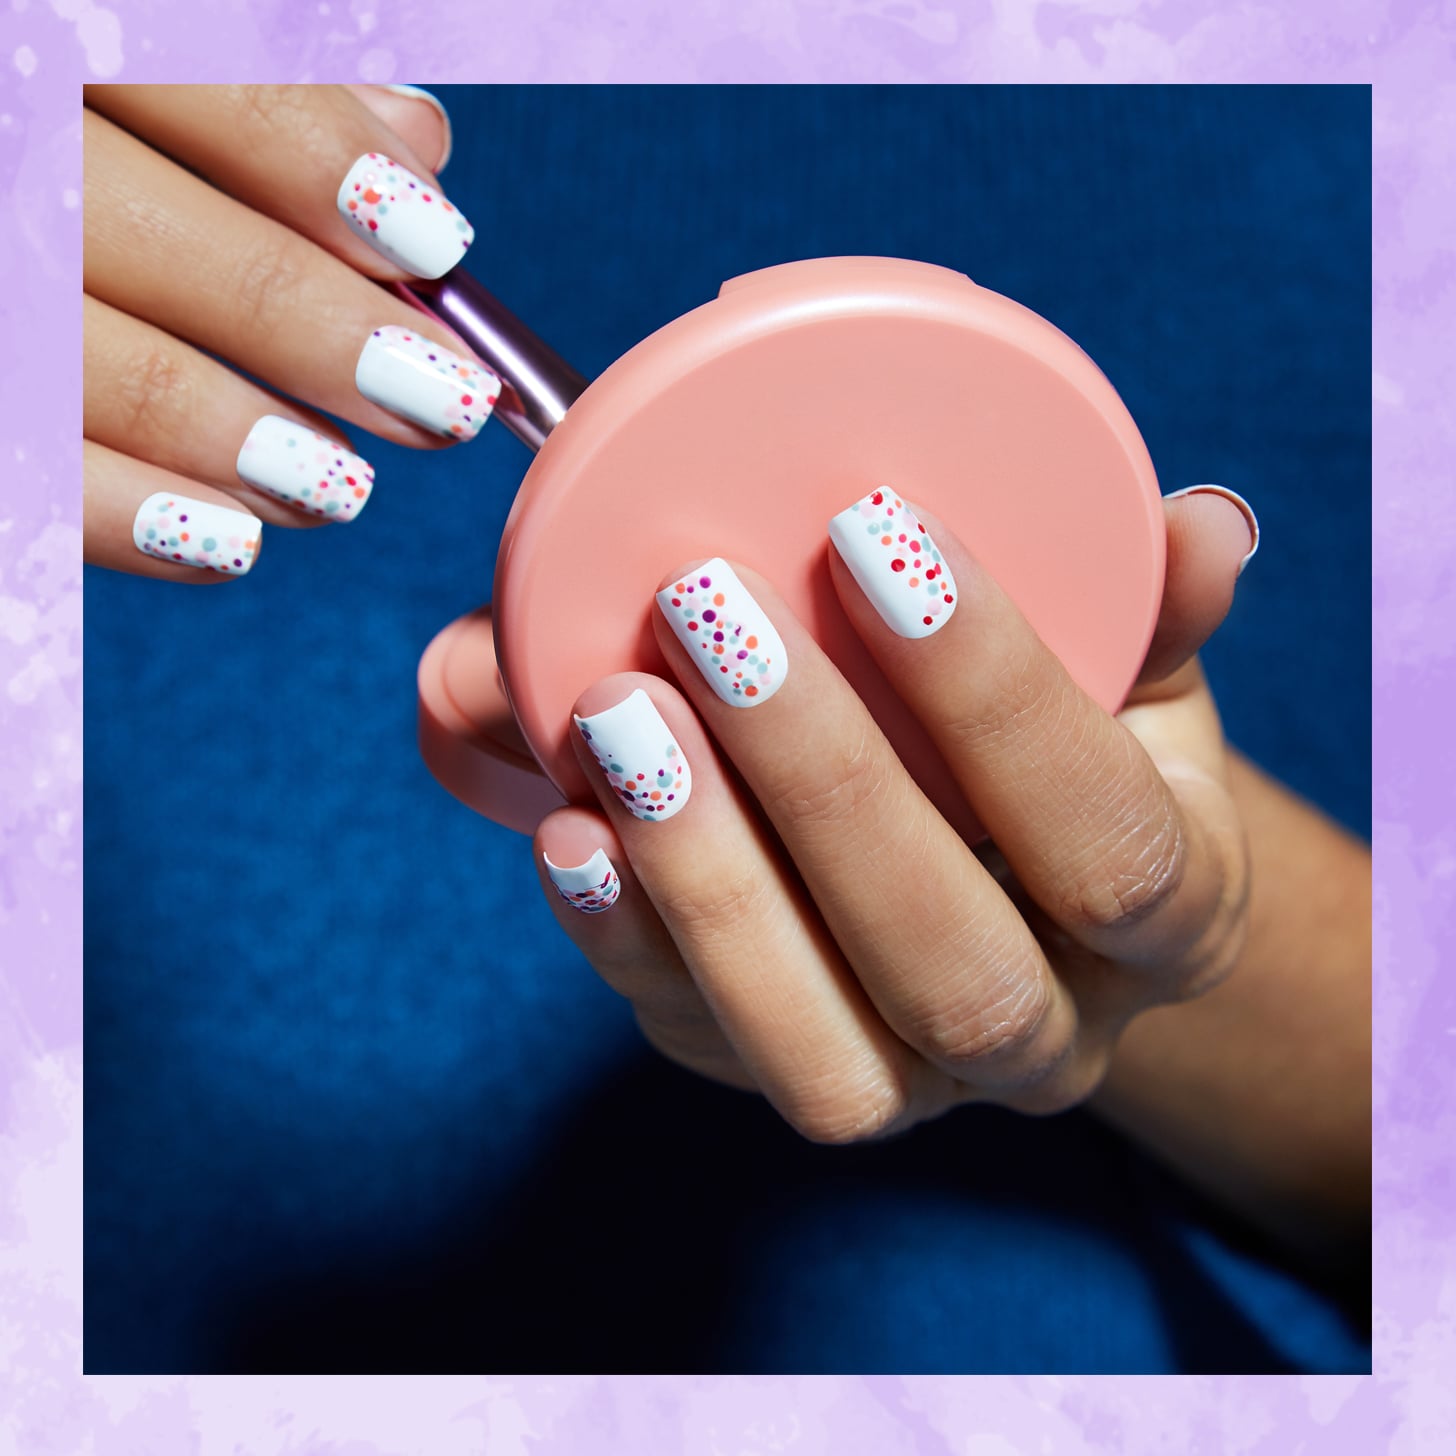
If Halloween is still fresh on your mind, then you know pointillism was a spookily fun way for beauty junkies to get in the spirit. This technique is inspired by famous artists and created with a series of small, concentrated dots.
Getting the look on your nails is a breeze. Similarly to strobing, begin by painting on a base coat in a color of your choice. Then comes the fun part! Dip a bobby pin into one or more additional shades and tap the color onto your nails. The variety of shades, number of dots, and location you apply them are completely up to you. For the most eye-catching look, we suggest focusing the dots on a specific area of your nail — your cuticles or tips, for example.
Pro tip: For the most noticeable results, choose contrasting hues for your base coat and dots. Whether you add light on top of dark or colorful tones over a white canvas, you'll definitely capture people's attention.
SHOP THE LOOK

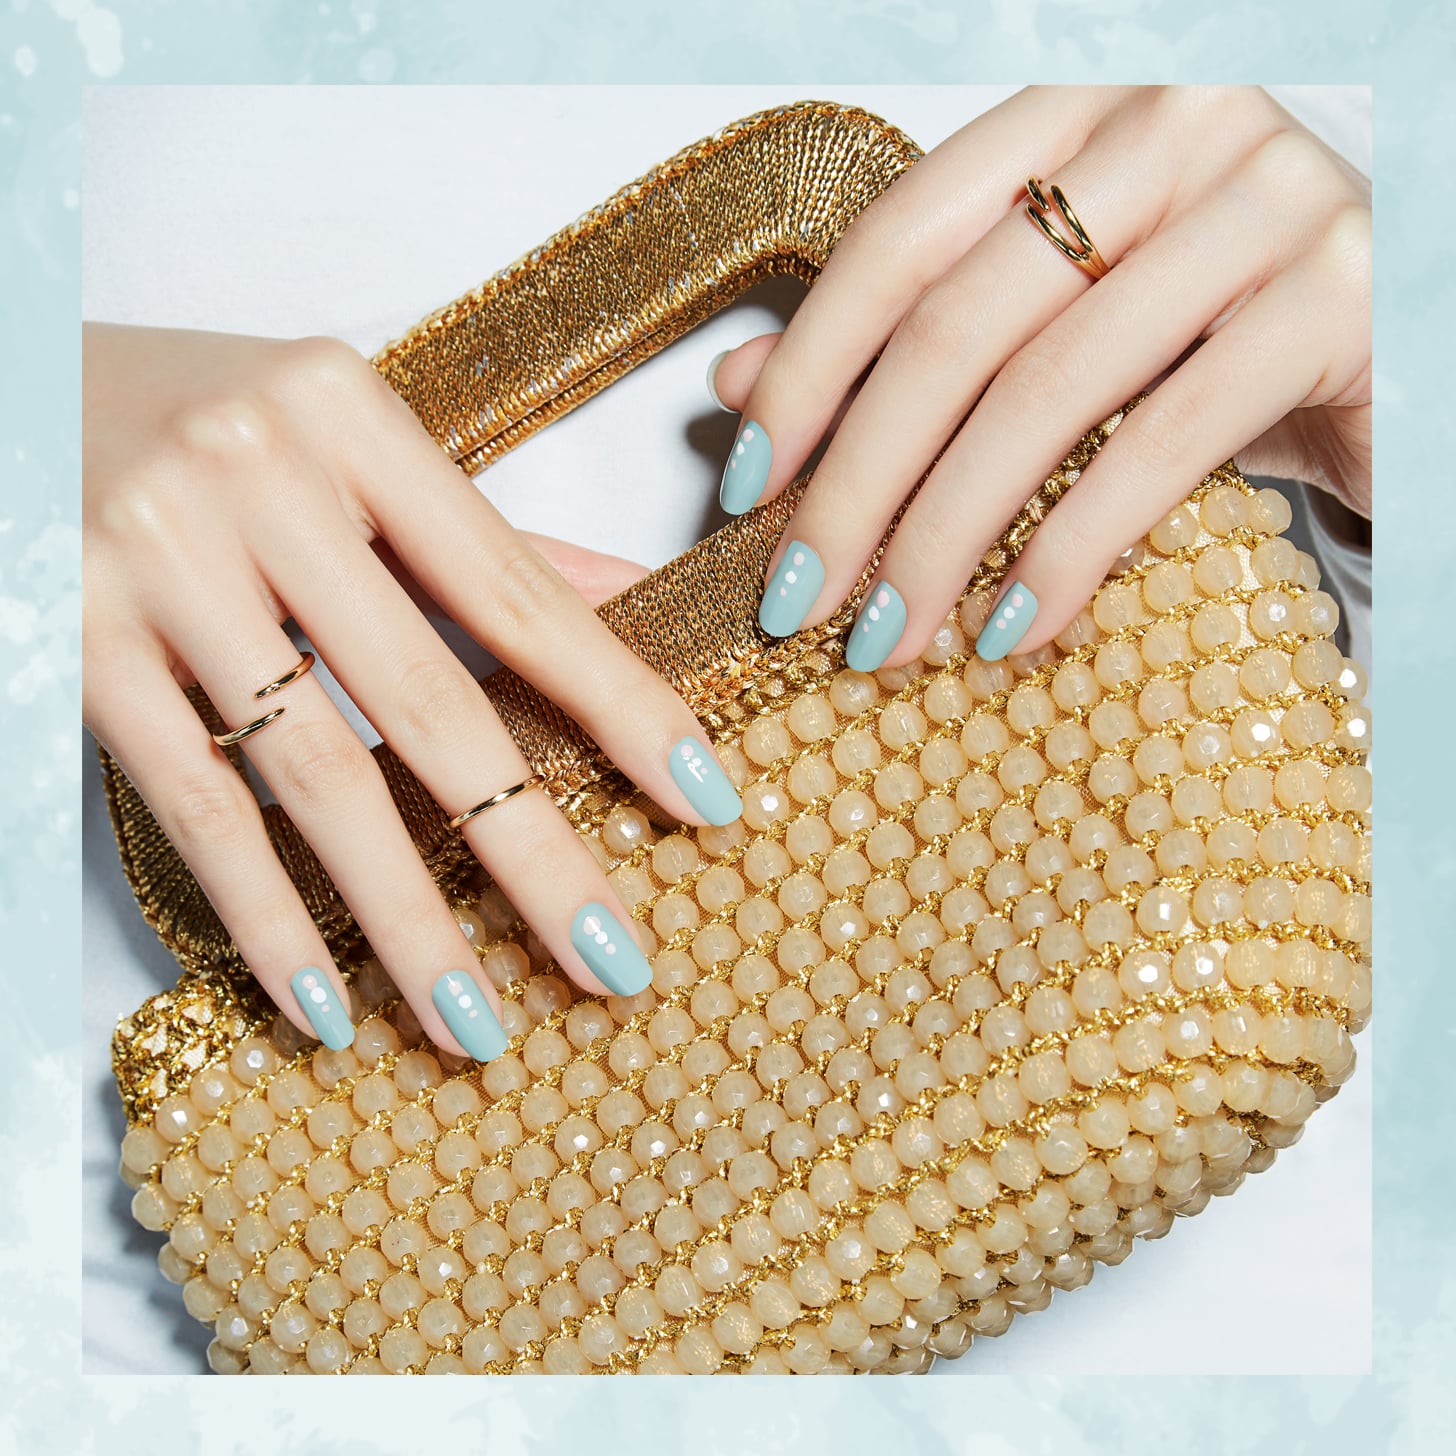
Music festival queens, this one's for you. Taking a nod from the whimsical dots that line the faces of countless festival-goers, give your mani a simple upgrade. Different from pointillism, this technique is extremely minimalist and can be achieved with as few as two shades.
Atop your preexisting nail color, find one (or two maximum) shades in a similar or complementary hue. Using the same bobby pin application method above, place three medium-size dots just above your cuticle. Alternate the dots if you're using more than two shades.
Pro tip: Add extra flair to this look by mixing the order of the colors and the location of your dots. For example, apply them close to your cuticle on some nails and add them closer to the tips on others.
SHOP THE LOOK

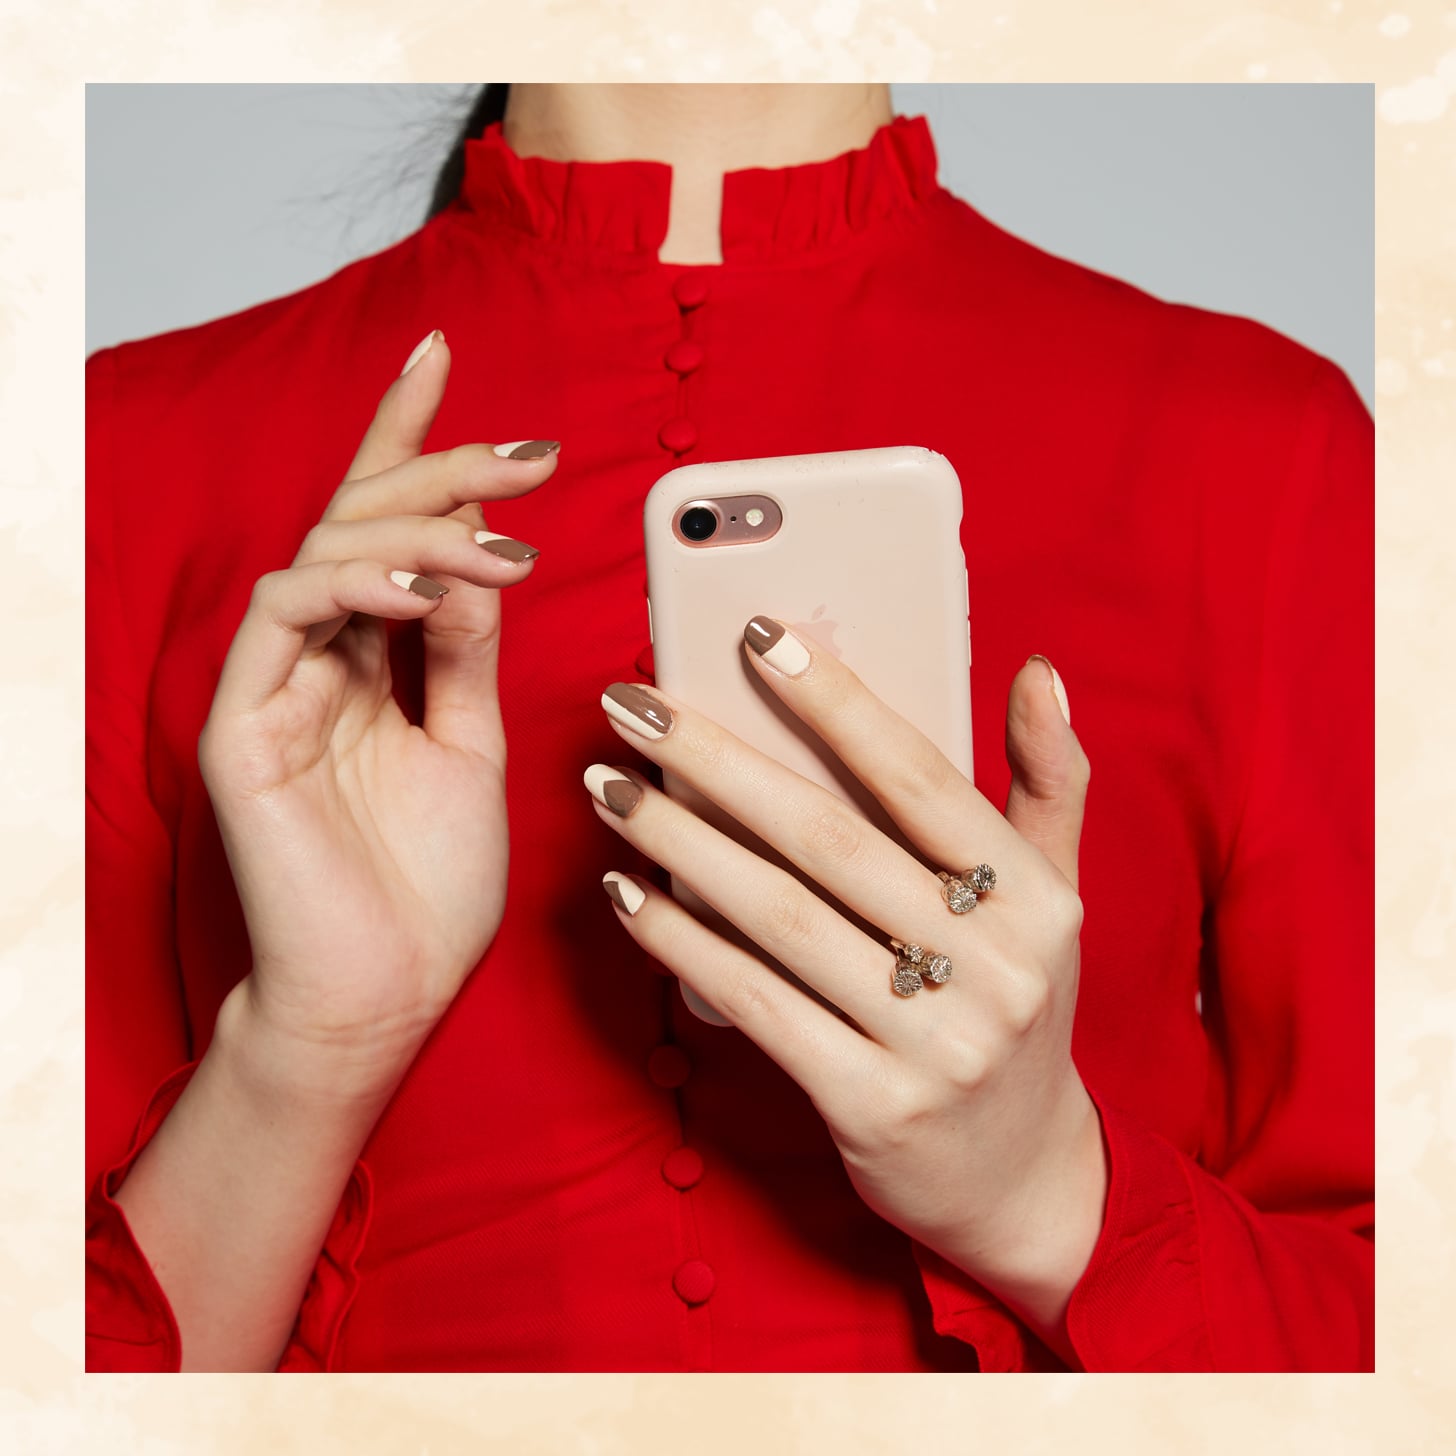
While clean, geometric lines may not be wearable on your face every day, using them on your mani is a different story. The only tools you'll need are two nail polish colors and your trusty roll of tape.
To achieve geometric nail designs, use small strips of tape in different patterns. One vertical or horizontal strip that covers half of your nail is a good place to start. Other options include one diagonal line or overlapping two diagonal strips to create a sharp point. For a little variety, switch up the design on every nail. No matter what you end up going for, all that's left to do is paint the exposed space with a second color.
Pro tip: For the most wearable version of this design, choose two subtle shades, like a sandy tan and a taupe brown. For a bolder look, experiment with neon hues. And for something truly original (and streamlined), try the negative space look by painting one color over your bare nails and sealing it all in with a clear topcoat.
SHOP THE LOOK

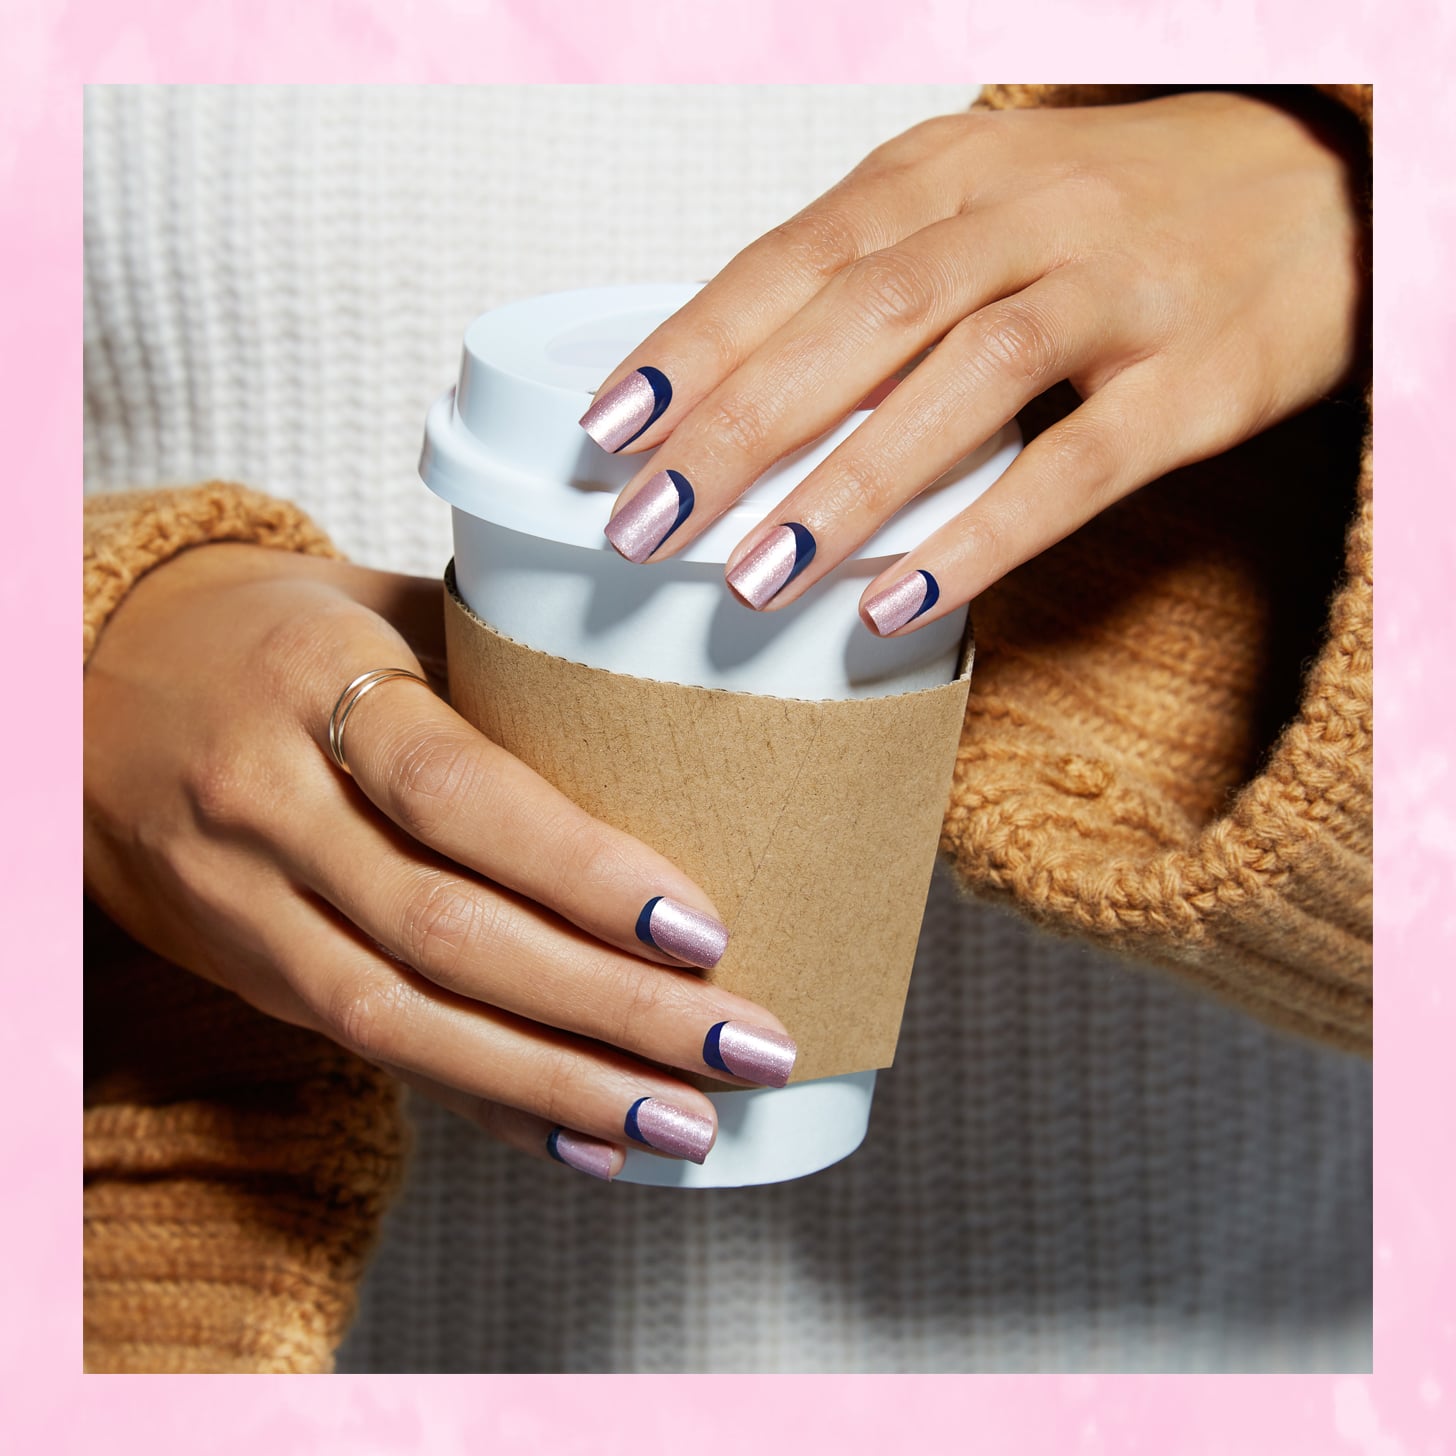
A little color contrast never hurt anyone. In fact, dueling shades can play quite nicely together! This is proven in those bold, pop-art-inspired eye looks you often see on Instagram.
While the polish colors you choose for this mani may be complete opposites, the design is so subtle that you can wear it anywhere. After you lay down your initial color, achieve the concave colorblock look by placing a flexible band-aid on a curve down the side of your nail and just above your cuticle. Fill in the small exposed area with a second color, let it dry, and remove the band-aid to reveal a cute half-moon.
Pro tip: For an extrasimplified version of this look, forego the curved line and use a strip of tape to form a tiny diagonal shape close to your cuticle.
SHOP THE LOOK
Credits: Photographer: Diggy Lloyd; Manicurist: Naoko Saita; Producer: Andi Nash; Models: Kristin Roderick and Mari Nagase

