Sally Beauty: How to Dip Powder Manicure at Home
How to DIY the Perfect Dip Manicure at Home Like a Pro

Ask yourself this: when was the last time you painted your own nails and the results didn't look subpar or the polish didn't chip immediately? And if you're someone who prefers the long-lasting shine of an acrylic-based manicure, then the few regular polishes and old nail file in your medicine cabinet just won't cut it. Luckily, you don't need to invest in a UV lamp to get the look of a professional mani at home. All you need is dip powder — and a trip to Sally Beauty.
Confession: getting your hands on dip powders isn't usually an easy feat, but the best place to search for colors and supplies is DIY beauty retailer Sally Beauty. You may know Sally Beauty as the place to go if you want access to professional quality hair color, but it’s also a nail destination for pros and amateurs alike. Dip powder may be on the menu today, but Sally Beauty has every tool and polish for all of your DIY manicure needs, including the largest assortment of nail polish with nearly 800 shades (yes, even Gelish) and the largest assortment of dip powder shades — over 95, to be exact — in store and online. But, like we said, dip is the plat du jour, and we've got everything you need to give this mani five stars, ahead.
Step 1: Clean and Prep Nails
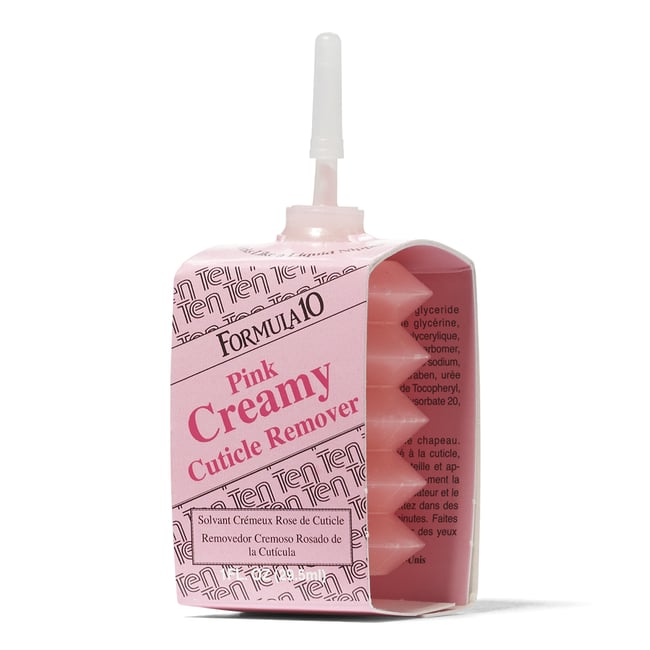
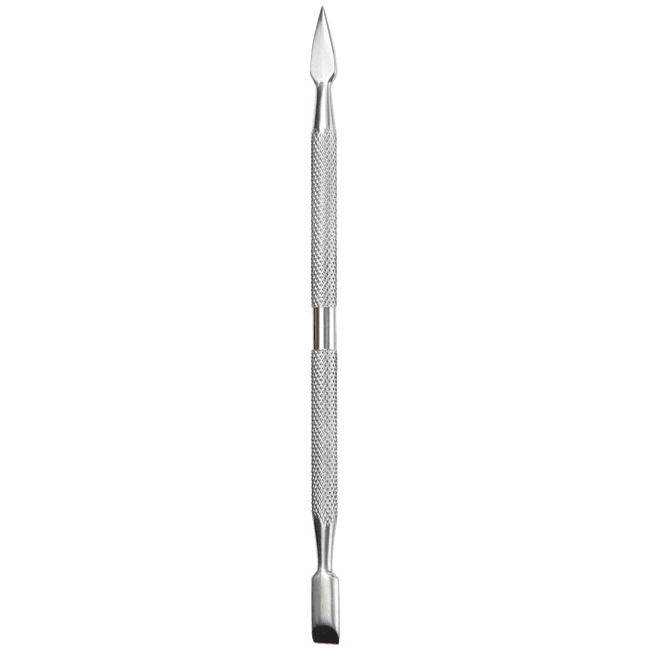
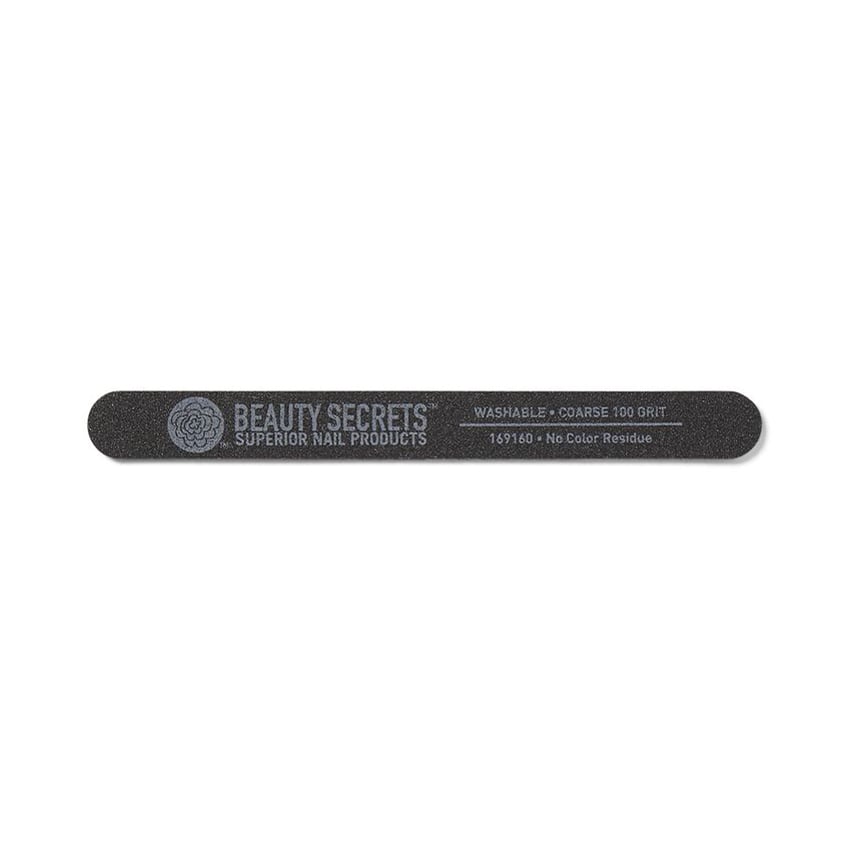
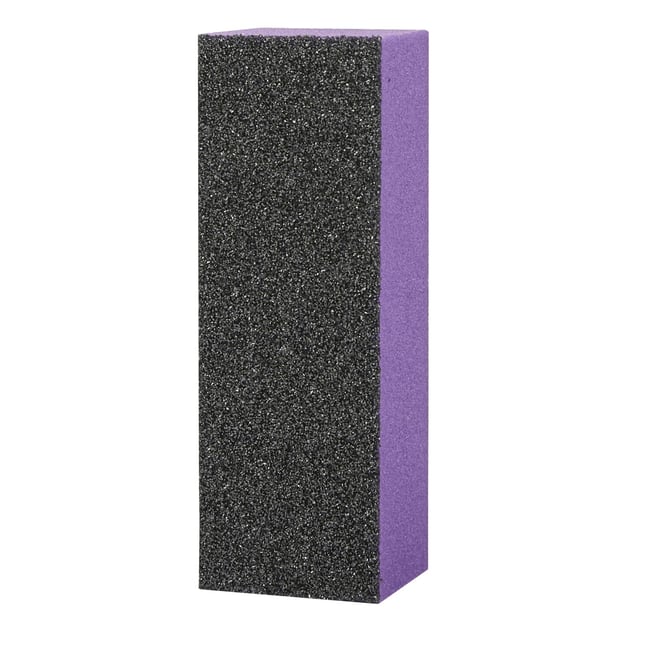
A dip manicure requires a few extra steps, but it's perhaps the most beginner-friendly way to achieve that acrylic polished look — especially for anyone who struggles with painting their nails using a nondominant hand. But first, you need to prep. If your cuticles are overgrown, you may want to enlist a metal cuticle pusher or birchwood stick to gently push them back. Pro tip: a cuticle remover can help soften the cuticle so removal is a breeze. Well-maintained cuticles will help guarantee a clean color pickup in the powder. Next, you'll want to remove any shine from your natural nail using a nail file or buffer; creating this rough texture can help the manicure last longer. Be sure to gently wipe away any filing dust with a clean makeup brush or sponge.
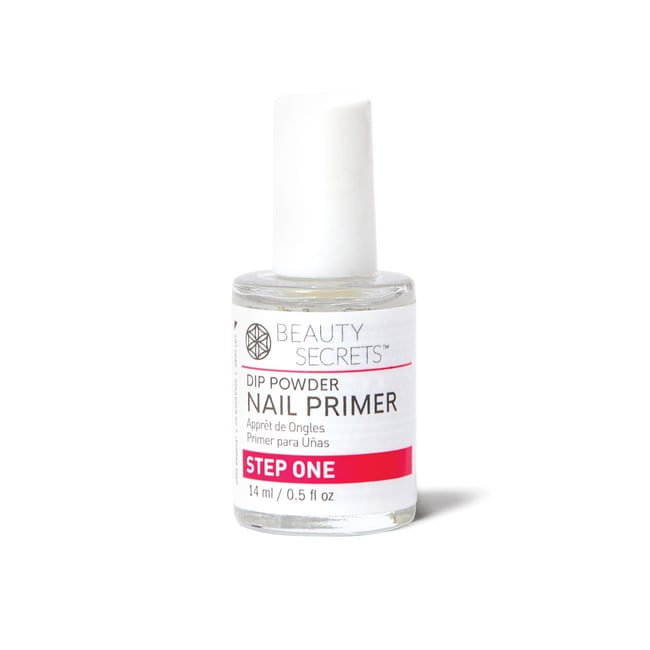
Anyone with an acrylic-based manicure knows lifting is your worst nightmare, but a dehydrating primer can help prevent this. Don't worry about being precise with the application; just make sure you cover every nail with the primer before moving on to the next step.
Step 2: Apply a Base Coat
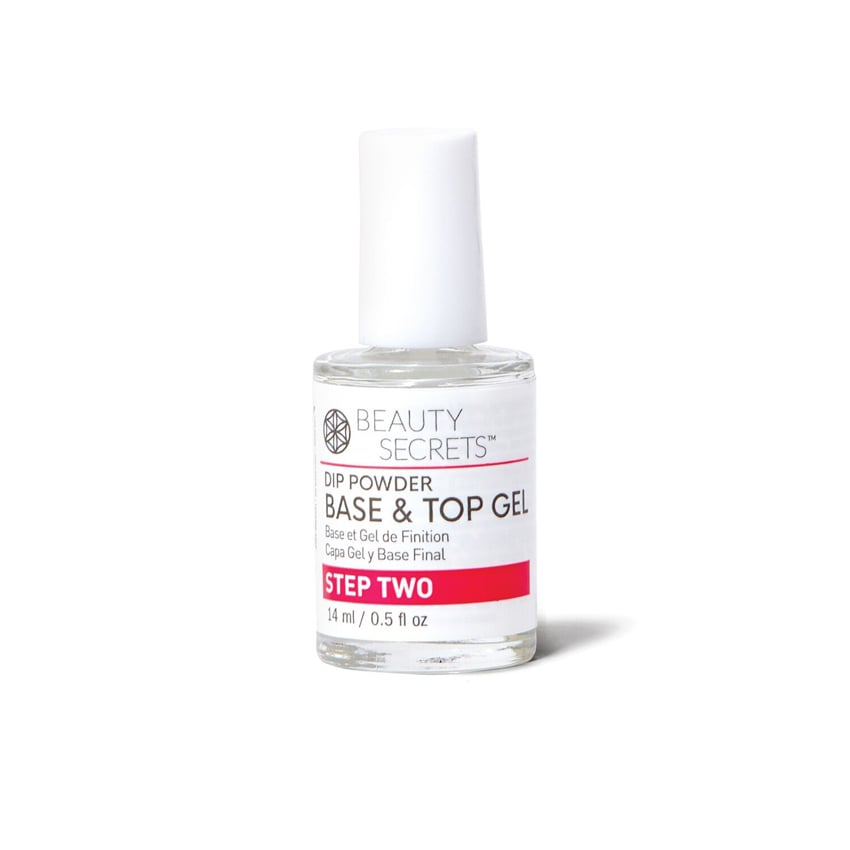
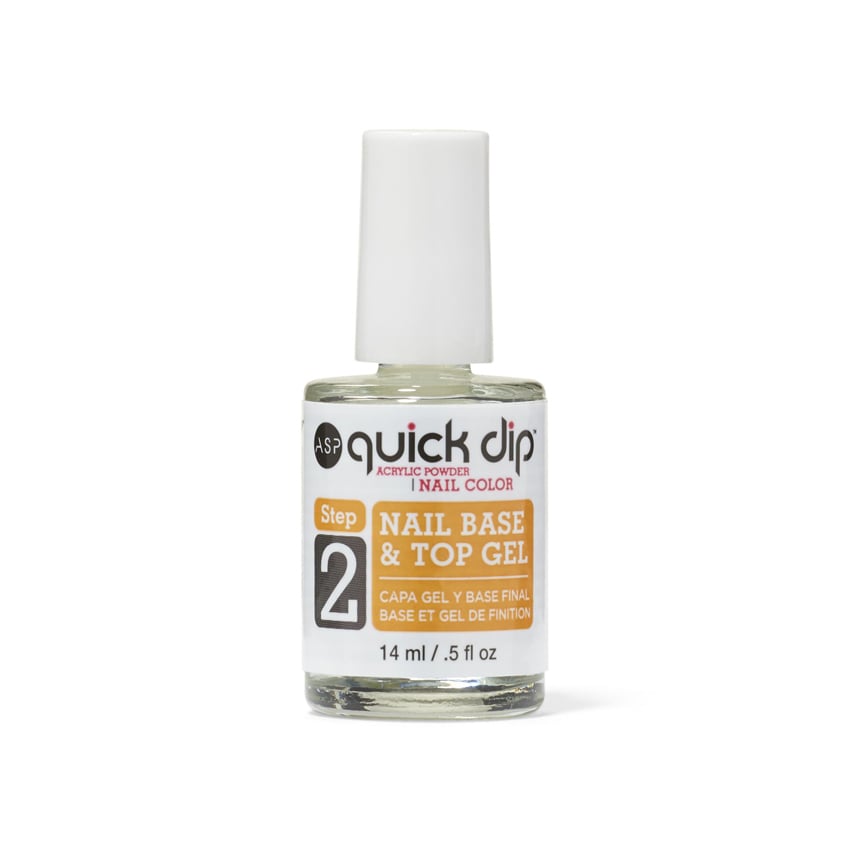
In regular manicures, you need your base coat to completely dry before applying your polish color, but in the case of dip powder manicures, you need that clear coat to remain tacky and wet. Once you apply an even layer of the base, you're going to immediately dip it into your powder of choice. The process of a dip manicure requires you to go one nail at a time, so you'll want all of your materials near you when you begin. Unlike gel manicures, this coat doesn't need to be cured before moving on. If you're already browsing through Sally Beauty's nail offerings, you might want to consider picking up the Dip Powders by Beauty Secrets Base & Top Coat. It's a hybrid formula that combines both steps into one and creates the perfect base for powder to adhere to the nail.
Step 3: Dip Your Finger Into the Powder
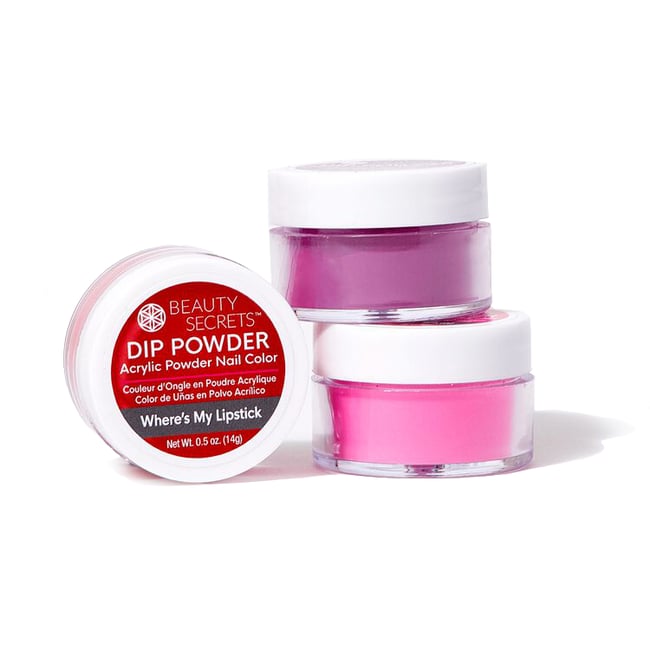
Once you apply the base coat, immediately dip your finger into the jar of powder at a 45-degree angle. Pro tip: avoid touching the bottom of the jar with your nail or else you may notice awkward denting in the finish. Once you pull your finger out of the powder, turn your finger over, so the nail is facing the jar, and lightly tap the pad of your finger to remove any excess powder. You can also use a fan brush to clean off the area around the nail so it's ready for another dip into the powder.
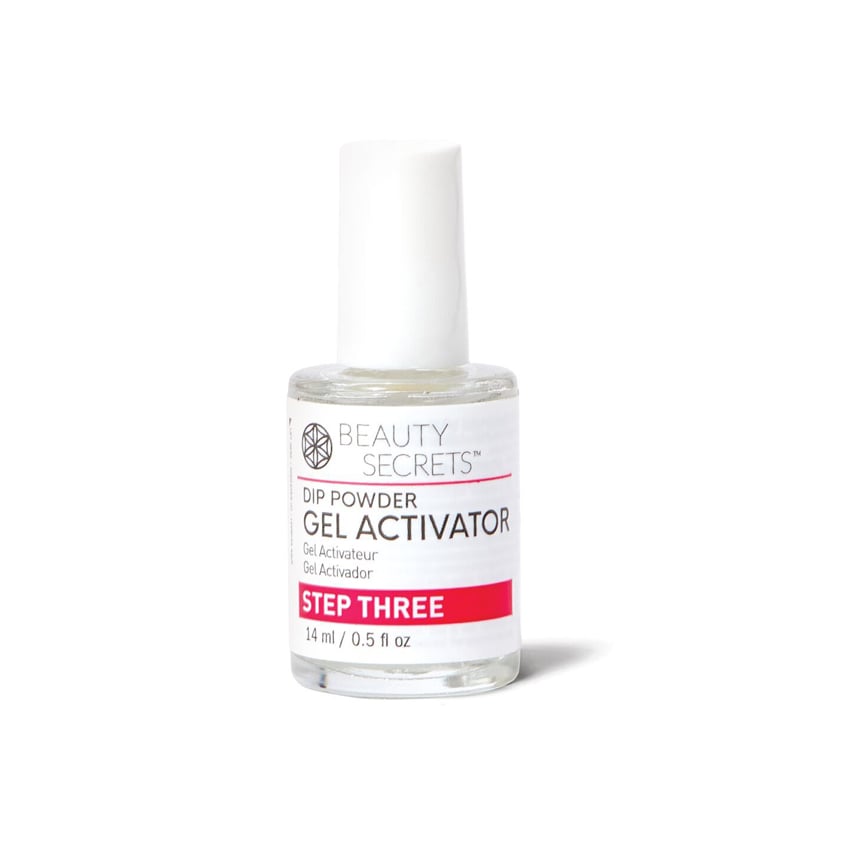
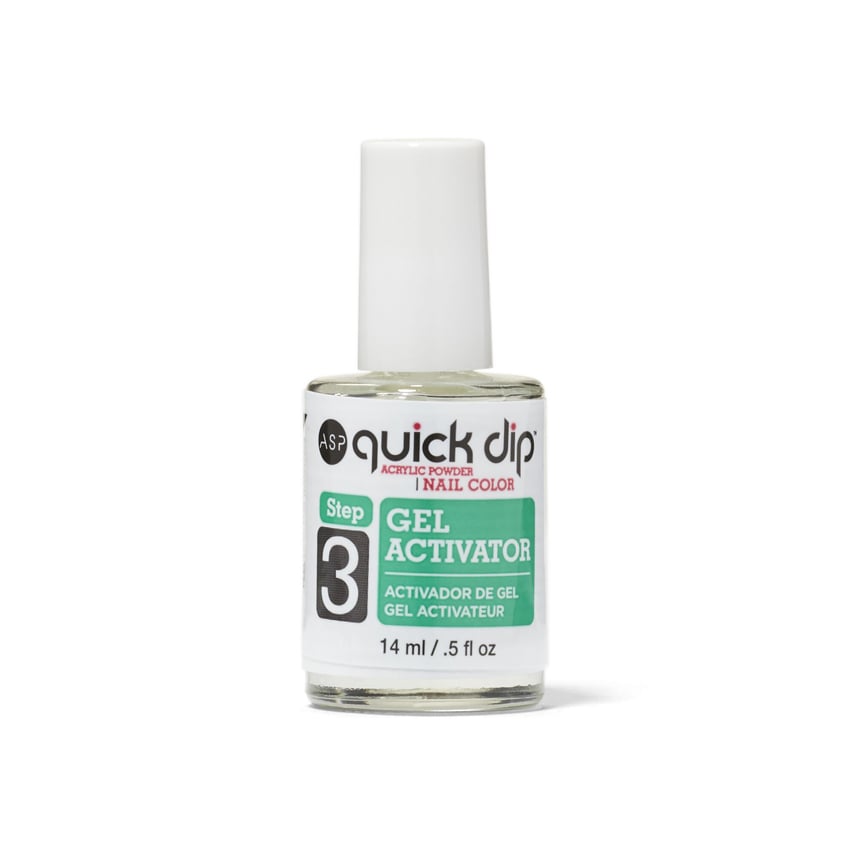
Once you tap off the excess, apply another layer of the base coat to the nail and dip again. If you're looking for an opaque finish, repeat this process one more time; three is the magic number for a saturated, long-lasting finish. Once you've finished dipping all of your fingers into the powder, go back over each nail with an activator. Allow it to set for at least 10 seconds before moving on to the final steps.
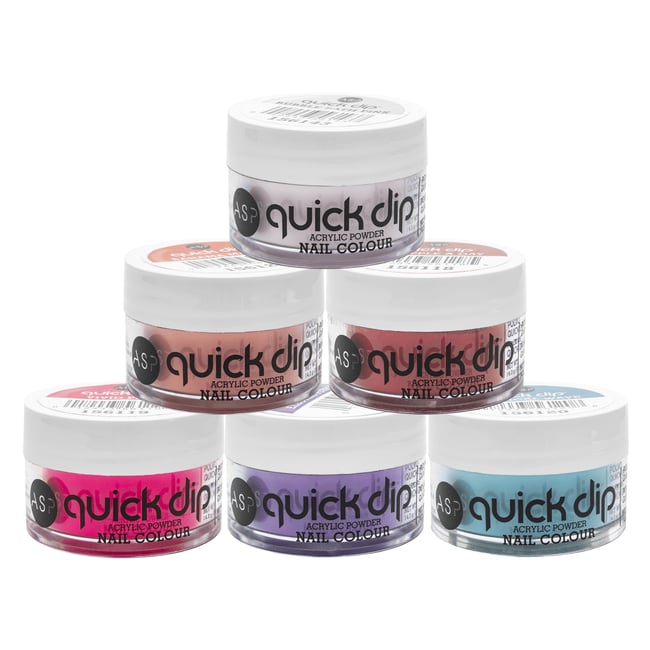
If you generally struggle with choosing a manicure color, Sally Beauty can help. Beauty Secrets and ASP offer a wide range of shades for every personality, whether you prefer soft neutrals, bright jewel tones, or trendy seasonal shades (prepare for a wine-red comeback this fall).
Step 4: Buff It Out and Finish
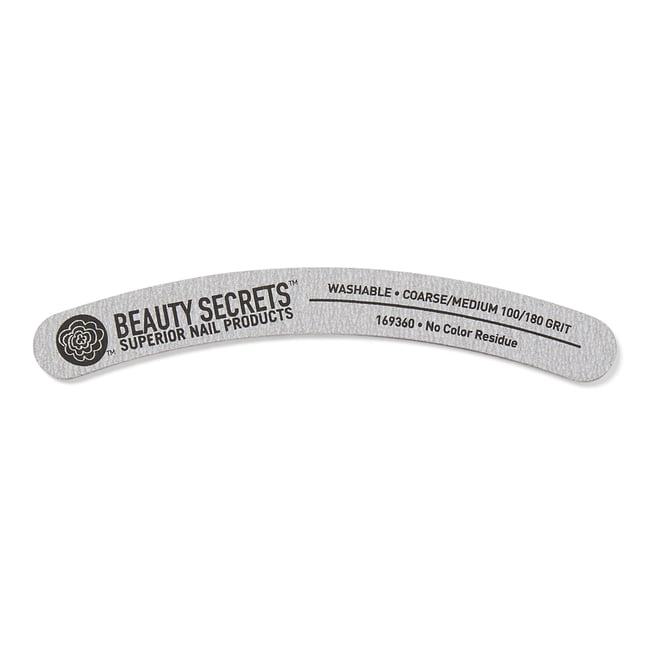
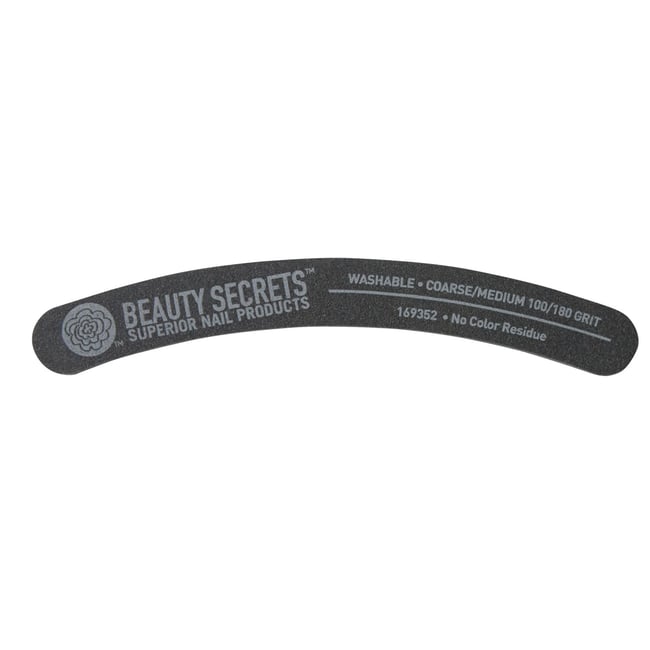
Yes, you have to buff out your nails one more time — and no, it won't remove the color. Although you can use your favorite buffer for this step, boomerang-shaped files are perfect for beginners. Like you did in step one, gently buff out each nail to remove any bumpy texture and use a clean brush to remove any excess dust. Finally, paint a thin layer of top coat (any will work!) to each nail, et voila, you're done!
In case you need to gut check your steps, check out this tutorial.
Step 5: Removal
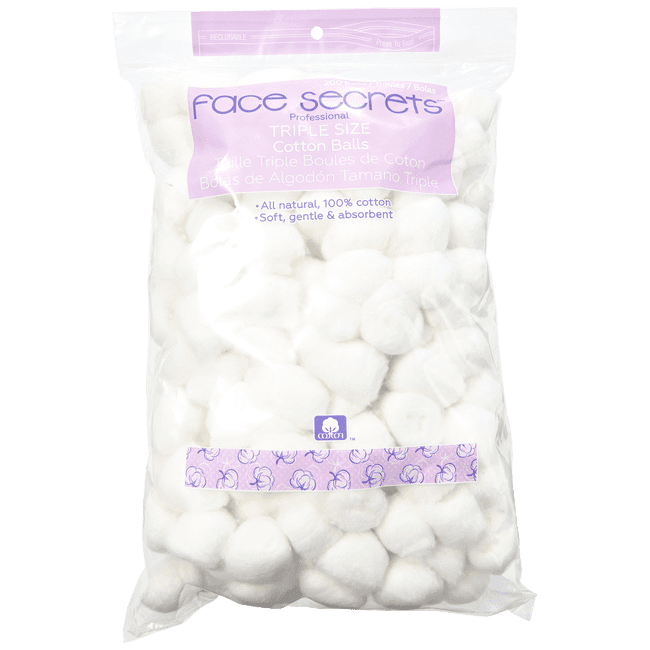
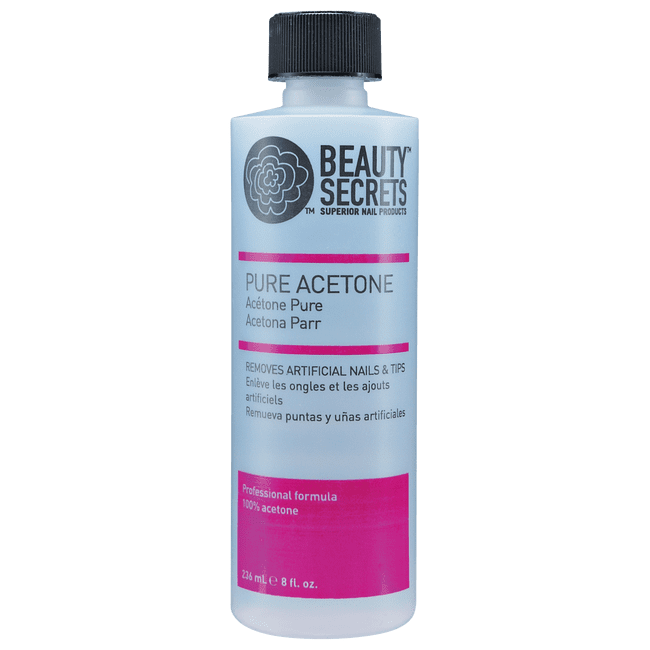
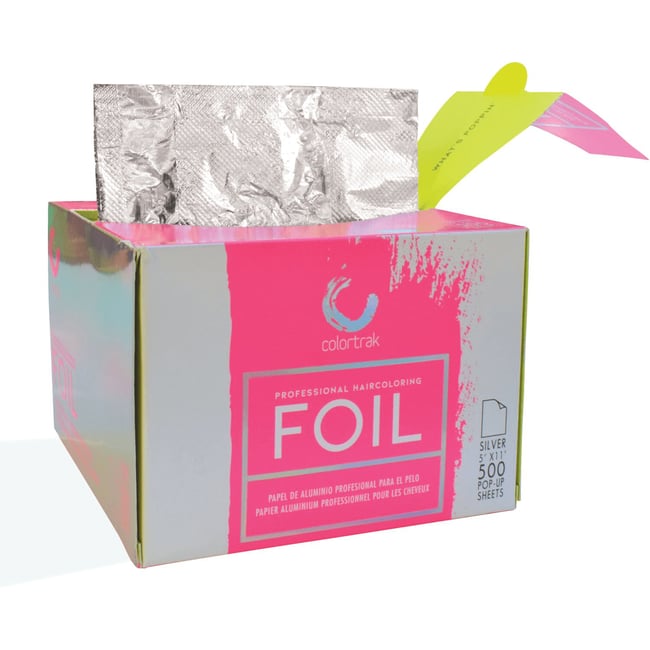
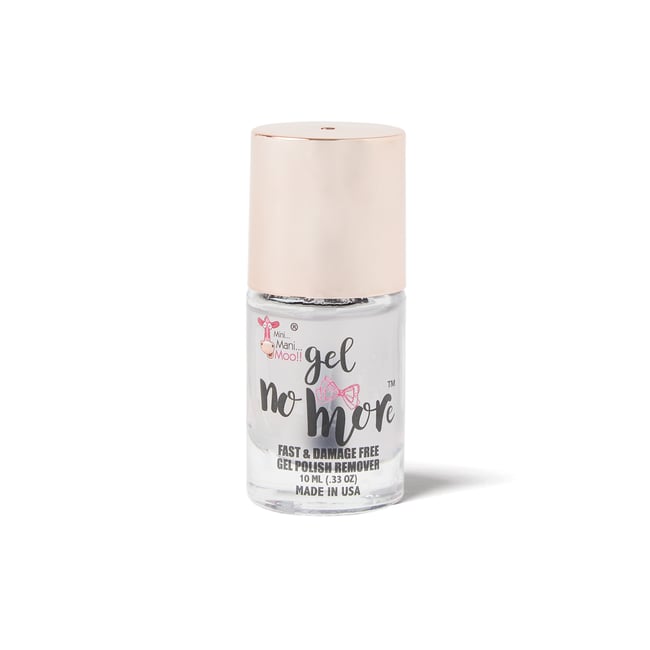
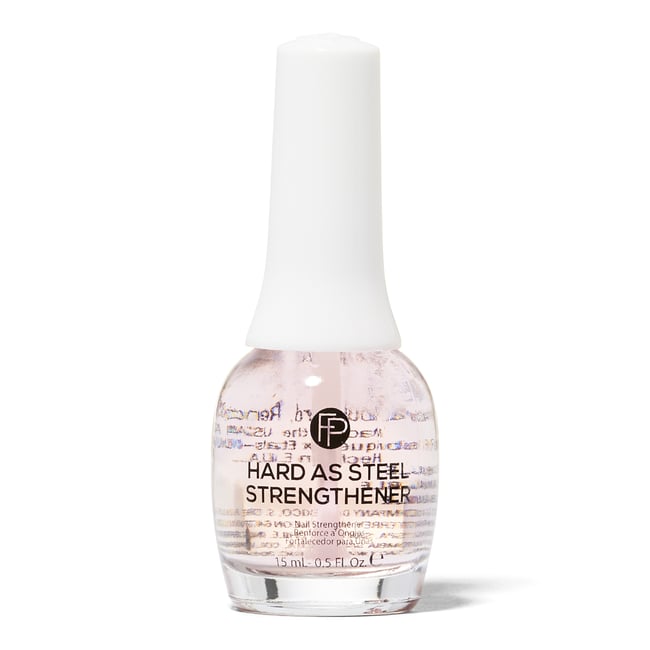
On average, most dip powder manis last between two to four weeks. When the time comes for removal, here's what you need to do. First, buff off the glossy top coat. Next, place a cotton ball soaked in acetone on each nail and wrap in foil. After 15 minutes, the powder should easily peel off (if not, you can wipe each nail using a fresh cotton ball or try a peel-off polish remover). If you have weak nails, some pros suggest waiting a few days until your next at-home dip powder manicure. During that time, you can use a nail-strengthening treatment and contemplate which cool color you want to try next.
