DIY Graphic Hat
The Supersimple, Budget-Friendly Way to DIY Instagram's Most Popular Hat

As POPSUGAR editors, we independently select and write about stuff we love and think you'll like too. If you buy a product we have recommended, we may receive affiliate commission, which in turn supports our work.
A quick scroll through Instagram and you'll likely spot it: a graphic, embroidered hat sitting atop the head of a fashion blogger — or, at the very least, strategically placed beside other vacation-ready items. "Cute!" you think, immediately picturing yourself wearing (and 'gramming) the same accessory. But a quick Google search might lead to some sticker shock, especially since one of those babies can cost you upward of — gulp — $400.
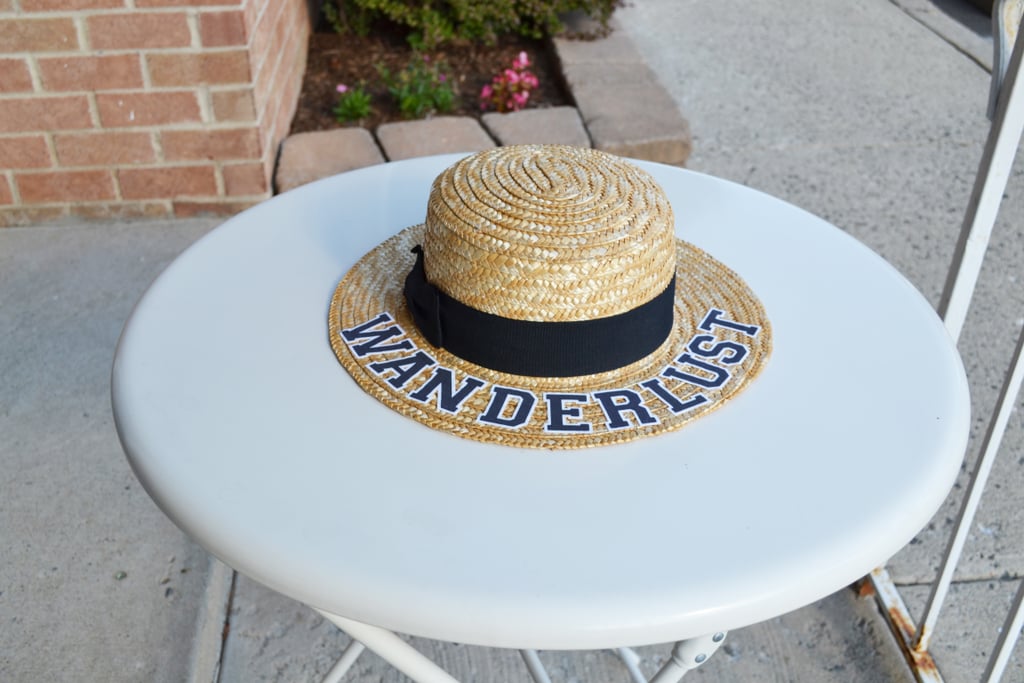
While we'll totally support your choice to splurge (girl, we've been there), we also have an affordable and easy solution if you're in the process of saving. Ahead you'll find a way to DIY this too-cute topper, and it doesn't even include any sewing or hot glue guns. All you need? A classic wide-brim hat, iron-on letters, and an iron.
Keep scrolling to view some style inspiration, then dive into the step-by-step. And once you're done? Prepare yourself: the compliments are just gonna roll on in.
The Hat
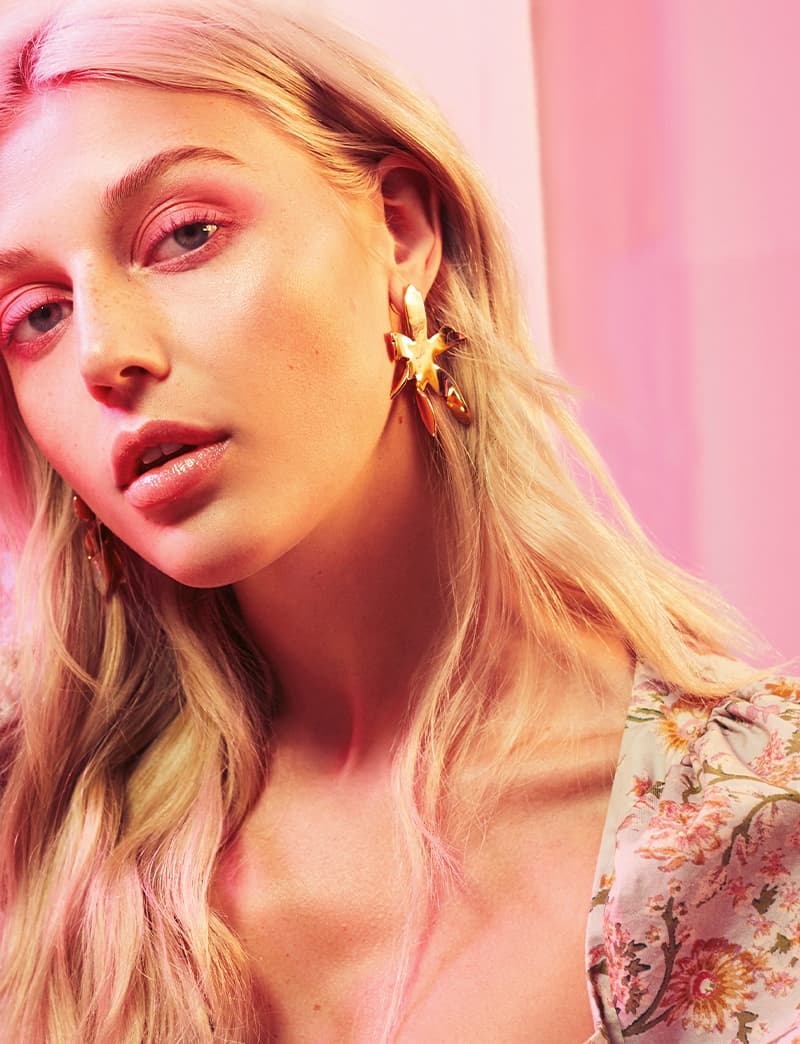
Graphic hats, like those from Eugenia Kim and even Kate Spade, are taking over Instagram.
They're a fashion-girl favorite, having been spotted on many bloggers' feeds.
This graphic accessory is just so photogenic!
Step 1: Gather Up Everything You'll Need
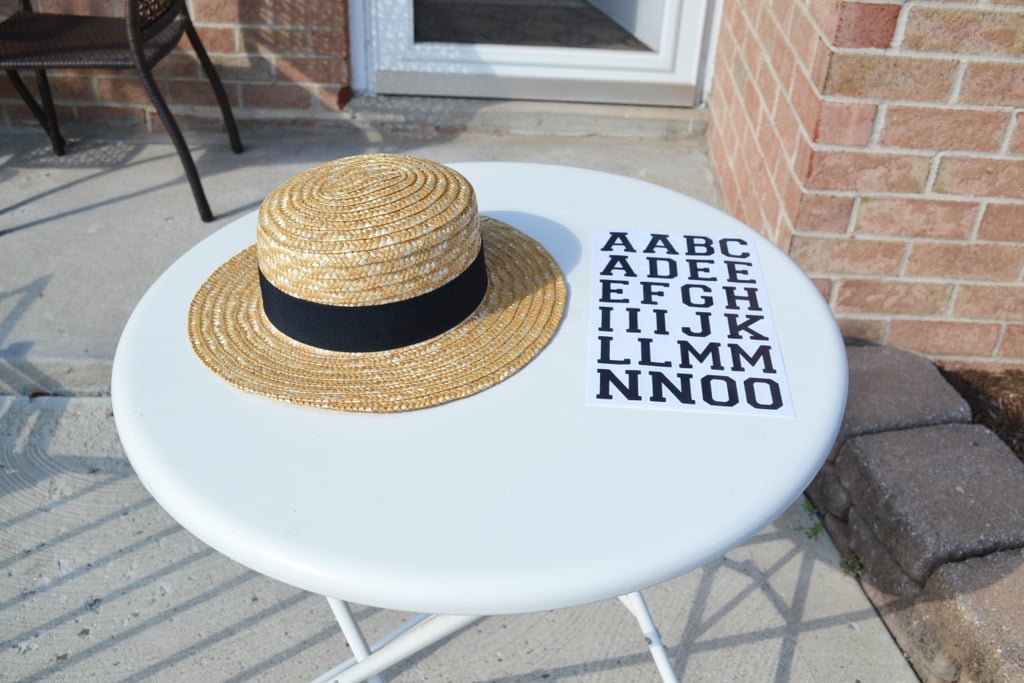
Step 2: Cut Out the Letters You'll Be Using
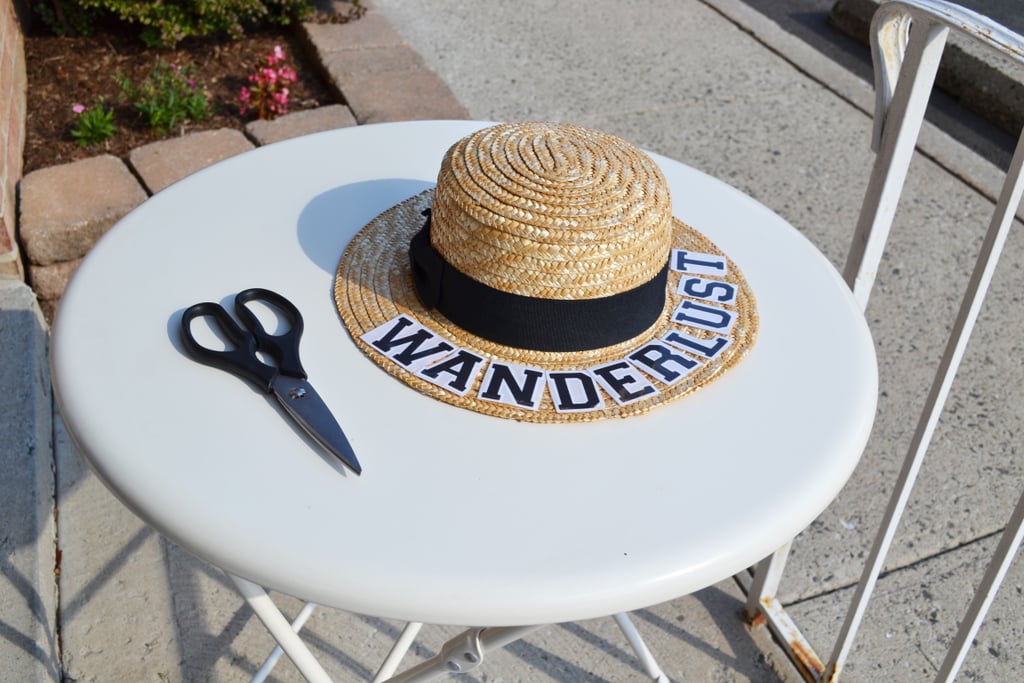
Step 3: Plug In Your Iron

The iron-on letters package will likely advise you to place a towel between the letters and the iron. Personally, this didn't work for us, so after a while we ditched the towel and carefully ironed — on a fairly hot setting — on top of the plastic layer (which, surprisingly, didn't melt).
And if you're nervous about ironing a hat (um, can you iron a hat?!), don't be. People use this method to straighten out brims all the time.
Step 4: Wait a Few Minutes, Then Peel Back That Plastic Layer
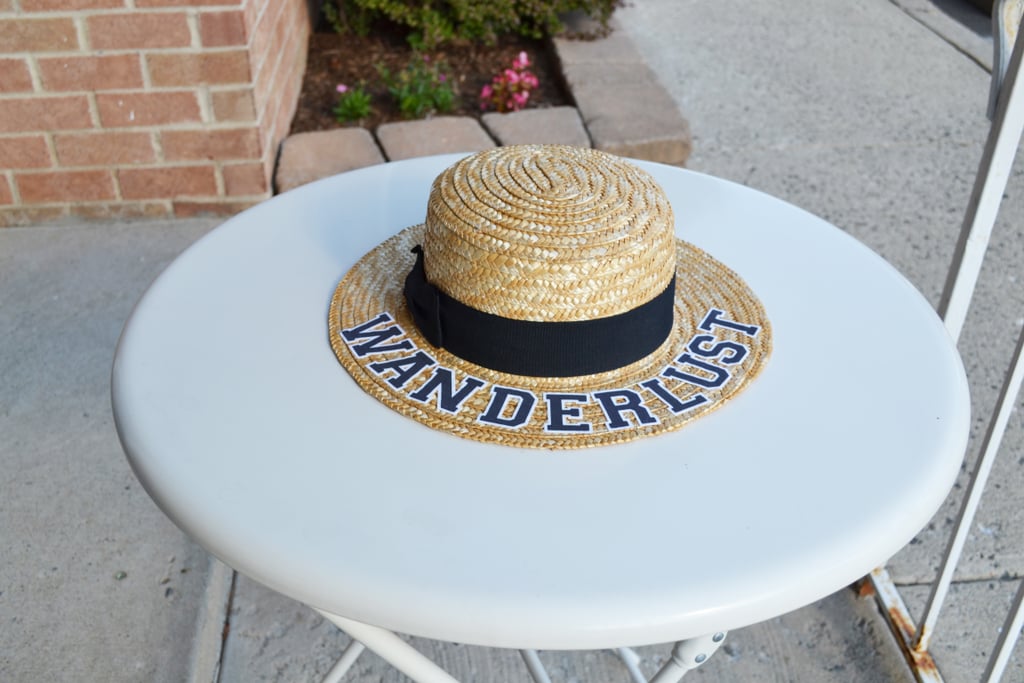
Step 5: Post It to Instagram or Snapchat
Yes, this step is very necessary.