DIY Calligraphy Pumpkins For Halloween
This Stylish New Spin on Pumpkin Carving Couldn't Be Easier

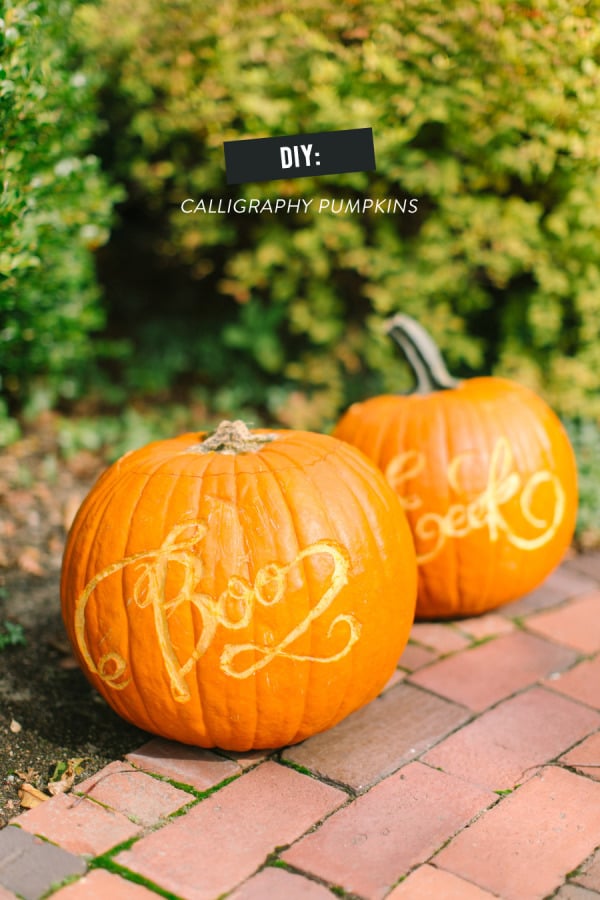
The designer within you doesn't want to conform this Halloween to things ghoulish and gross, and neither do we. Add some more style this Halloween with these DIY calligraphy pumpkins from our friends at Style Me Pretty.
I have a bit of a love hate relationship with Halloween. I love the candy aspect (obviously), and the whole costume thing is fantastic (my inner child is so in). But the designer within has issues getting on board with all things ghoulish and gross. So when our in house designer came up with the idea of carving our pumpkins using cute calligraphy quotes? Well, it really doesn't get much better than that.
Materials
Pumpkin
Serrated knife
Large spoon
Linoleum cutter
Masking tape
"Boo" template
"Eeek" template
Pins
Paint pen
Instructions
- Cut out the lid of your pumpkin and scoop out the insides. Scrape down and thin out the side you intend to carve.
- Download and print out the template of your choice. Tape to the pumpkin.
- Use the pin to poke holes in the pumpkin, tracing the lines of the template.
- Remove the template and connect the pinholes with the marker.
- Use the linoleum cutter to scoop out the inside of the calligraphy letters. Use a knife to get any small detailed areas.
- Place a candle inside to highlight the letters and place the pumpkin on your front steps!
Related Links:
West Elm Hack: DIY Ottoman Coffee Table
Trending: All Things Indigo
DIY Summer Floral Wreath