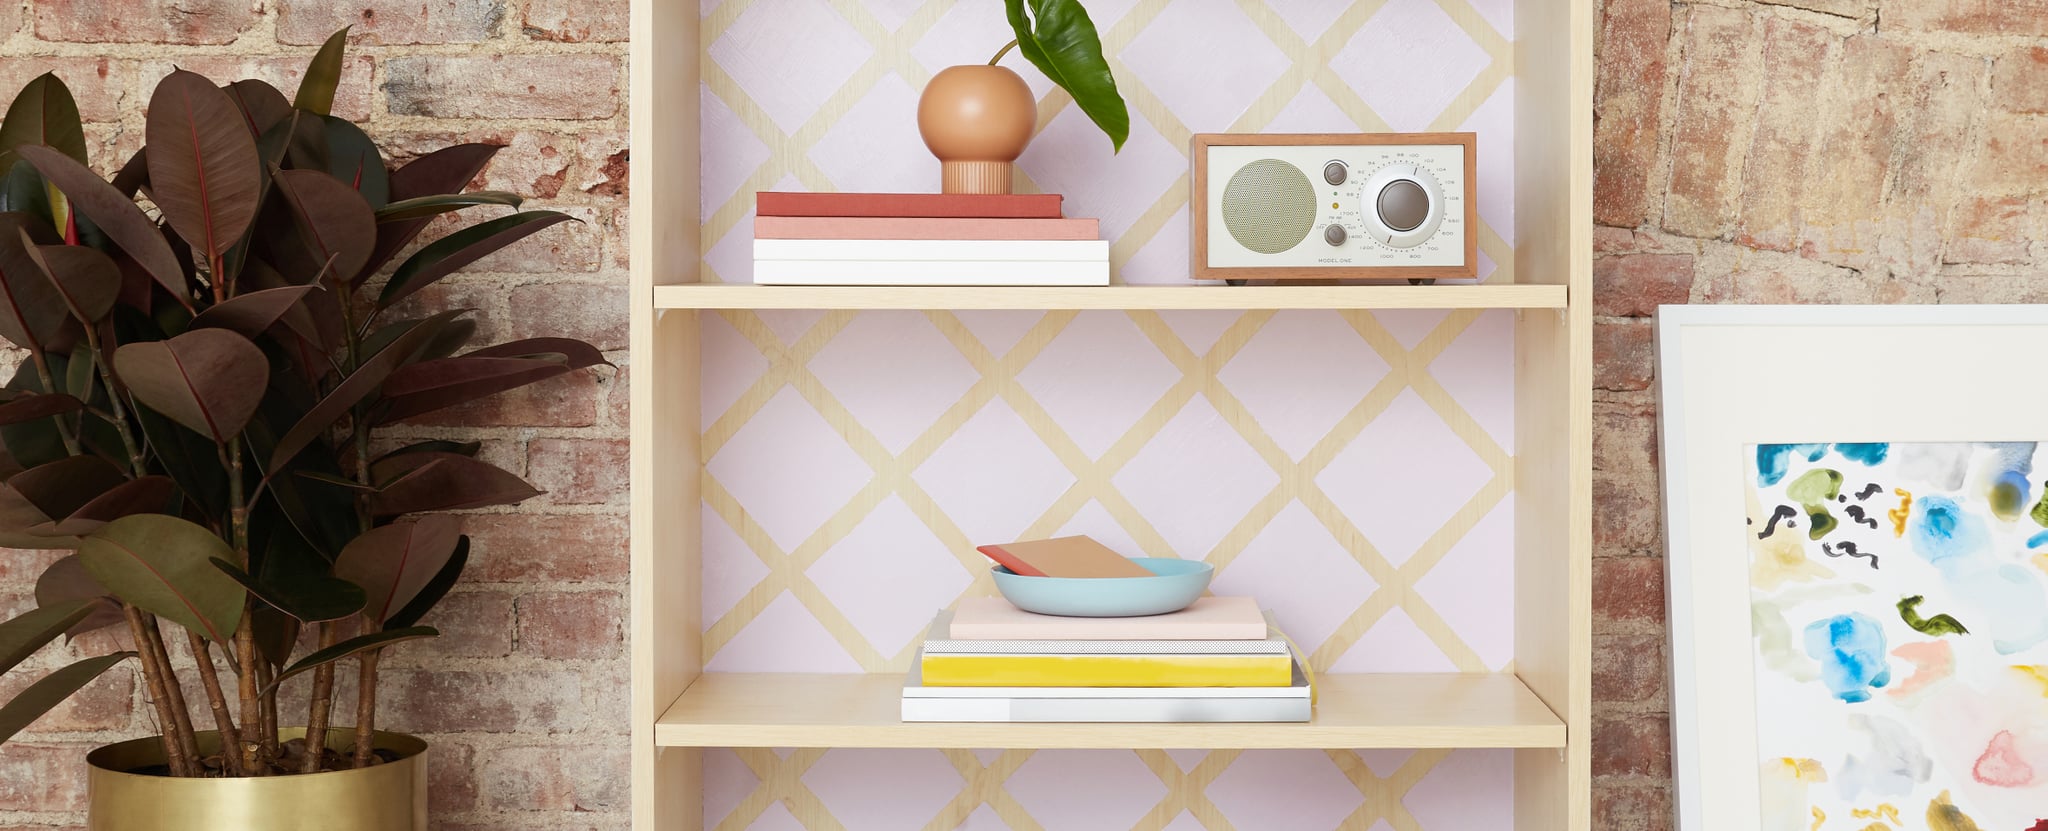
Painted Bookcase DIY
This Chic Painted Bookcase DIY Will Make Your Home Insta-Worthy

With perfectly styled #shelfies taking over Instagram, it's never been a better time to give your lackluster bookcase a glamorous makeover in trendy, versatile lilac. The soothing hue is excellent for promoting tranquility, and the pastel shade also functions as a neutral among brighter home decor, making it the ultimate chameleon color for sprucing up your space. Read on to discover how to paint your very own lilac bookcase.
Step 1: Prepare Your Ingredients For Success
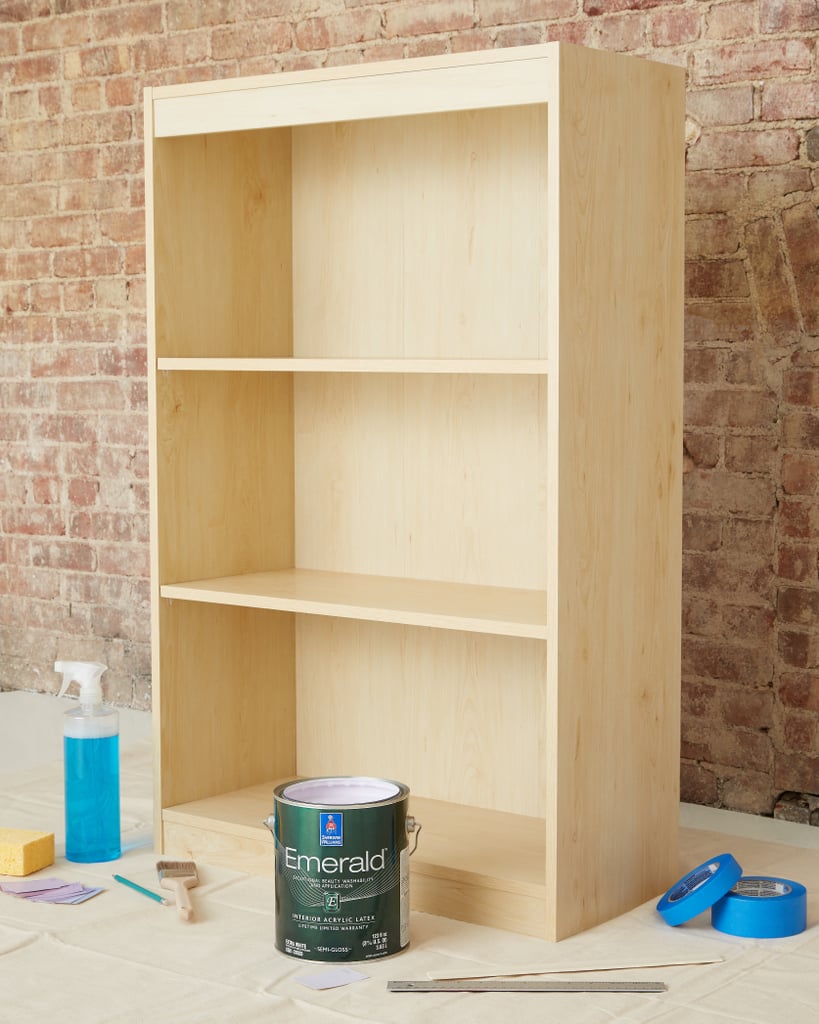
Before diving into your paint project, collect your supplies for the job. A drop cloth, wood wipes, a paintbrush, a sanding sponge, painter's tape, a ruler, and your bookcase of choice are the basic materials you'll need to complete the design. Inspired Lilac SW 6820 by Sherwin-Williams is a beautiful pastel color that will stand the test of time and make the perfect backdrop for your books. Be sure to choose a paint that aligns with the type of surface you will be refinishing.
Step 2: Clean the Bookcase
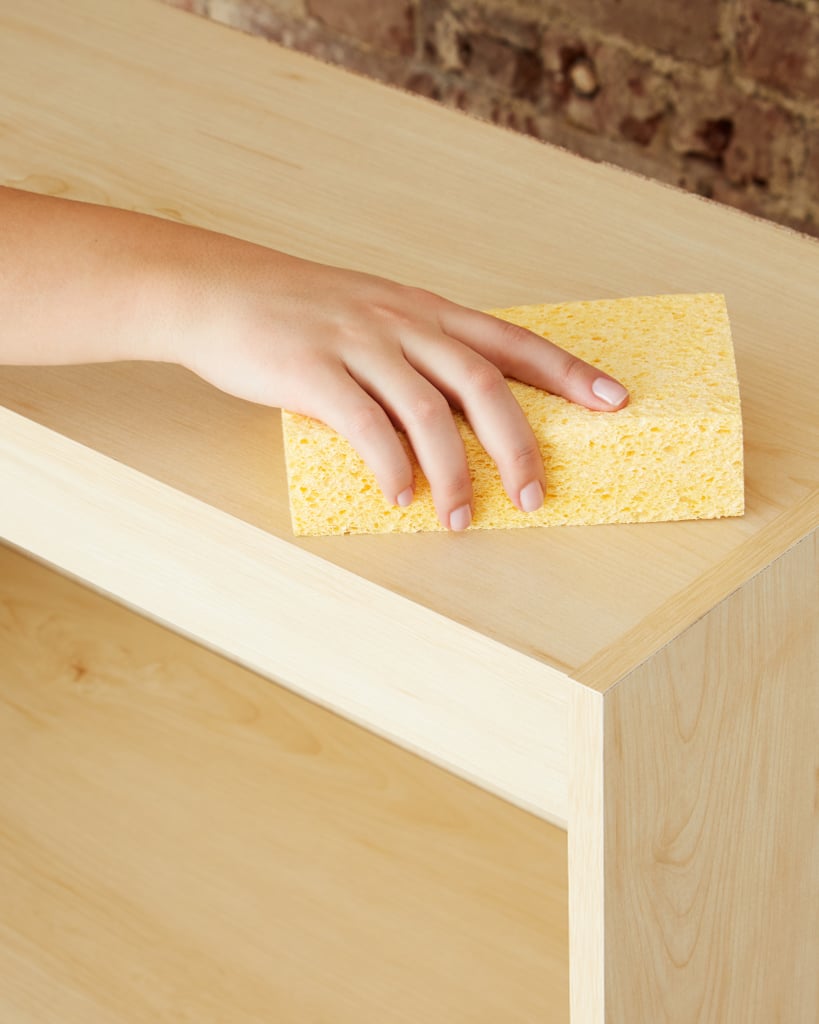
After you've assembled your tools, make sure to thoroughly clean your bookcase. Removing residual dust and dirt will allow for a smooth, bump-free paint job. A simple sponge and soapy water will serve to free the bookcase of any leftover grit.
Step 3: Sand Down the Bookcase
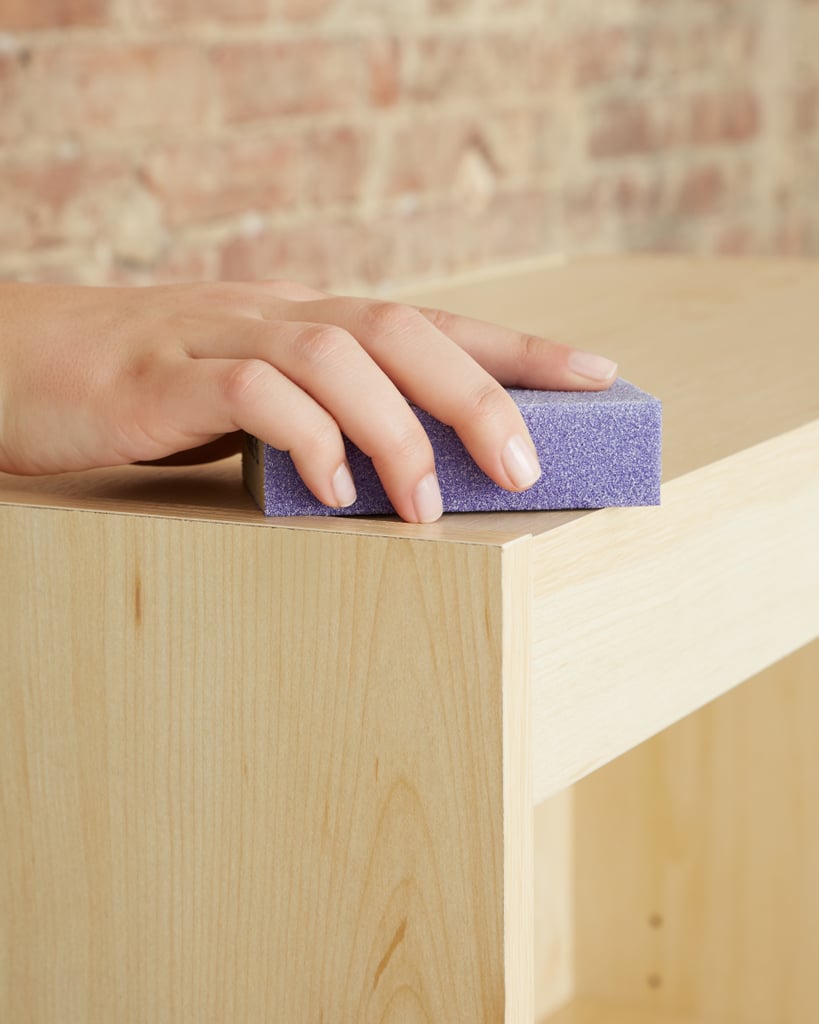
The key to ensuring paint properly bonds to your bookcase is sanding down the surface. Using a sanding sponge, gently sand away any residual paint or laminate to ensure a clean, blank slate for your paint. A sanding sponge will help you reach tough corners inside the bookcase and protect your manicure from harm as you complete the DIY. When sanding, be sure to cover your nose and mouth to avoid inhalation of dust and small wood particles.*
Step 4: Plan Out Your Pattern With Tape
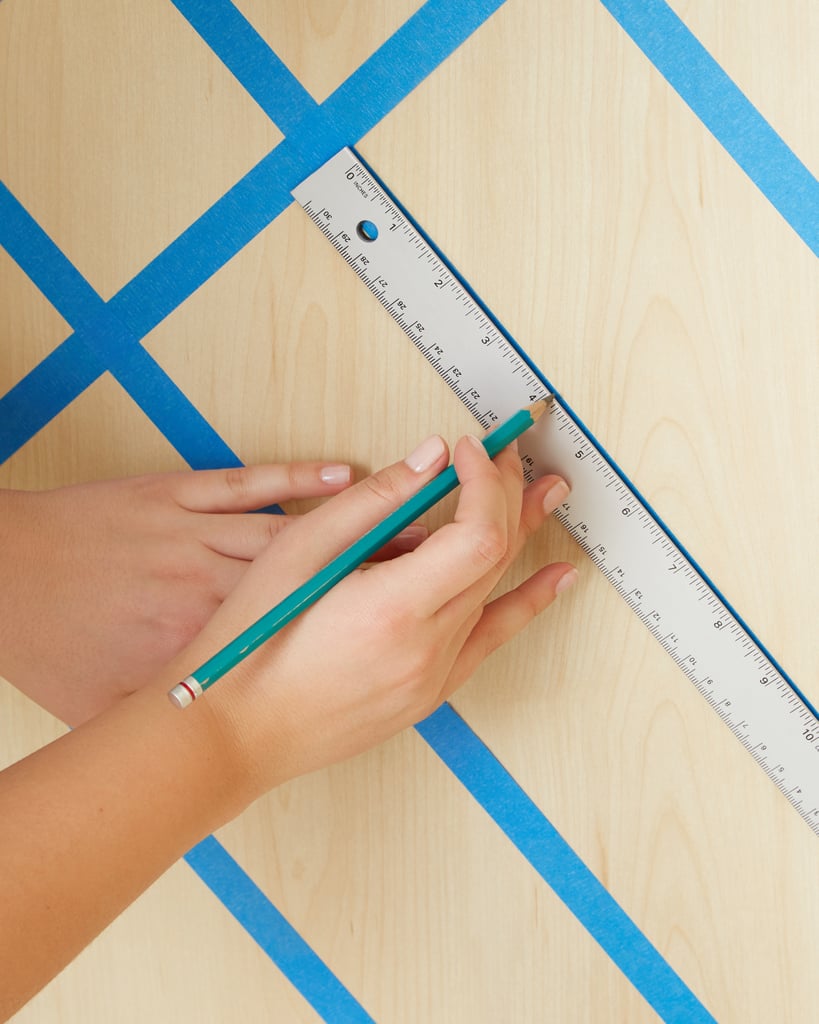
Arrange your tape to map out exactly how the design will appear on the back of your bookcase by creating a crosshatch arrangement that will ultimately transform into a diamond pattern when painted. Use a ruler to ensure each strip of tape is the same length and to create the most precise blocks of color. To simplify the process of eventually removing the tape, lay down one continuous line of tape for each line instead of separating into sections. Once the tape has been applied to the wood, use the edge of your scissors or a ruler to ensure the tape is sticking to the surface.
Step 5: Paint Your Bookcase
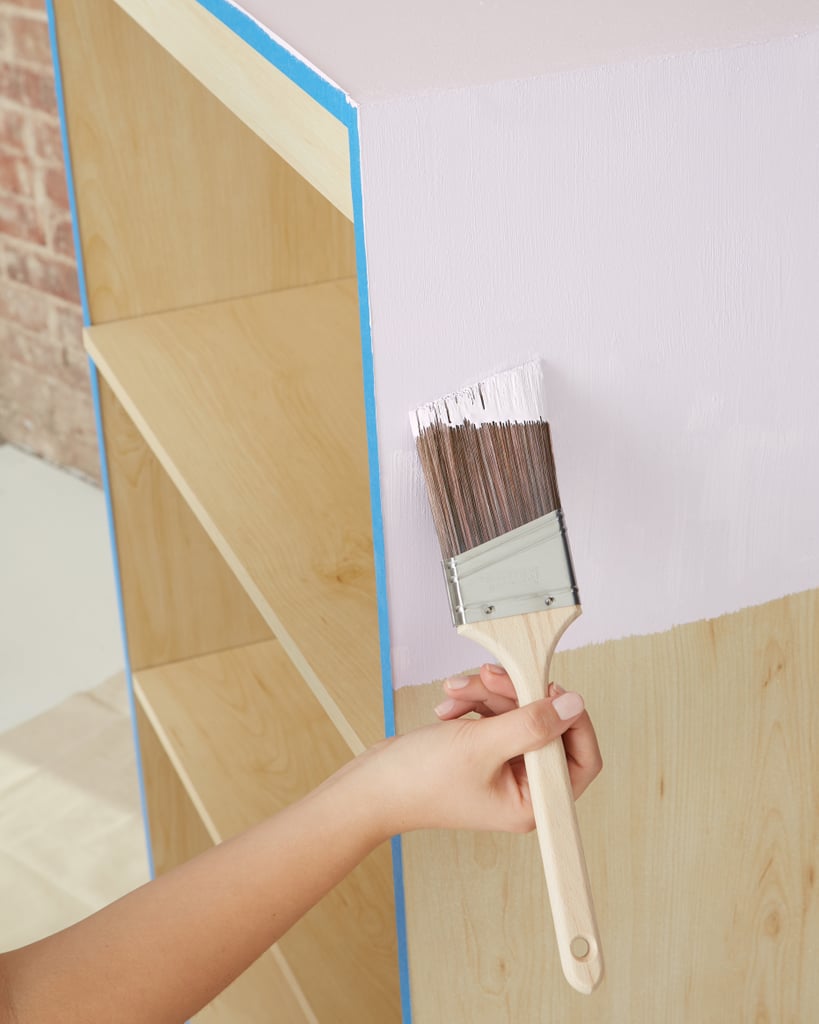
Using even strokes, paint the outside of the bookcase with Inspired Lilac SW 6820 by Sherwin-Williams. Once you've finished painting the exterior of the shelf, use a smaller brush to paint inside the tape lines designating your geometric pattern. The painter's tape will serve to catch any color that strays. Wait until your first coat of paint is dry before beginning on your next coat to ensure the most even finish. Each coat will typically dry between one and two hours.
Step 6: Remove the Tape
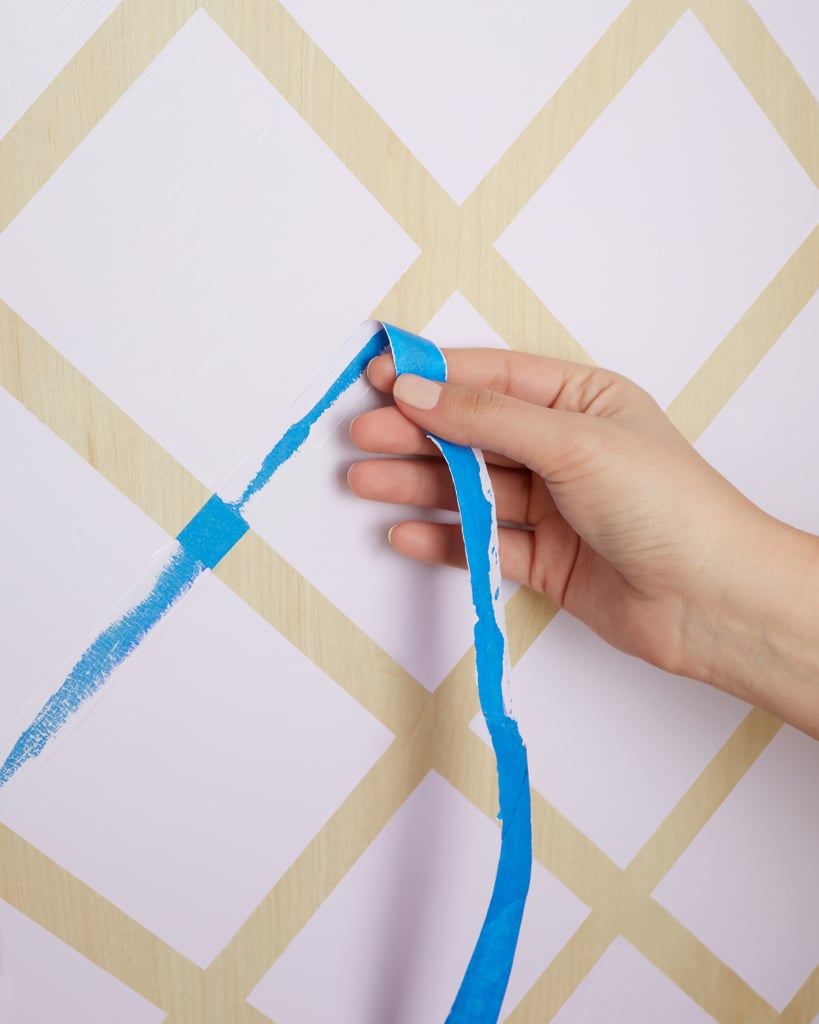
While the paint is tacky, remove each piece of tape at a 45-degree angle to make sure the design stays intact. After removing the tape, allow the paint to dry completely. While you wait for the paint to dry, use the time to tidy your space and remove items like your drop cloth and paint tray.


Step 7: Style Your Shelfie!
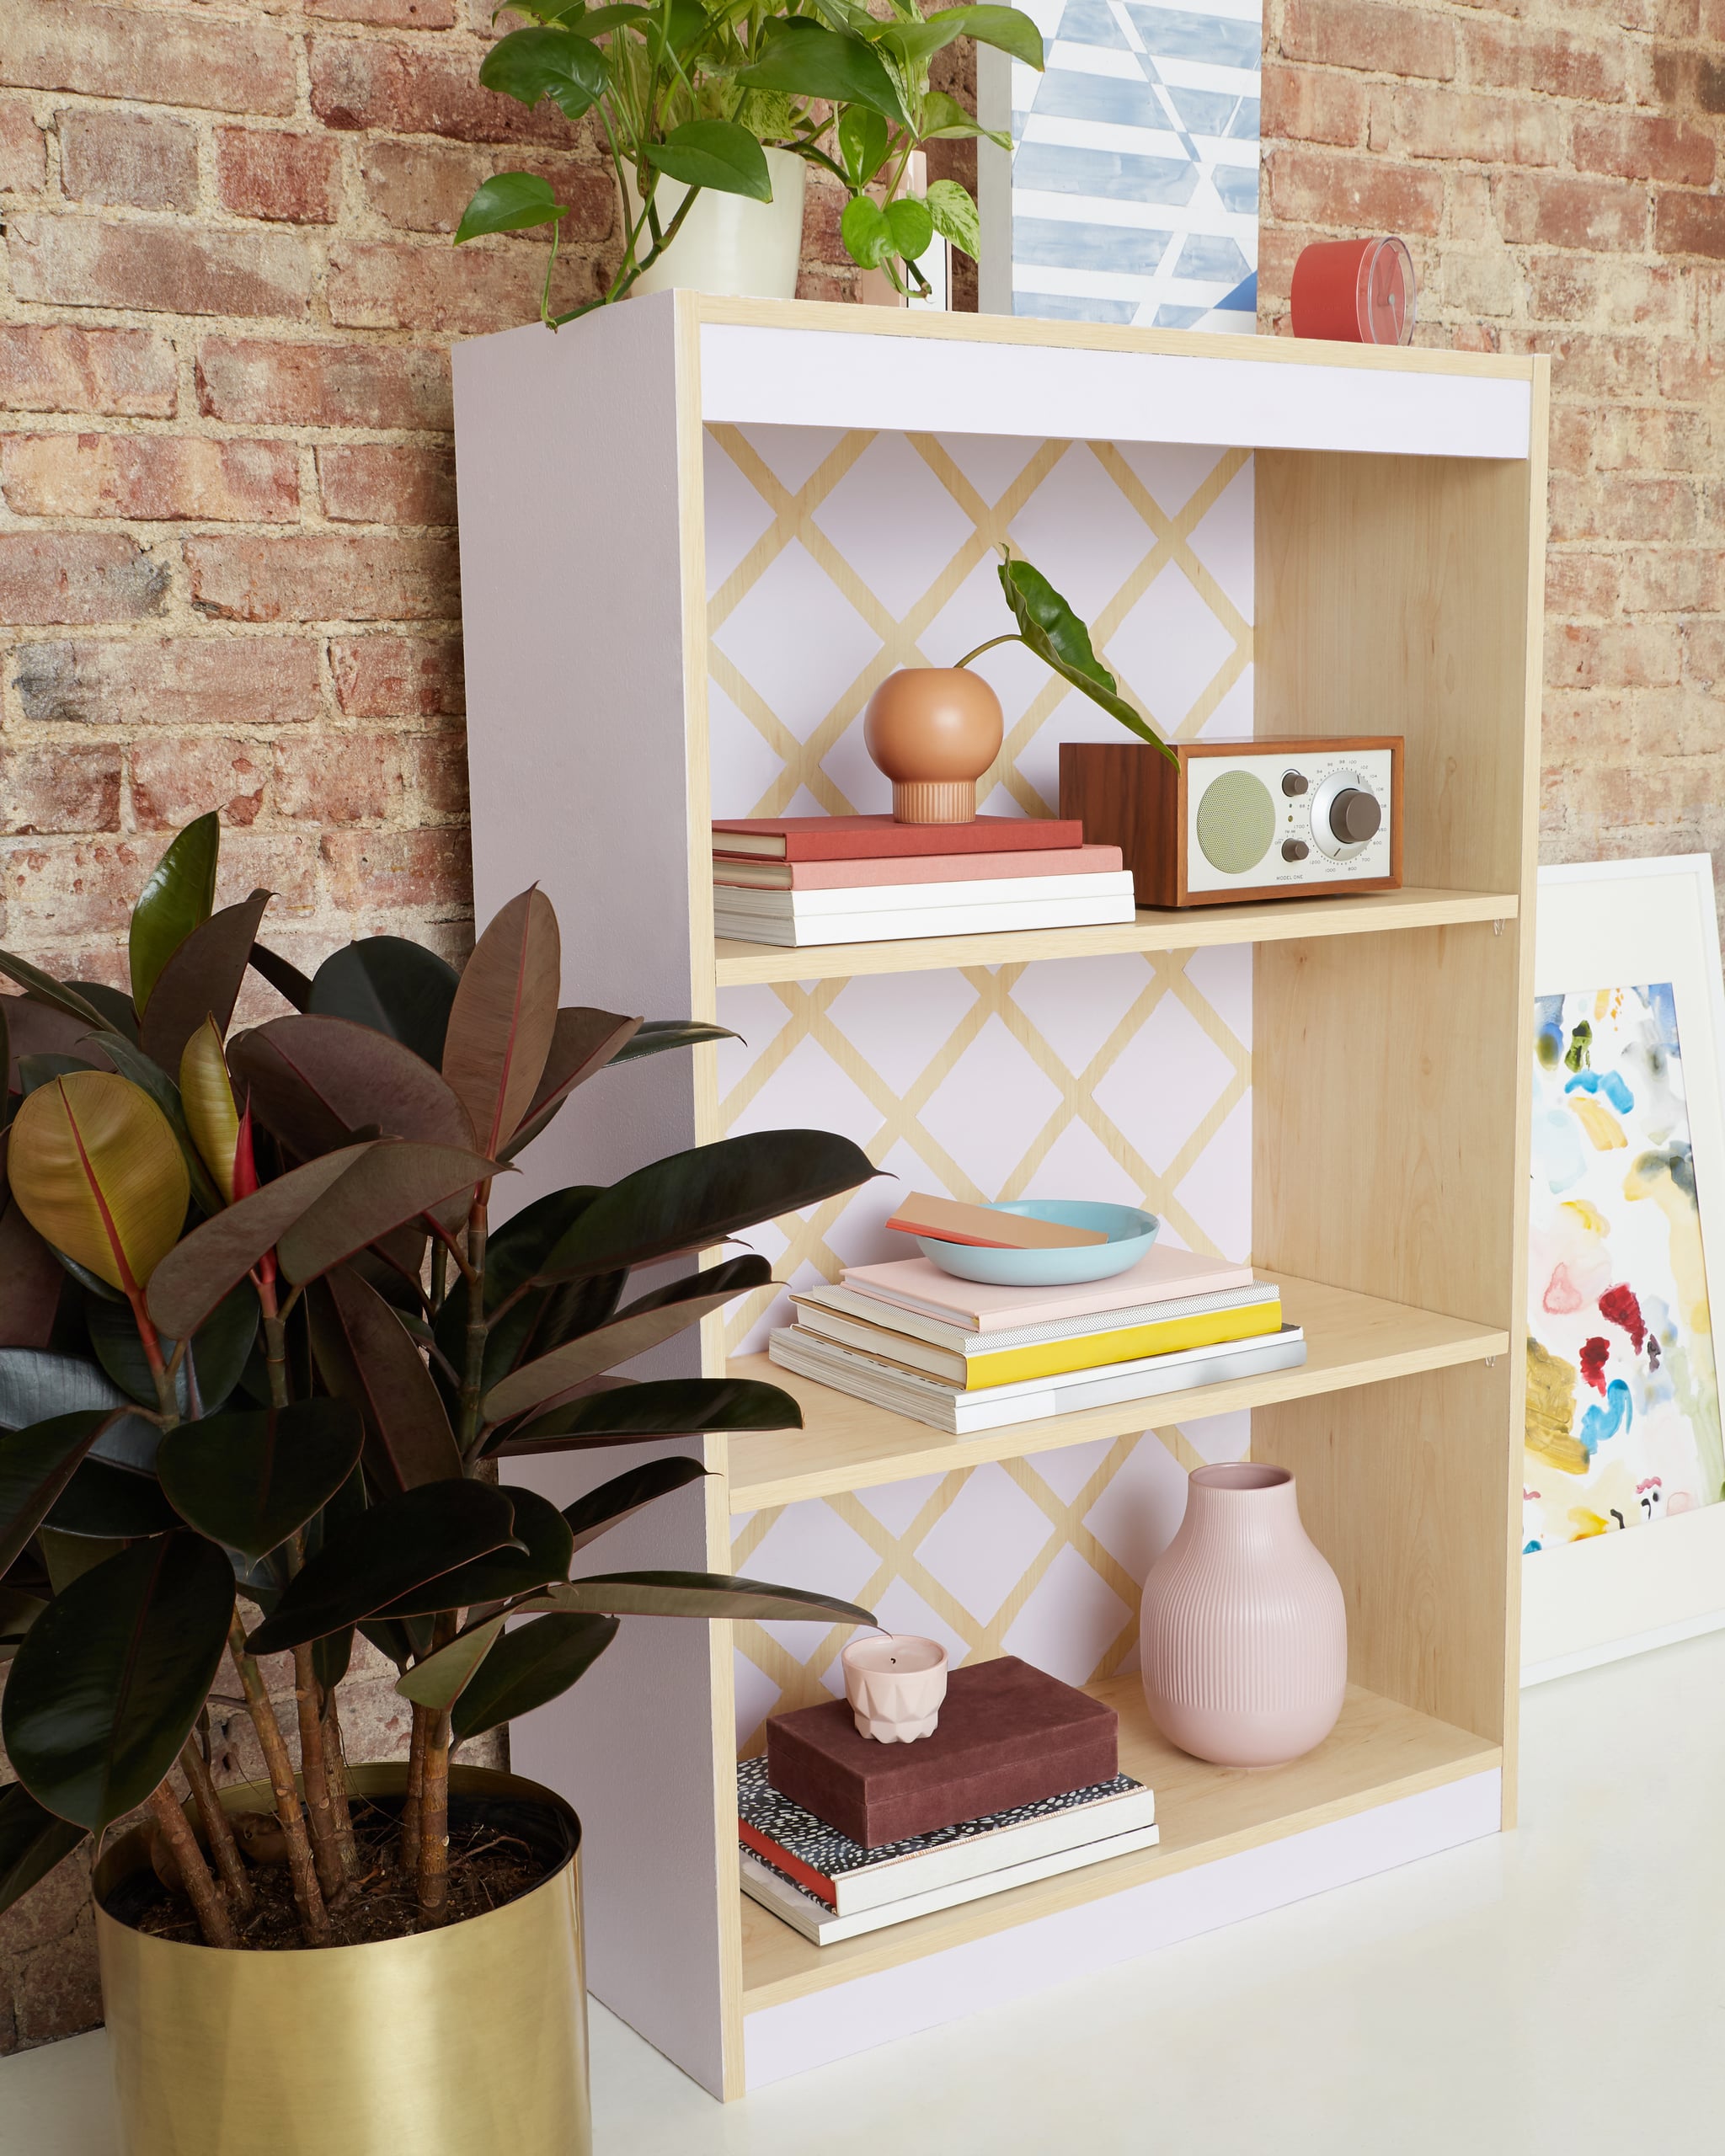
Once the paint is completely dry, it's time to decorate your shelf! Arrange your books, framed photos, and favorite objects on the shelves in a manner that allows the design to peek through. To create a cohesive look, select tomes and other items in neutral hues and other pastels like aqua or peach, including pops of bright hues throughout. Once you've created the complete look, be sure to snap a shelfie to document your DIY!
*WARNING! Removal of old paint by sanding, scraping, or other means may generate dust or fumes that contain lead. Exposure to lead dust or fumes may cause brain damage or other adverse health effects, especially in children or pregnant women. Controlling exposure to lead or other hazardous substances requires the use of proper protective equipment, such as a properly fitted respirator (NIOSH approved) and proper containment and cleanup. For more information, call the National Lead Information Center at 1-800-424-LEAD (in US) or contact your local health authority.
Credits: Photography: Diggy Lloyd; Art Direction: Colleen Lennon; Production: Sasha Bar-Tur; Set Design: Astrid Chastka; Model: Rasika Navare
