From bachelorette parties and bridal showers to weddings and your own honeymoon, wedding season will transform you into a jet-setter in no time. Sure, the long flights, road trips, and train travel can potentially be tiring, but there's no reason your look — or the countless party photos — have to suffer. Boost your confidence and enjoy the event by using makeup that lasts. Tackle these simple beauty objectives to disguise your fatigue and jet lag so you arrive at the big event looking gorgeous, fresh-faced, and glowing.
1Goal: Flawless Face
Image Source: POPSUGAR Photography / Ashley Batz
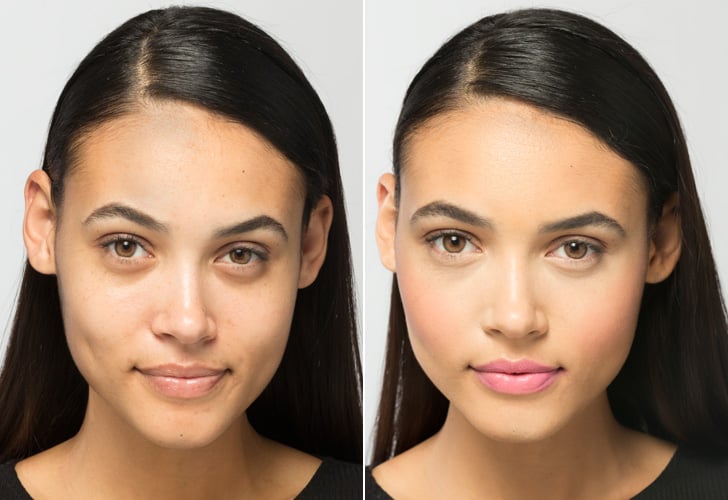
Whether you hit traffic on the road or you hit snooze a few too many times, your face doesn't need to reflect your hectic wedding season travel schedule and lack of Zzzs. In a rush to the venue? Harness the power of lightweight, sweat-resistant makeup to get a flawless, fresh-faced look that lasts all day long.
1 / 20
Step 1: Mist your skin with water or facial spray to hydrate
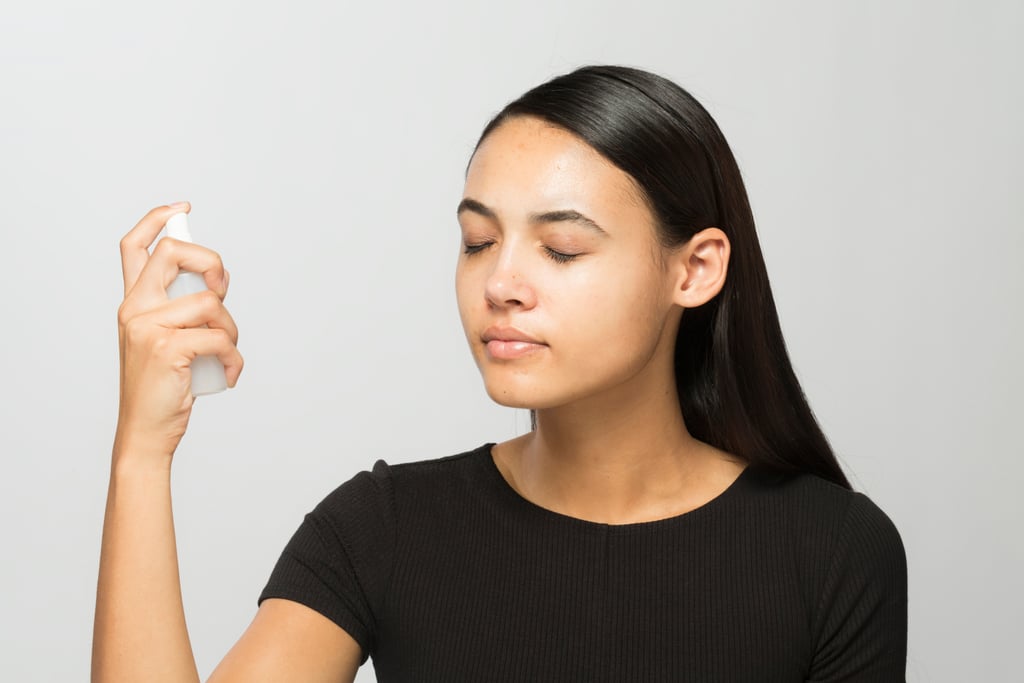
Image Source: POPSUGAR Photography / Ashley Batz
This is a great way to prep your skin in the morning or refresh before a new makeup application.
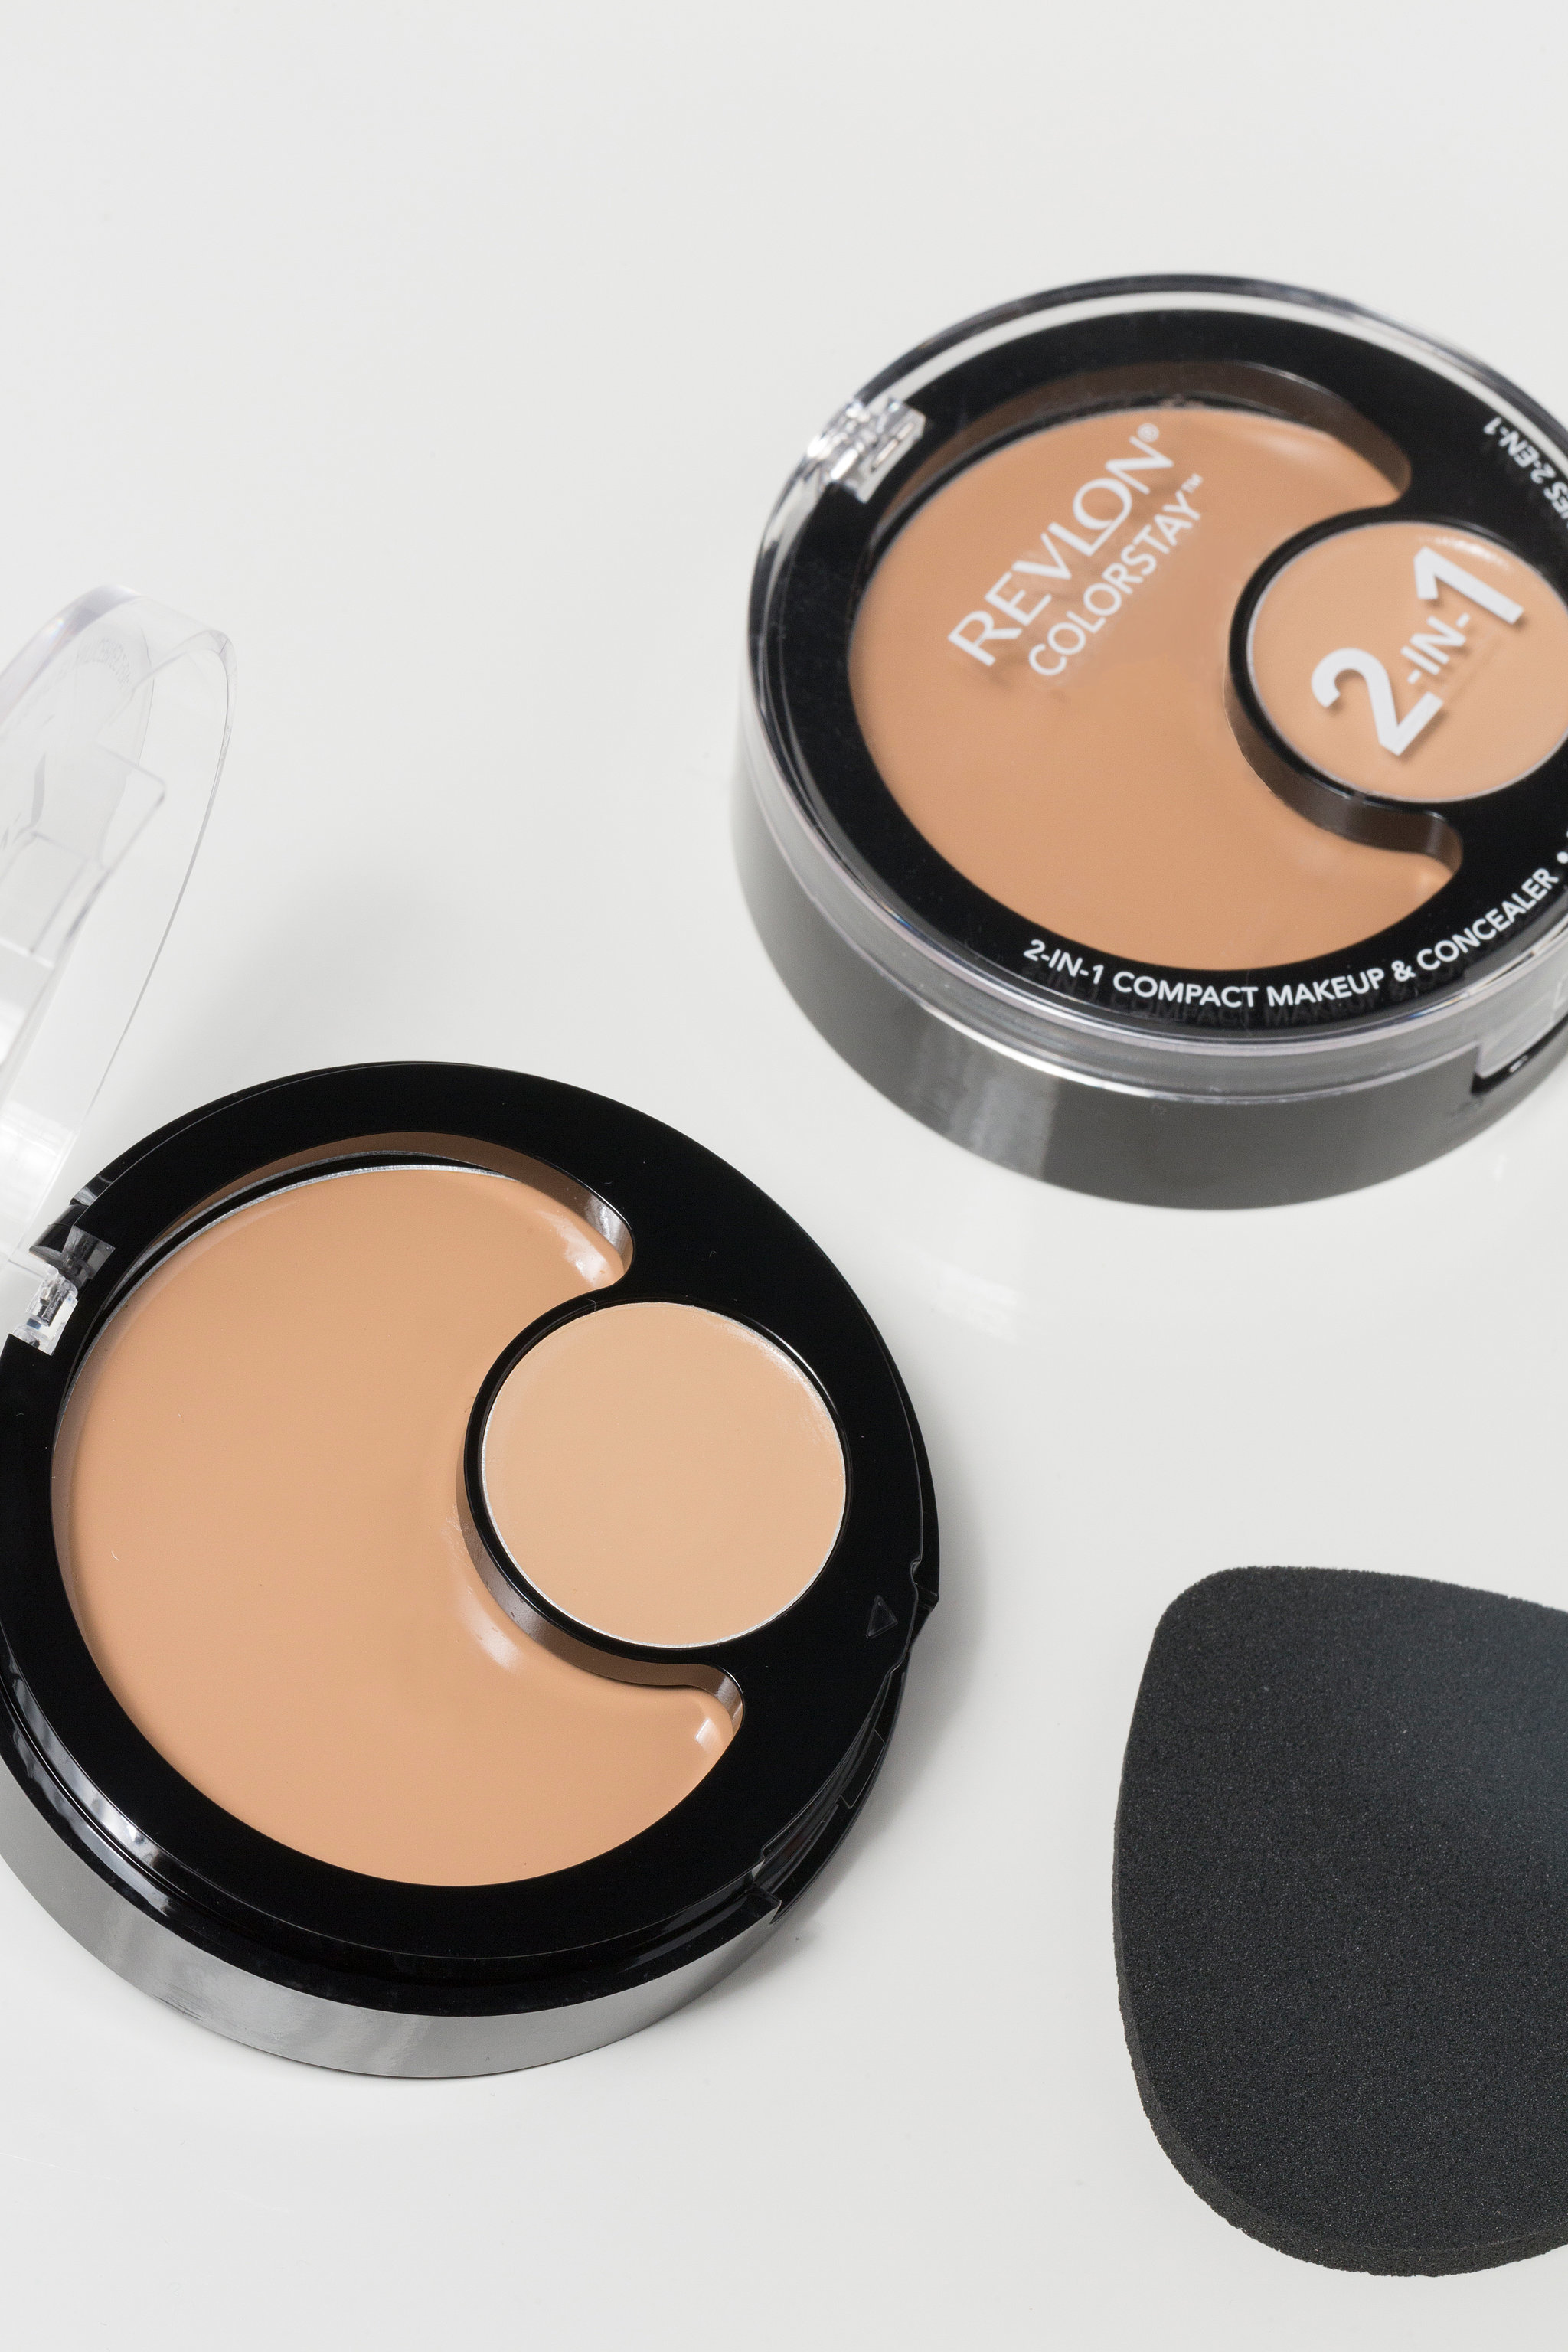
Apply a foundation using an applicator for precision and blending. Look for a lightweight, demi-matte formula designed for buildable coverage that blends seamlessly. With hours of festivities ahead, you'll feel confident with a smooth finish that lasts all day.
4 / 20
Step 4: Use a complementary concealer
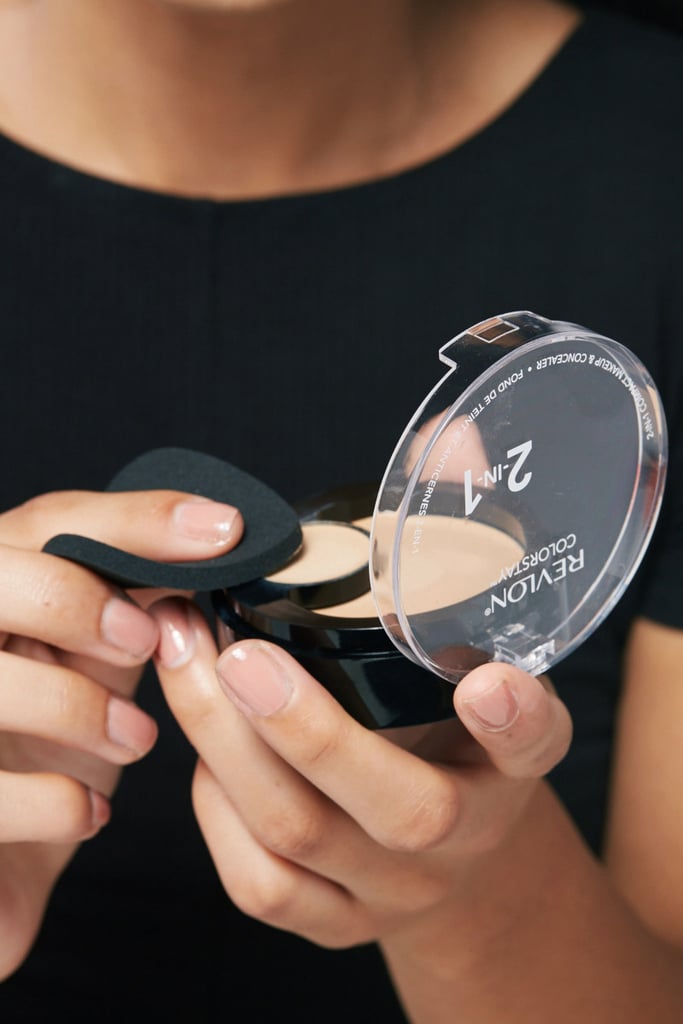
Image Source: POPSUGAR Photography / Ashley Batz
Since dark circles are the true sign of fatigue, you're not going anywhere without your concealer. A perfectly paired foundation with complementing concealer removes the guesswork since it comes expertly matched to one shade lighter than the foundation.
5 / 20
Step 5: Apply concealer to the under-eye area
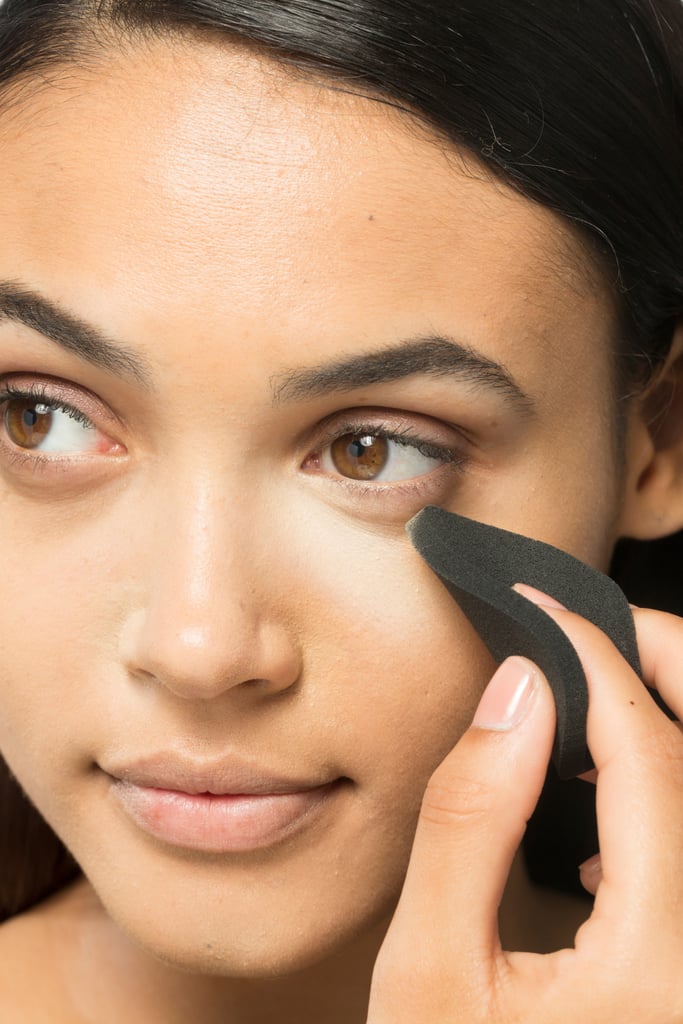
Image Source: POPSUGAR Photography / Ashley Batz
Don't forget those dark inner corners. It's tricky to find a match since compact makeup can appear slightly darker in the package. To find the right shade, match your skin to the concealer to create the perfect finished look.
6 / 20
Step 6: Blend cream blush into your cheeks
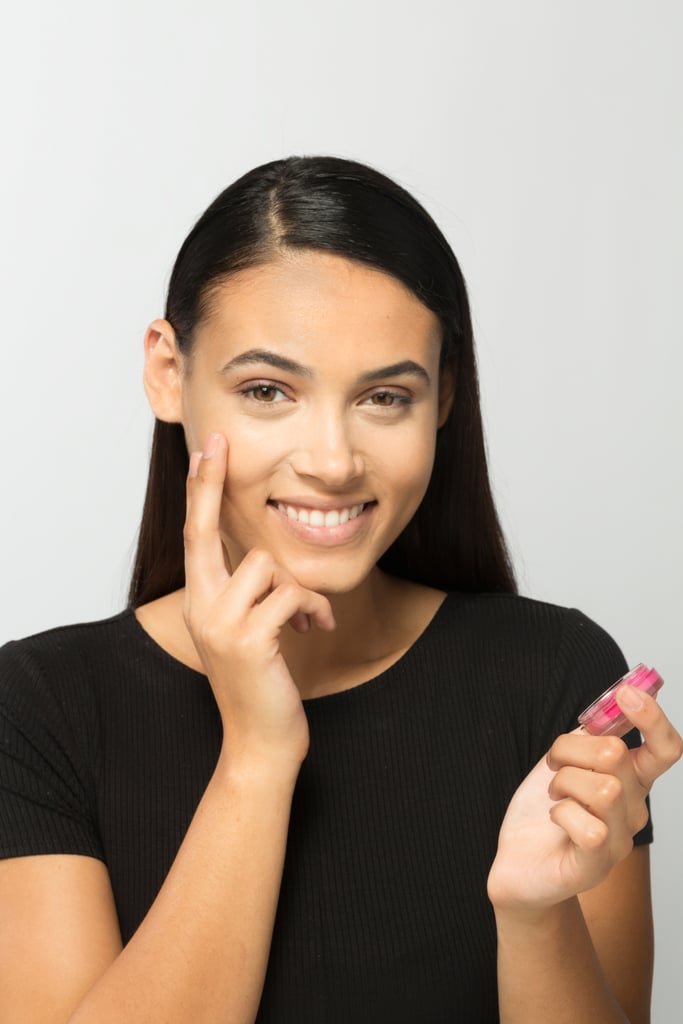
Image Source: POPSUGAR Photography / Ashley Batz
Apply a rosy cream blush to the apples of your cheeks for a healthy flush. Pro tip: the warmth of your fingertips can help blend the blush into your skin seamlessly for a satin finish.
7 / 20
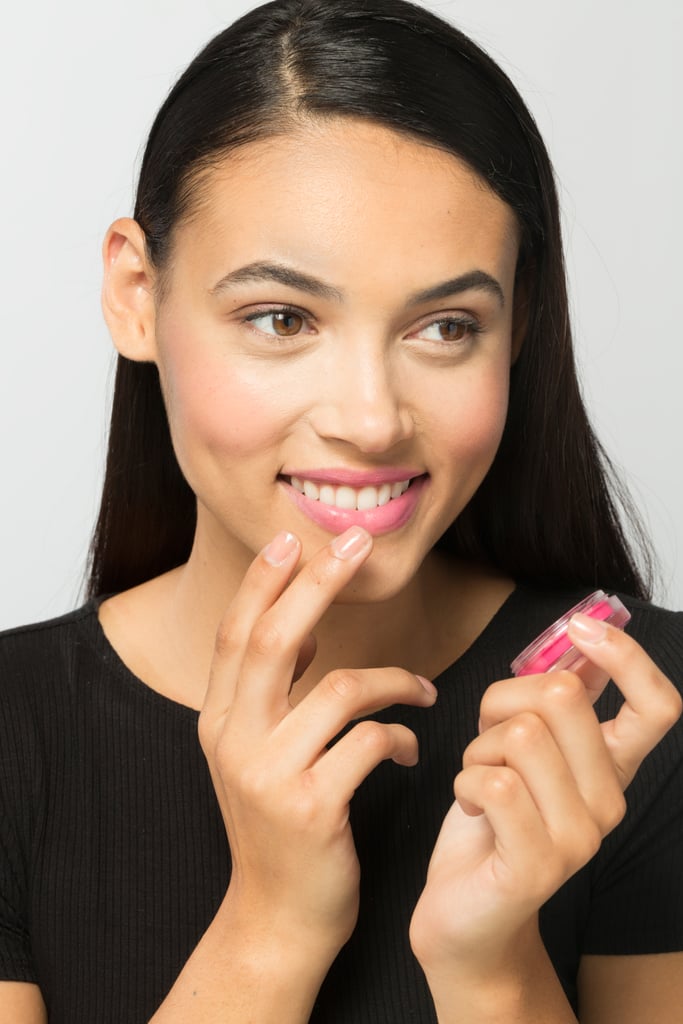
Step 7: Use cream blush as lipstick
Image Source: POPSUGAR Photography / Ashley Batz
Make your blush serve double-duty and pat the color into your lips for a juicy touch of color.
8 / 20
2Goal: Gorgeous Glow
Image Source: POPSUGAR Photography / Ashley Batz
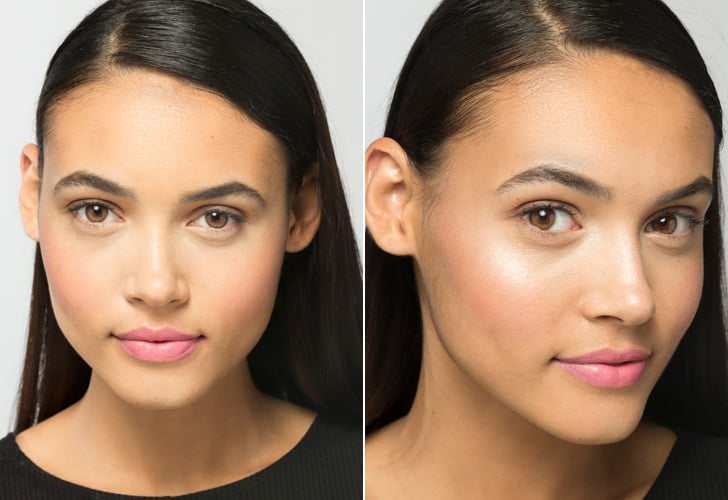
Now that you've got your foundation on lock, it's time to get a gorgeous glow in a flash. Further increase your skin's radiance with one incredibly versatile, travel-friendly highlighting stick that illuminates your best features.
9 / 20
Step 1: Highlight your cheekbones
Image Source: POPSUGAR Photography / Ashley Batz
Apply a creamy, light-filtering highlighter atop your cheekbones directly from the stick. It has a foolproof application and is ideal when on the go or for a quick pick-me-up to brighten your complexion before a big event.
10 / 20
Step 2: Blend with your fingers
Image Source: POPSUGAR Photography / Ashley Batz
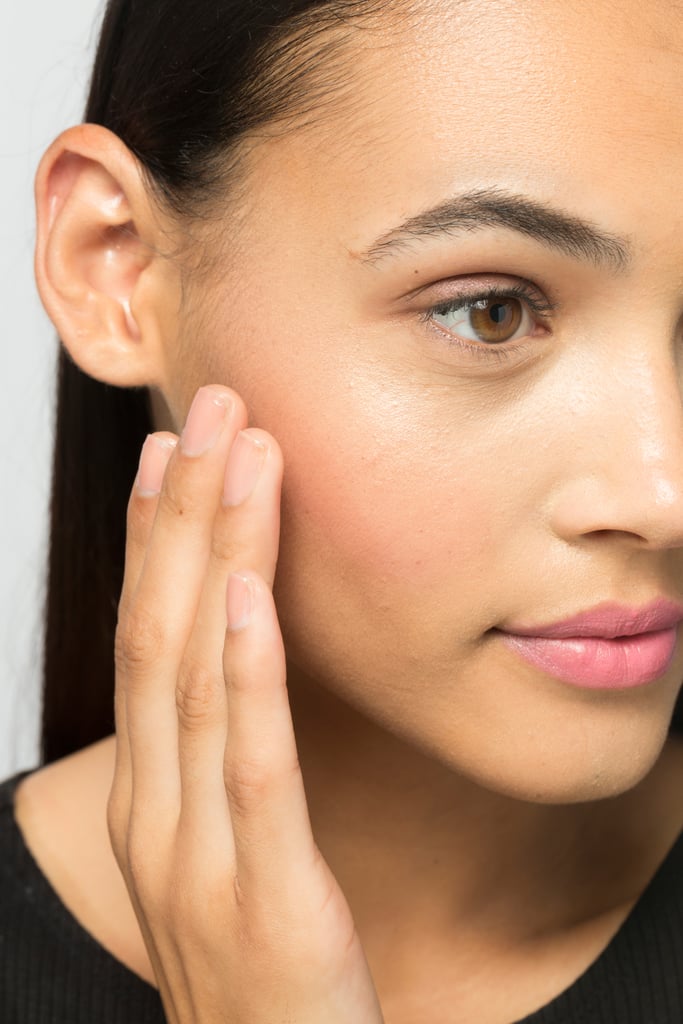
Lightly blend the highlighter outward and upward for a luminous strobing effect.
11 / 20
Step 3: Brighten your eyes
Image Source: POPSUGAR Photography / Ashley Batz
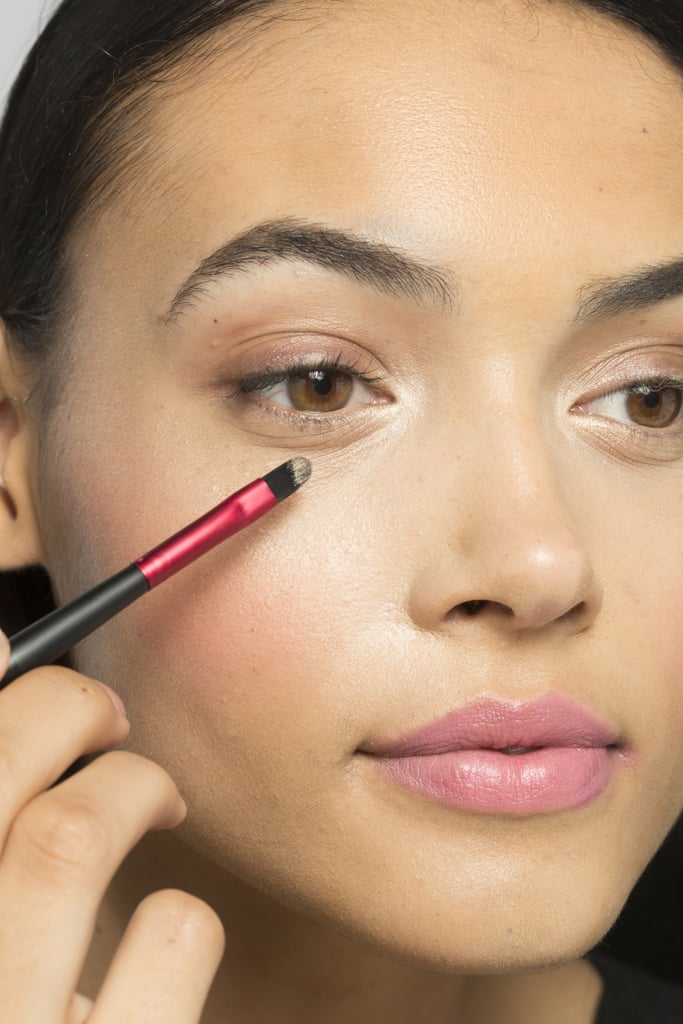
Dip a makeup brush in the highlighting stick and blend the formula into the inner corners of your tired eyes. Your face will instantly look more refreshed.
12 / 20
Step 4: Strobe your nose, too
Image Source: POPSUGAR Photography / Ashley Batz
Draw one swipe down the middle of your nose to highlight the center of your face. Apply a little bit between your eyebrows as well to further enhance your skin for a flawless, retouched look.
13 / 20
Step 5: Finish blending in your highlighter
Image Source: POPSUGAR Photography / Ashley Batz
Rub the product in down your nose gently with your fingertips. A lightweight, smooth formula glides into skin. When you're glowing like this, who needs filters?
14 / 20
3Goal: Bold, Brushed-Up Brows
Image Source: POPSUGAR Photography / Ashley Batz
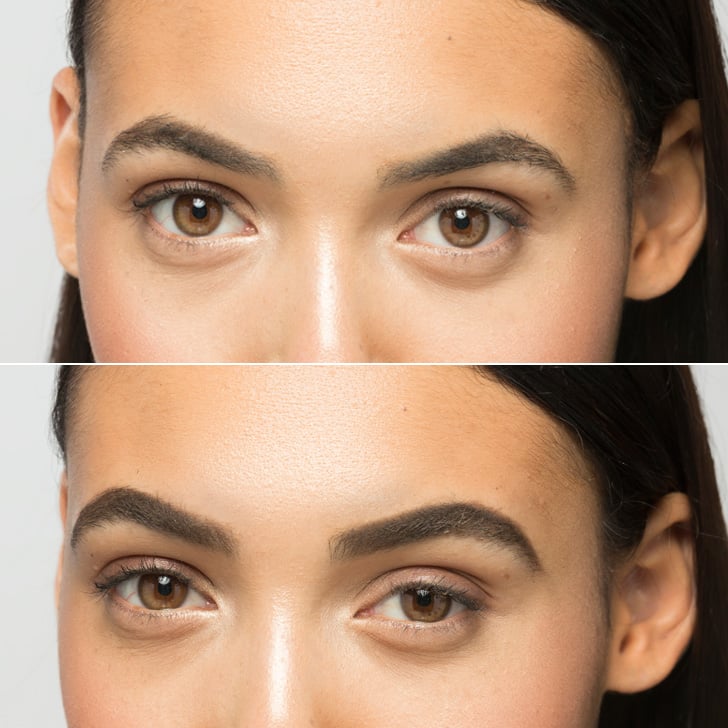
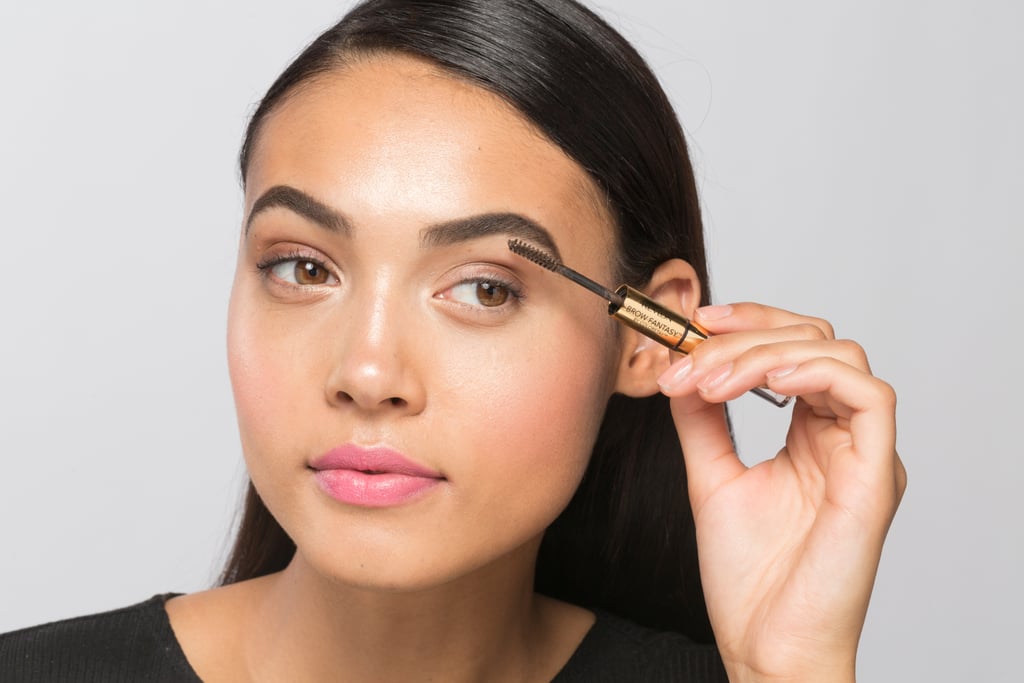
One quick and simple way to elevate your look is with bold, face-framing brows. You may not have the time or steady hand to apply intricate eye makeup while running to an event, but penciling in and grooming your brows can make a big improvement on your overall appearance. It's one step you shouldn't miss.
15 / 20
Step 1: Pencil in your eyebrows
Image Source: POPSUGAR Photography / Ashley Batz
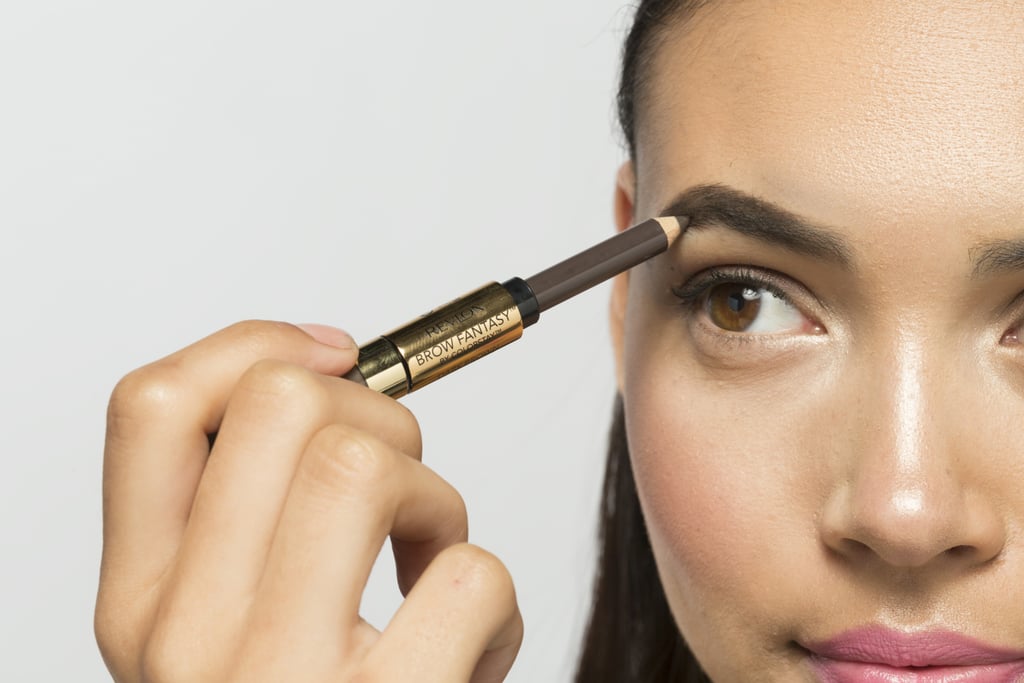
Lightly fill in your brows with a soft, blendable pencil, leaving the inner tips alone and natural.
16 / 20
Step 2: Style your brows
Image Source: POPSUGAR Photography / Ashley Batz
Use a tinted brow gel to style your brows and add hold so hairs all stay in place.
17 / 20
Step 3: Brush brows for the finishing touch
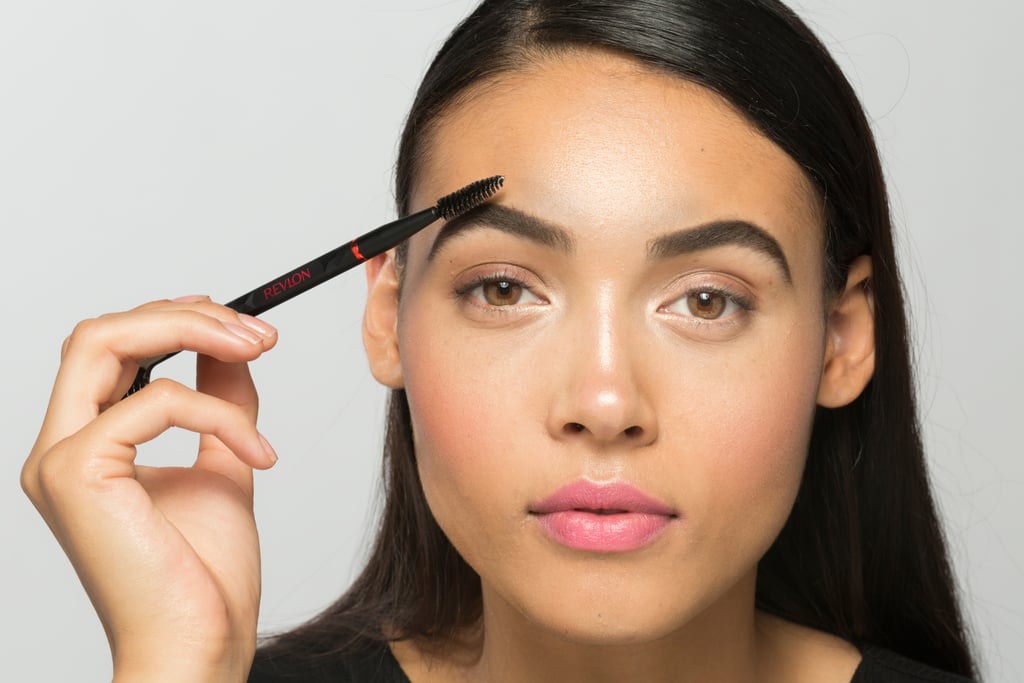
Image Source: POPSUGAR Photography / Ashley Batz
Brush brows upward and outward for enviable, full brows.
18 / 20
Final Look
Image Source: POPSUGAR Photography / Ashley Batz
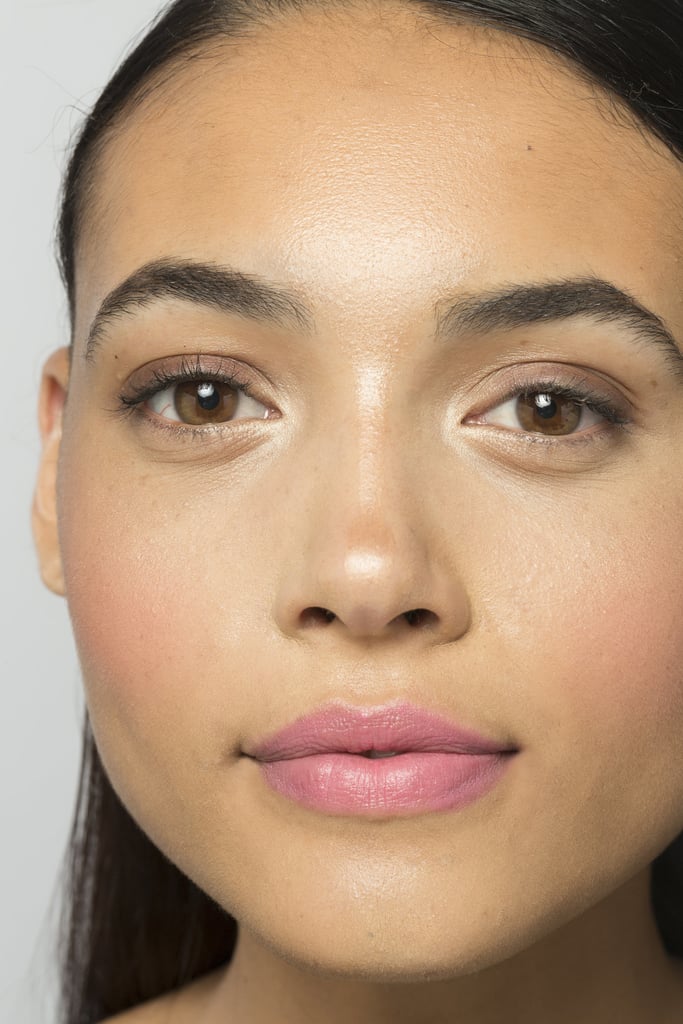
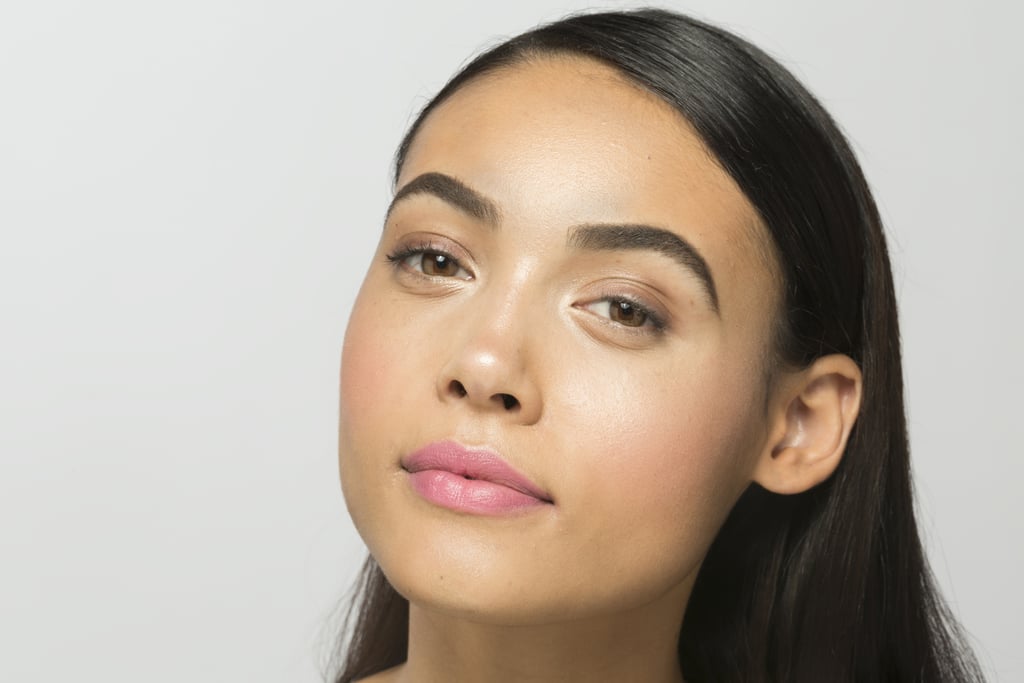
Voila! The perfect complement to a fresh-faced look. Now you're ready to take wedding season by storm.
19 / 20
Finished look: A flawless face in just 5 minutes
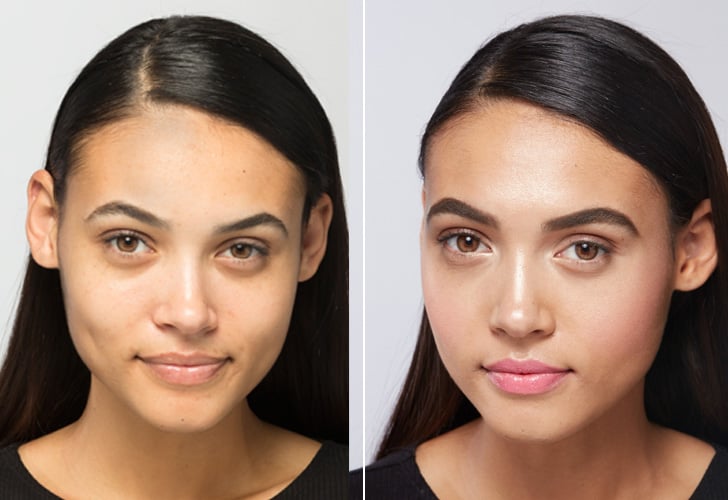
When you're rushing to your next destination during wedding season, take a deep breath and remember these tips. Flawless, glowing skin and bold brows can make a huge difference in your appearance.