Step 1: Create a Template
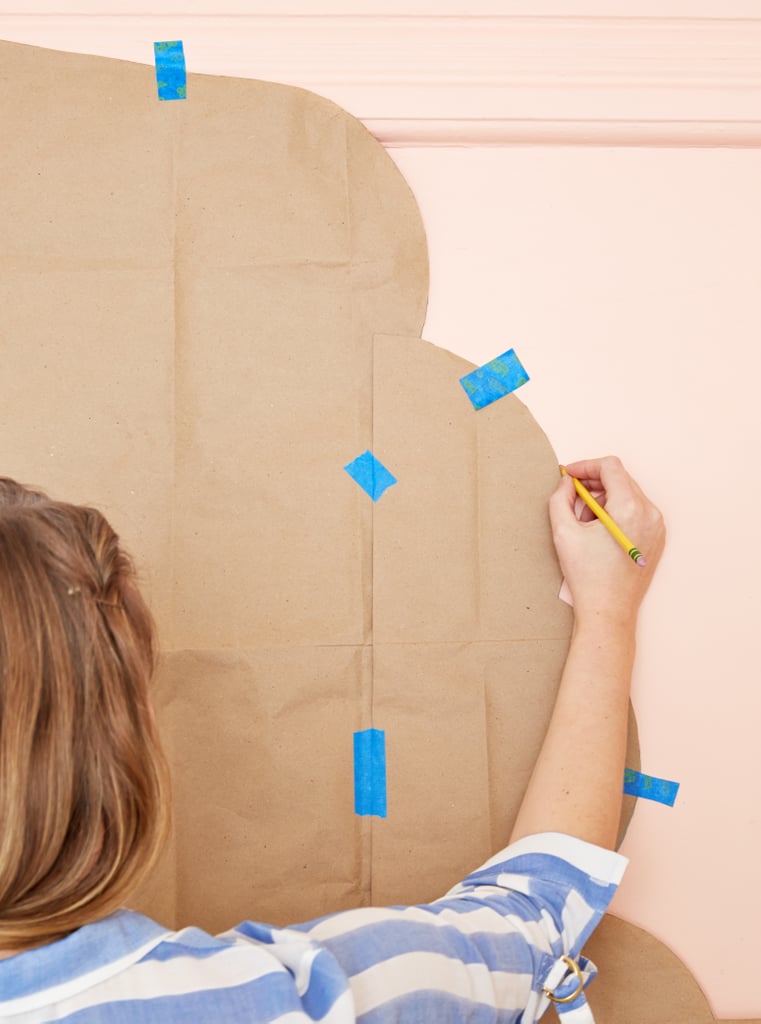
I cut a piece of kraft paper a couple of feet wider and about three feet taller than my door and folded it in half vertically ("burrito-style" for all of you who did crafts as a kid). Next, I used a pencil to draw one half of the outline based off the inspiration archway I'd found online. Once I was happy with the design, I cut it out, unfolded the paper, and voilà! I had my template. I positioned the template over the doorway using painter's tape and traced the curved outline of the archway onto the wall with a pencil. Then I used more painter's tape to line the straight edges of the design parallel to the sides of the doorway (it's cleaner that way).
Tip: If drawing the design yourself sounds too intimidating, never fear! An easy way to create the outline of a perfectly scalloped archway is to arrange and then trace a collection of round objects such as plates and bowls on your paper.
Step 2: Paint
Once the outline of the arch was traced onto the wall, I used a small artist's paintbrush to paint the curved edges. Trust me—using a small brush for this part will save you a lot of headaches in the long run! It can be hard to get a clean line with a larger brush. The good news is that once the edges are done you can go up several brush sizes to paint both the inside of the outline and down the straight taped edges.