Image Source: POPSUGAR Photography / Anna Monette Roberts
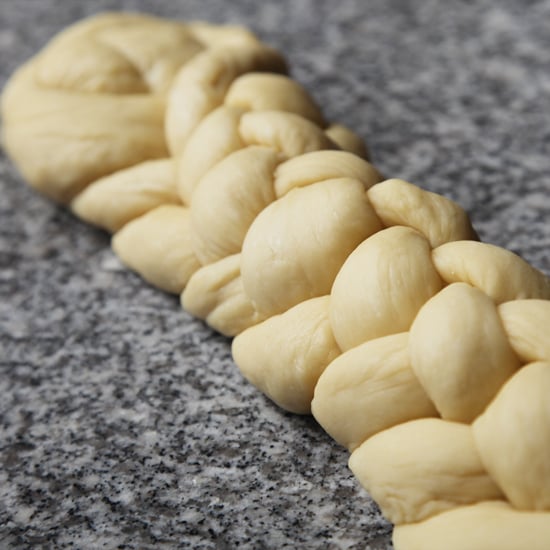
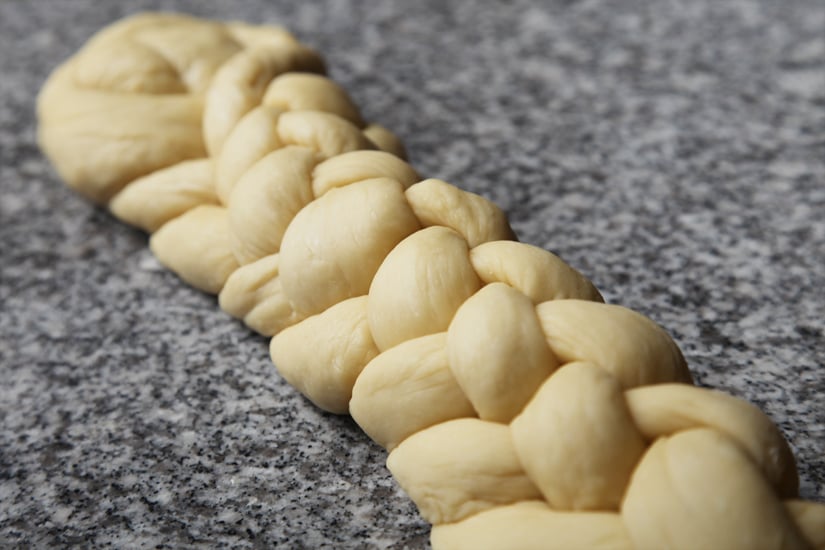
Before beautifully plaited challah appears at the table, one must endure the daunting task of trying to braid it. See how it's done in a straightforward manner, so you end up with wonderfully woven challah, without the headache.
Shape Dough on a Hard Surface
Image Source: POPSUGAR Photography / Anna Monette Roberts
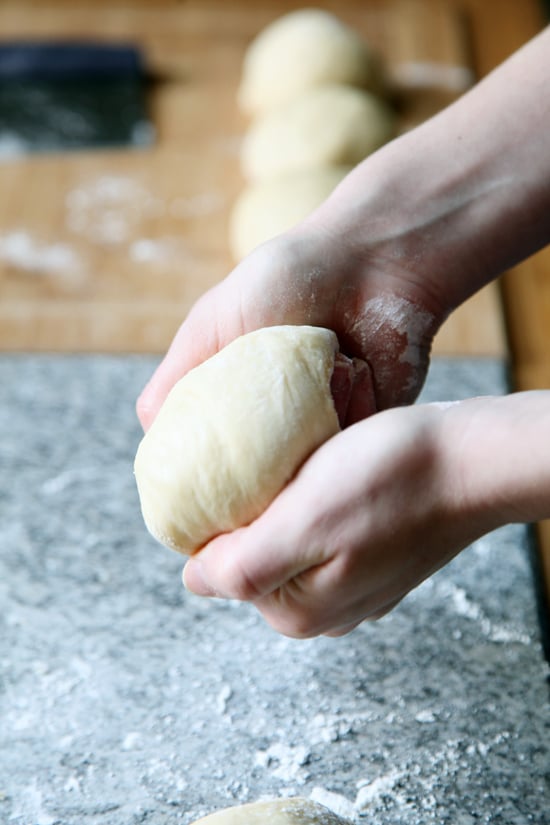
Start by transferring risen challah dough onto a hard, flat surface (such as a piece of marble) that's been floured. Knead and shape the dough into a tight, round ball, sprinkling the dough with flour if it starts to stick to the table or your hands.
1 / 18
Divide the Dough
Image Source: POPSUGAR Photography / Anna Monette Roberts
Use a bench scraper to cut the dough in half, weighing both pieces to make sure they're the same weight. If you need to transfer a little dough to one side, then use the bench scraper to cut the dough, rather than tearing it off with your fingers.
2 / 18
Divide It Into Six Pieces
Image Source: POPSUGAR Photography / Anna Monette Roberts
Once each half is cut, use the bench scraper and the baking scale to divide each half into into six pieces, using a baking scale to make sure each portion is the same weight.
3 / 18
Fold Dough Under Itself
Image Source: POPSUGAR Photography / Anna Monette Roberts
As the dough pieces are exposed to air, they will dry out, making it difficult to shape them into smooth, round balls. To reshape the pieces, fold the dough under itself, so the dried skin is now under and inside the dough, revealing a fresh, sticky outer layer.
4 / 18
Round the Dough
Image Source: POPSUGAR Photography / Anna Monette Roberts
To reshape the dough into a ball, place the dough onto a clean, flat surface that does not have too much flour, because you want the dough to just slightly stick to the surface. Cupping the dough with your middle and ring fingers and thumb, rotate your hand in a slight, circular motion, until the dough is shaped into a perfect ball. Set it aside and continue with the rest.
5 / 18
Roll the Strands
Image Source: POPSUGAR Photography / Anna Monette Roberts
Roll the balls out into long strands on the flat surface. They should be about one inch in diameter and one to one-and-a-half feet long.
6 / 18
Spread Strands Equally Apart
Image Source: POPSUGAR Photography / Anna Monette Roberts
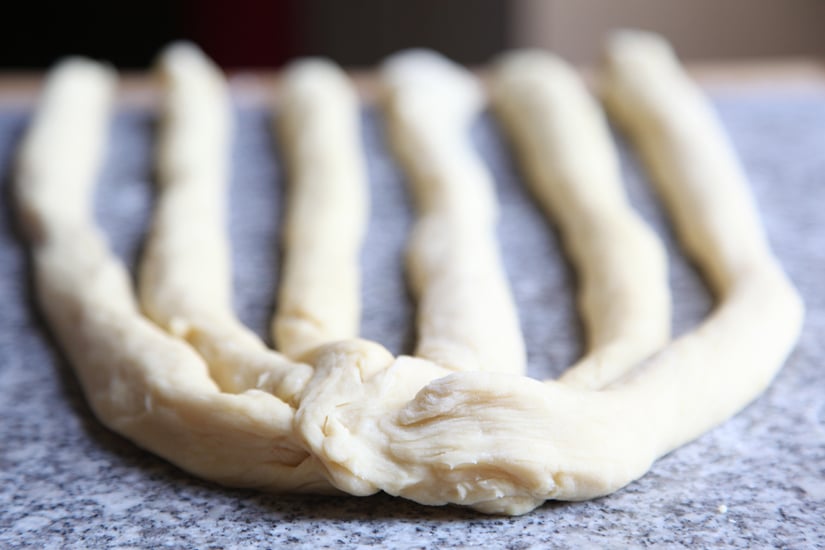
Lay the strands equally apart.
7 / 18
Combine the Top Pieces
Image Source: POPSUGAR Photography / Anna Monette Roberts
On the top end of the strands, press all the ends together. This will be your braid base.
8 / 18
Right Over Left
Image Source: POPSUGAR Photography / Anna Monette Roberts
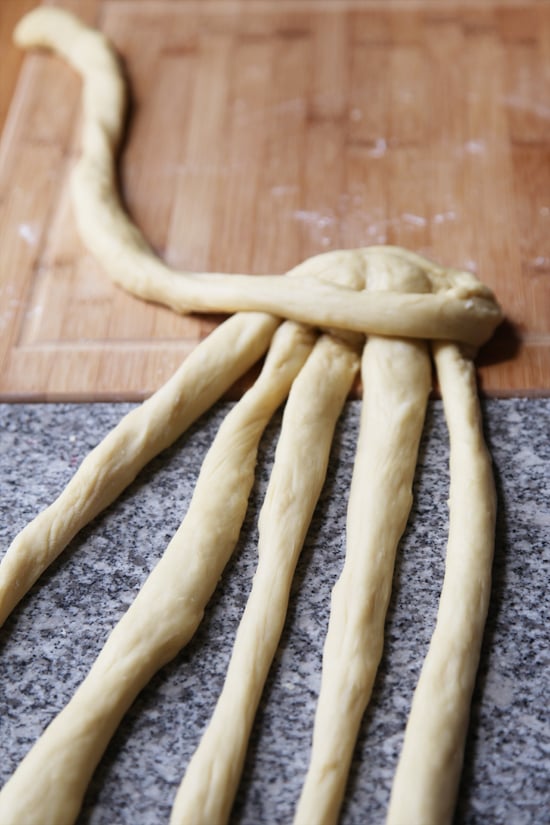
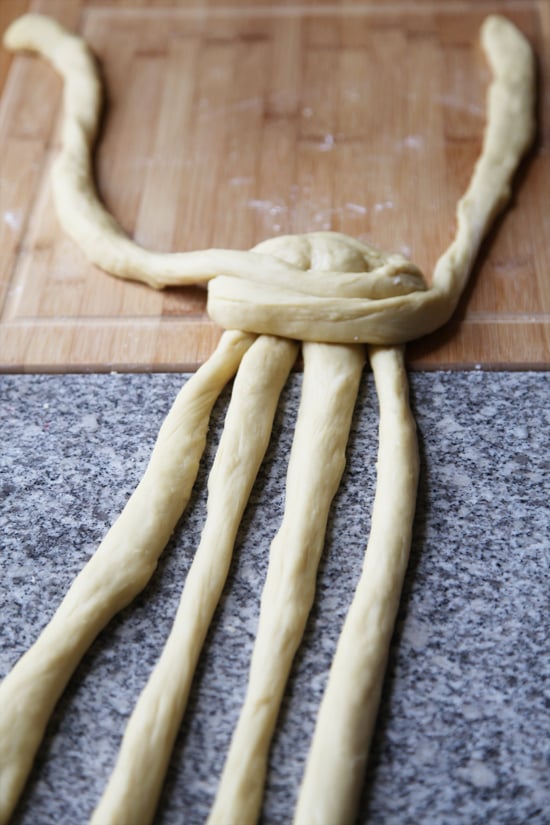
Take the outermost strand on the far right, and cross it to the far left. Keep the strand pointed up, so it does not become confused with the other strands.
9 / 18
Left Over Right
Image Source: POPSUGAR Photography / Anna Monette Roberts
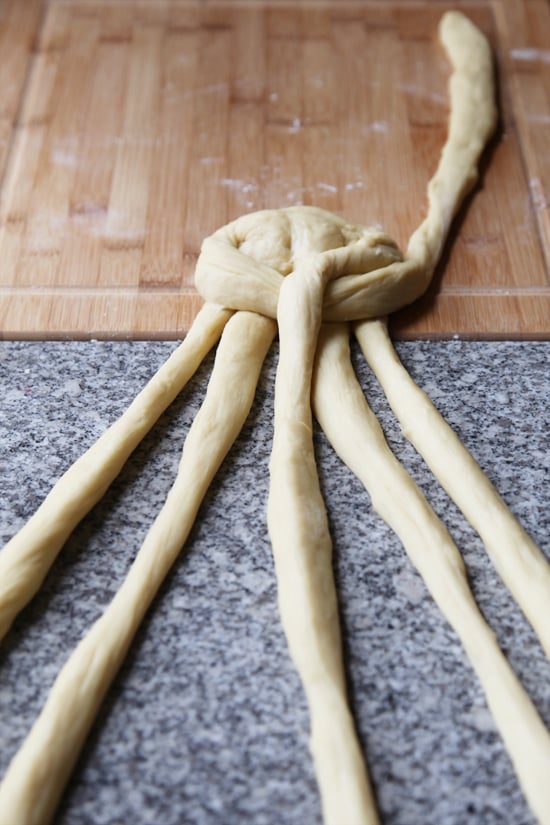
Take the outermost strand on the left side, and cross it to the far right. Also keep it pointed up, so it does not become confused with the other strands.
10 / 18
Create an "A"
Image Source: POPSUGAR Photography / Anna Monette Roberts
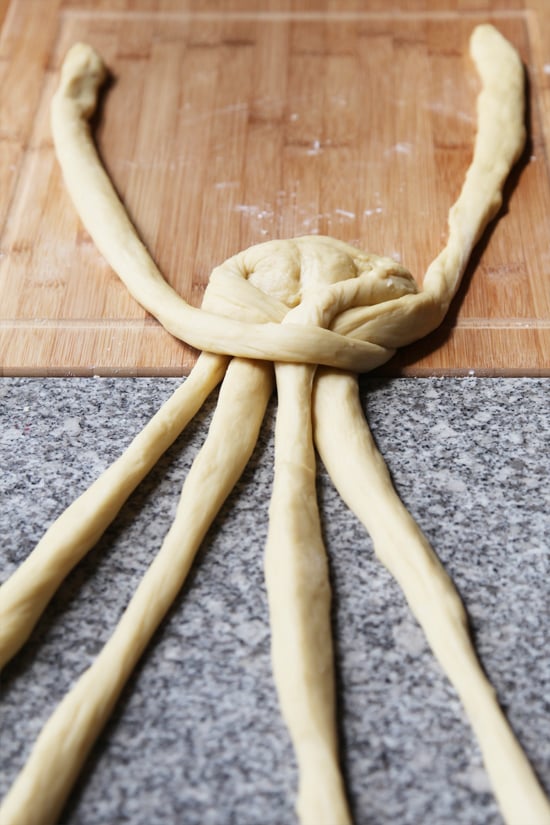
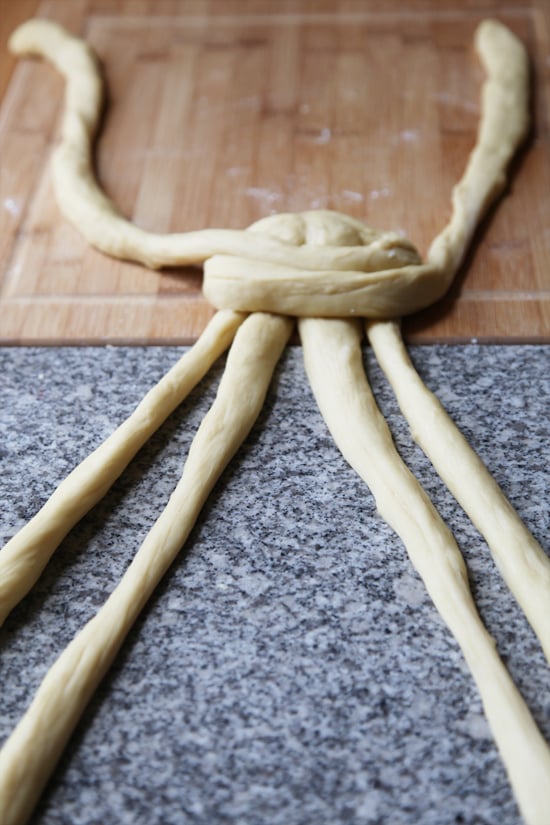
Create an "A" shape with the remaining strands: point two strands diagonally toward the left and two strands diagonally toward the right.
11 / 18
Down the Center
Image Source: POPSUGAR Photography / Anna Monette Roberts

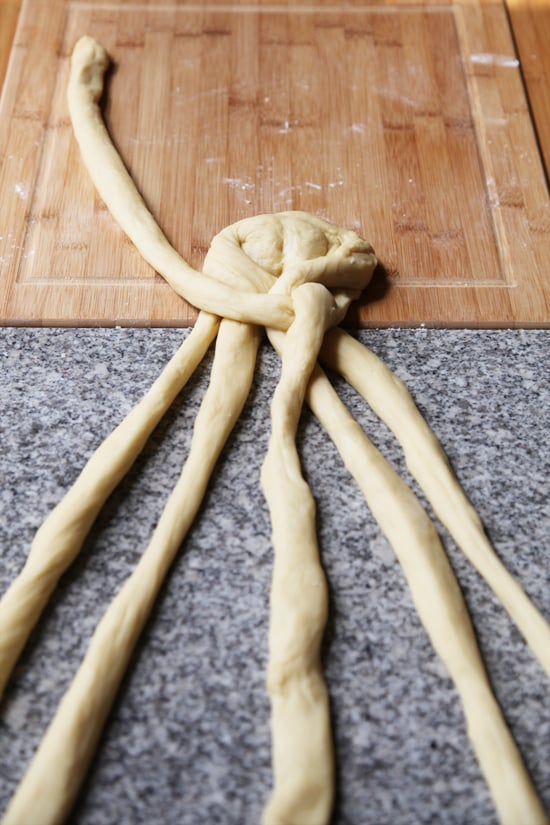
Taking the strand that's pointing up toward the left, place it down the center of the "A" shape.
12 / 18
Right Over Left
Image Source: POPSUGAR Photography / Anna Monette Roberts

Take the outermost strand from the right side of the "A" shape, and lay it across all the other strands. Keep it pointed up toward the left, to maintain the braiding pattern.
13 / 18
Create an "A"
Image Source: POPSUGAR Photography / Anna Monette Roberts
Spread the strands at the bottom into an "A" shape.
14 / 18
Down the Center
Image Source: POPSUGAR Photography / Anna Monette Roberts
Taking the strand that's pointing up toward the right, place it down the center of the "A" shape.
15 / 18
Continue the Pattern
Image Source: POPSUGAR Photography / Anna Monette Roberts
After making an "A" shape, cross the outermost strand from the left side of the "A," and lay it across all the other strands. Keep it pointed up toward the right to maintain the braiding pattern.
That's it! Keep going!
16 / 18
Braid Until the End
Image Source: POPSUGAR Photography / Anna Monette Roberts
Continue braiding with the same pattern until the strands are too short to braid.
17 / 18
Behold the Braid
Image Source: POPSUGAR Photography / Anna Monette Roberts
Once you reach the end of the strands, press the ends together and scoop them under to hide any cracks in the dough. Step back and take a look at your beautifully braided challah!