How to Take a Screenshot on iPhone XR, X, XS, and XS Max
Wondering How to Take a Screenshot on Your New iPhone? Here's an Easy Step-by-Step Guide!

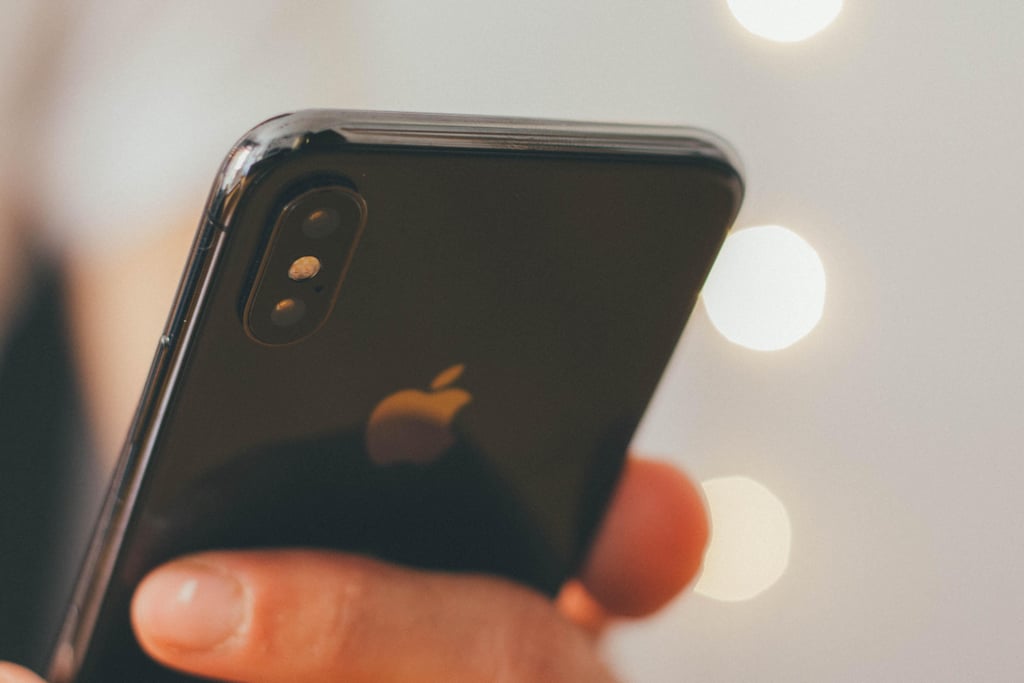
Got a new phone? It may take some getting used to, especially if the design is different from your last mobile device. The new models of iPhones (X, XS, XS Max, and XR) are superpopular right now. They come with new features and advanced technologies that have a wave of users making the switch. While you'll get a lot more with these new phones, you'll notice one thing is missing. The iPhone X, XS, XS Max, and XRs no longer have a home button.
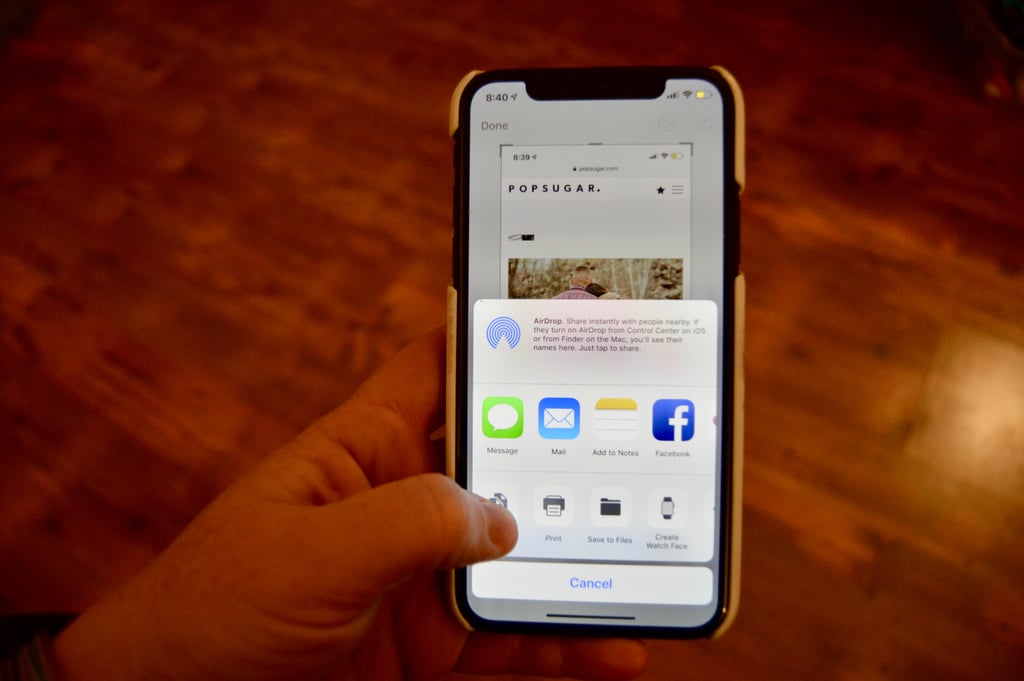
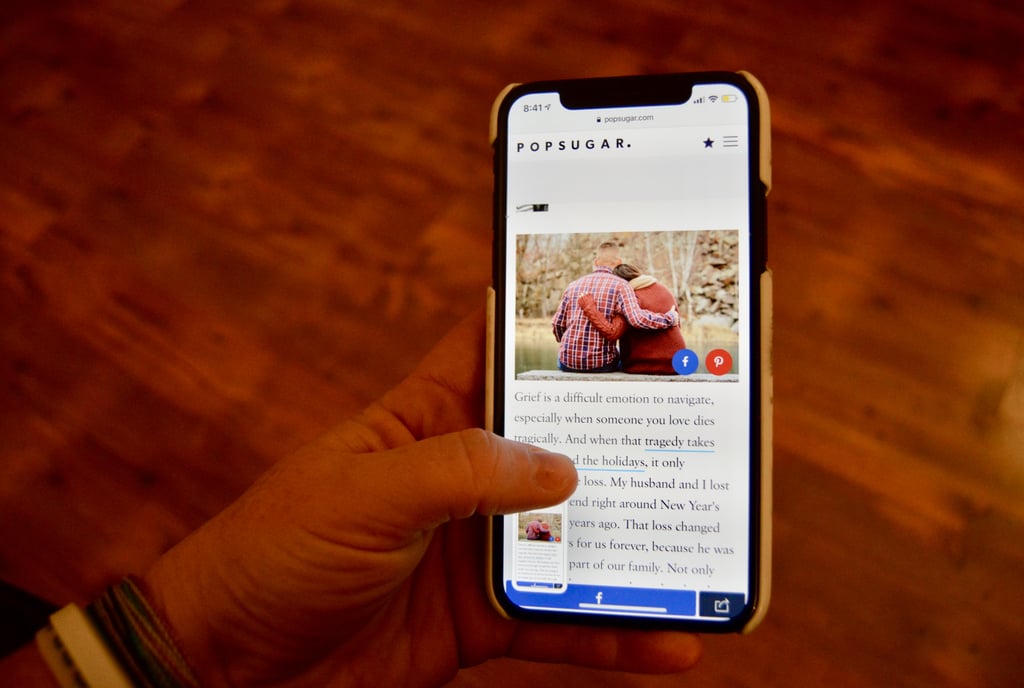
Without the home button, the process of taking screenshots is different. While it may take you some time to get used to this change, the iOS 11 system allows you to do a lot more with your screenshots. When you take a screenshot with the iPhone X models or using iOS 11, the captured image automatically appears on the bottom left-hand corner of your screen. You can edit your screenshots with one click, and the new technology allows you to easily share your screenshot by email, text, social media, and other options without having to save it to your phone.
Learn how to take a screenshot on the iPhone X models with this easy step-by-step guide!

Find the Volume Up Button
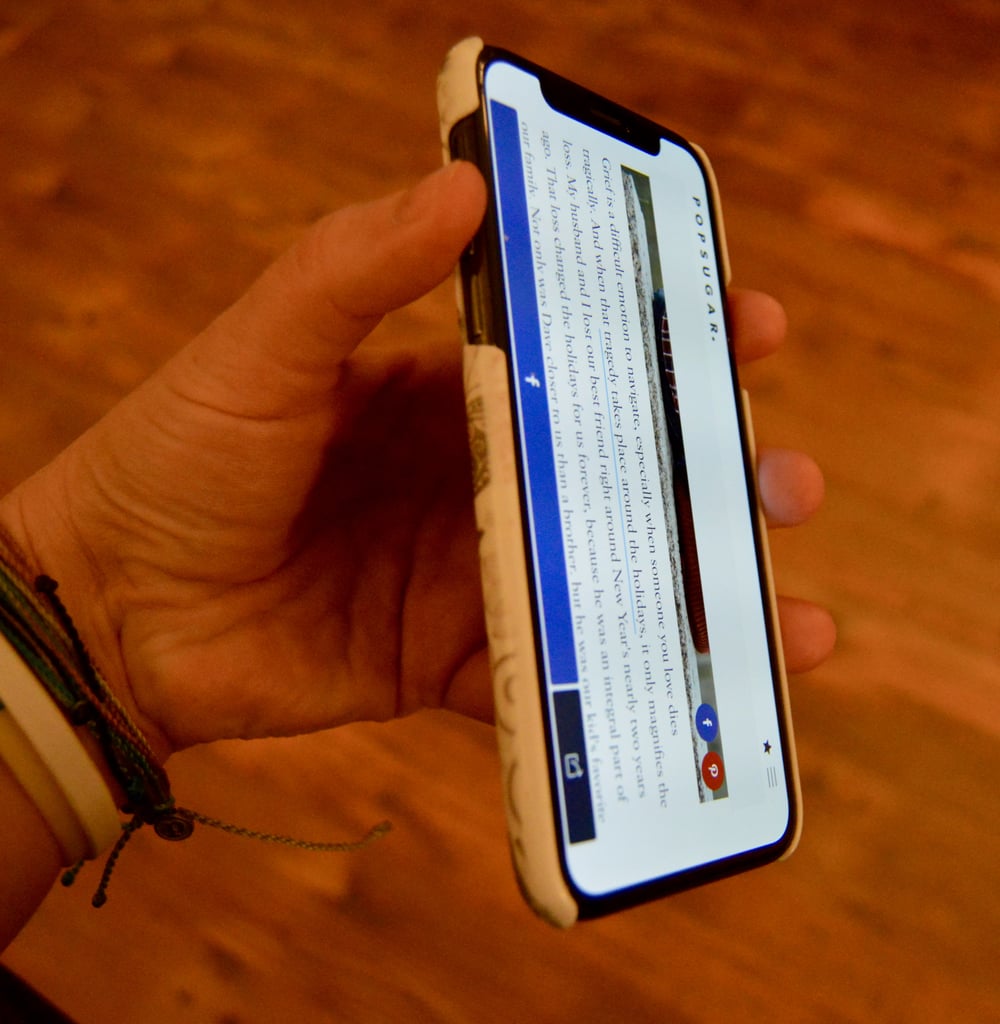
Locate the Lock Button
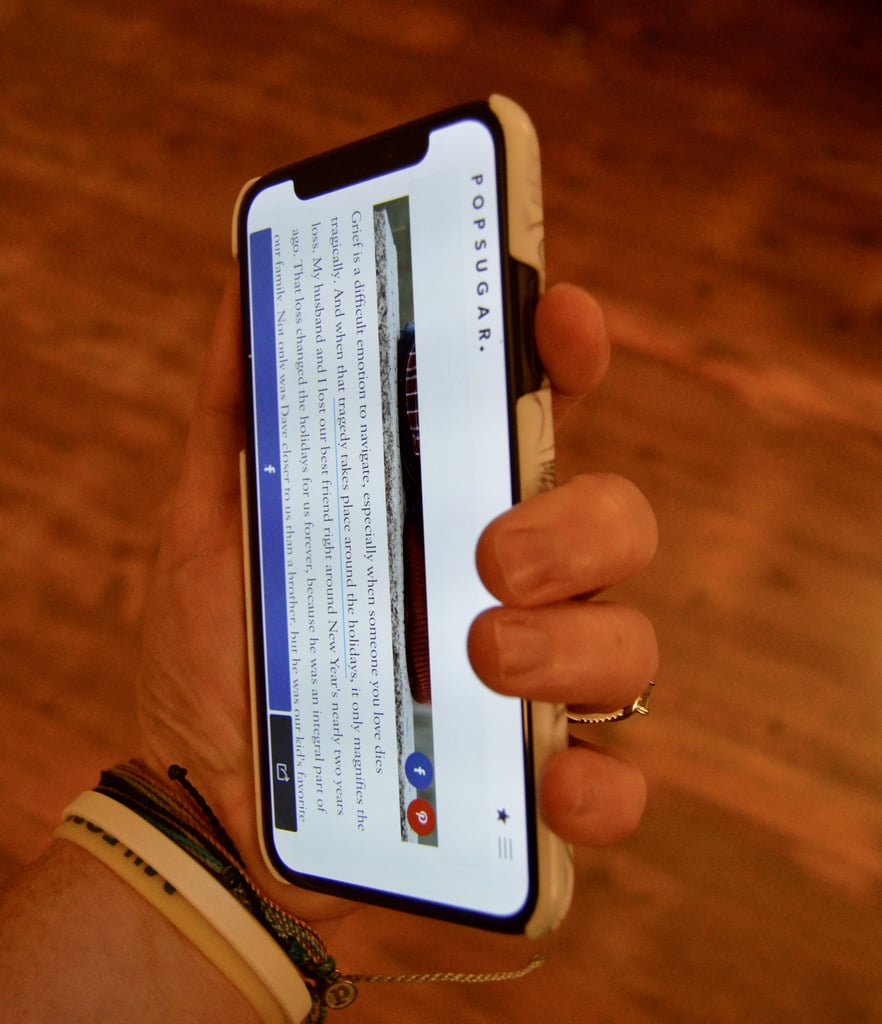
Capture the Screenshot

Edit the Screenshot
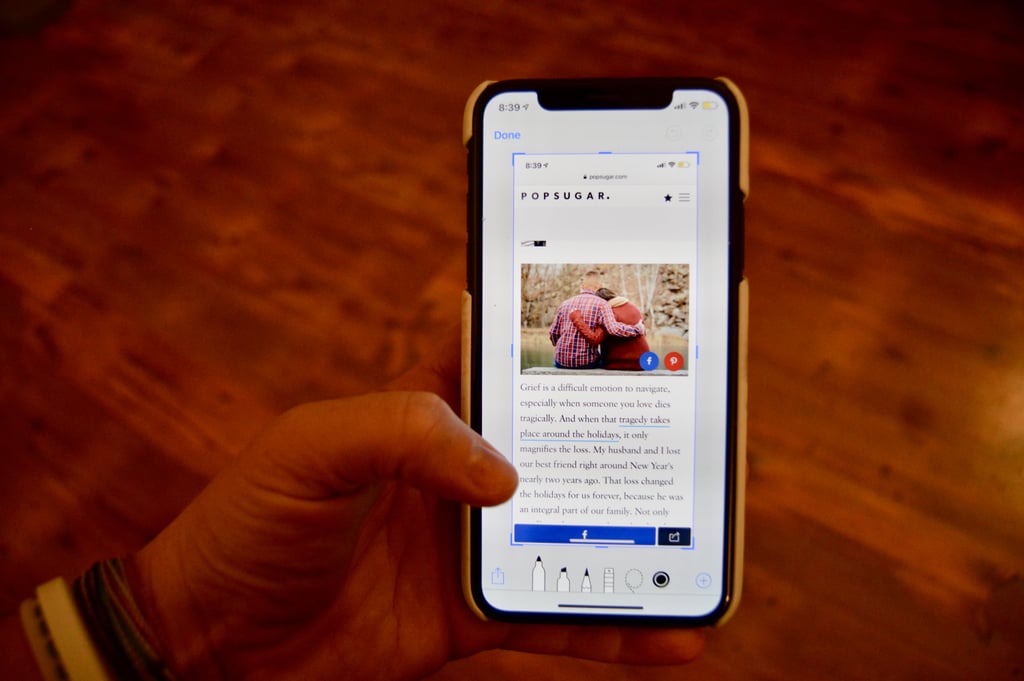
Use Different Tools to Edit
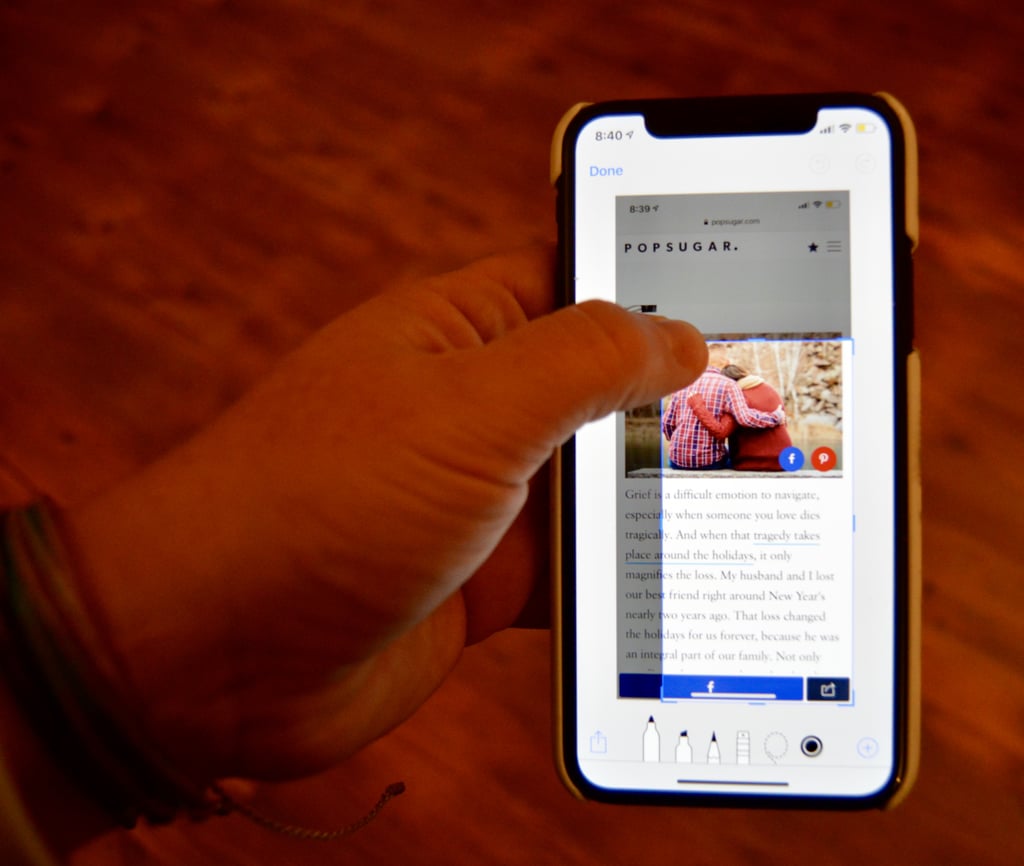
Click the Share Button
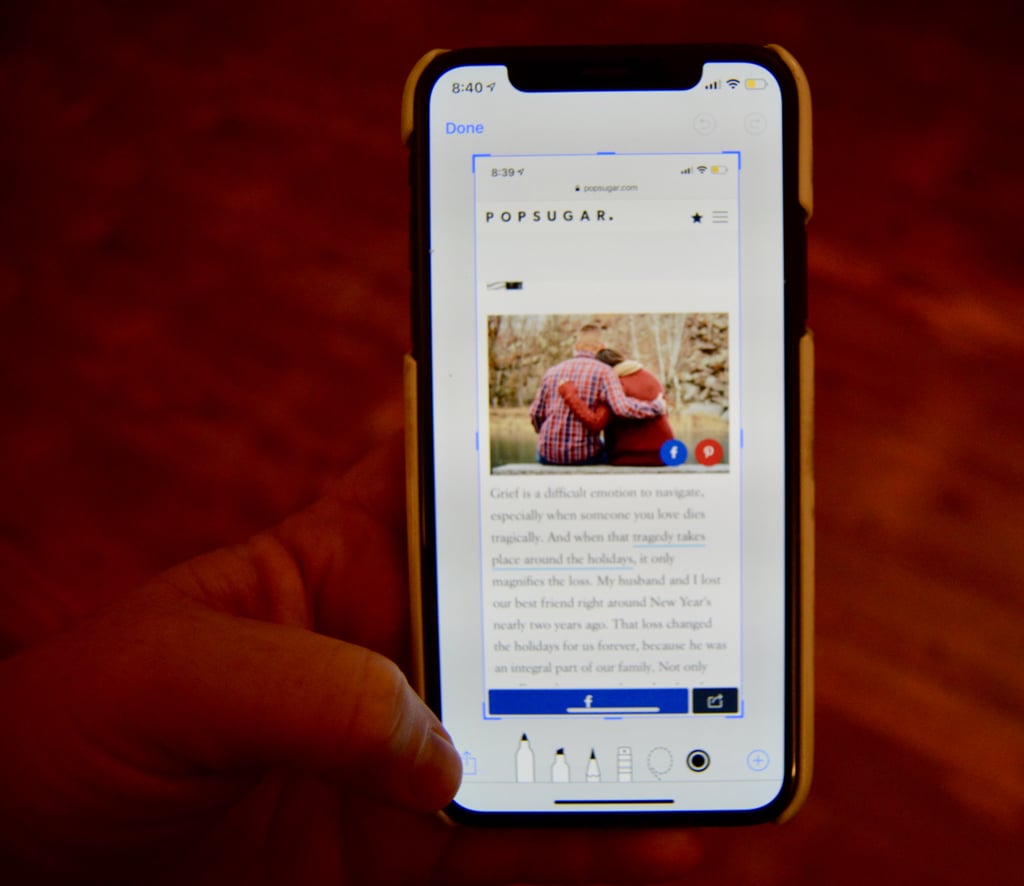
Share the Screenshot
Click "Done" and Save
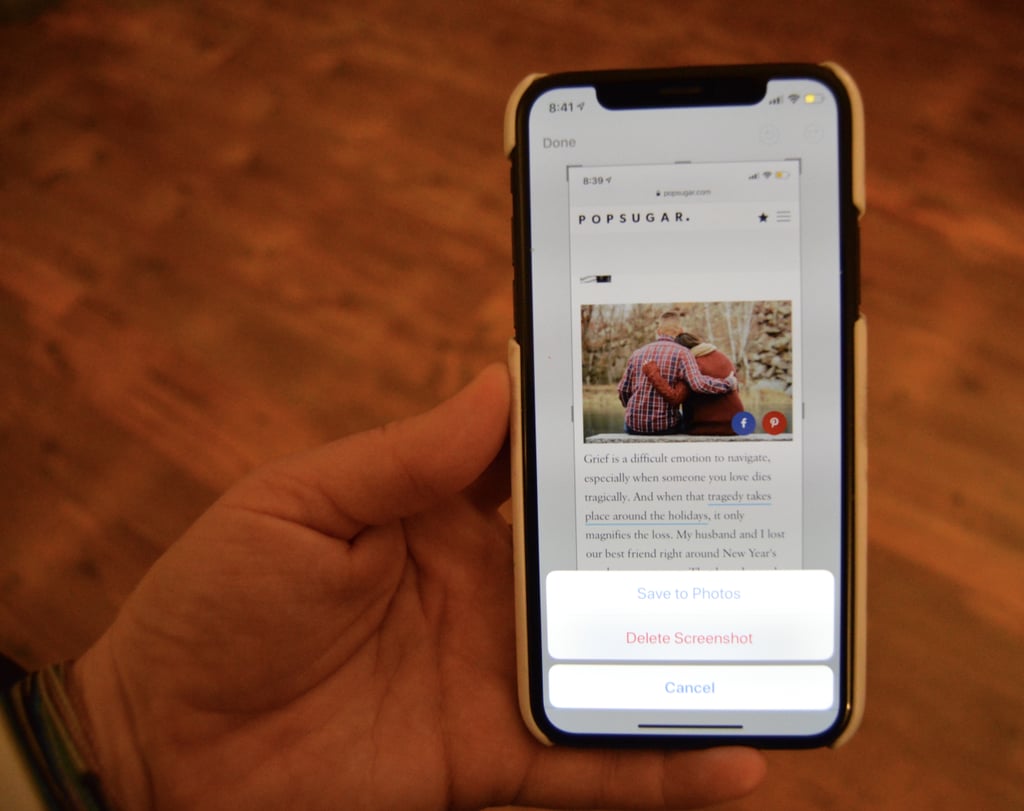
Swipe Away Screenshots That Don't Need Editing
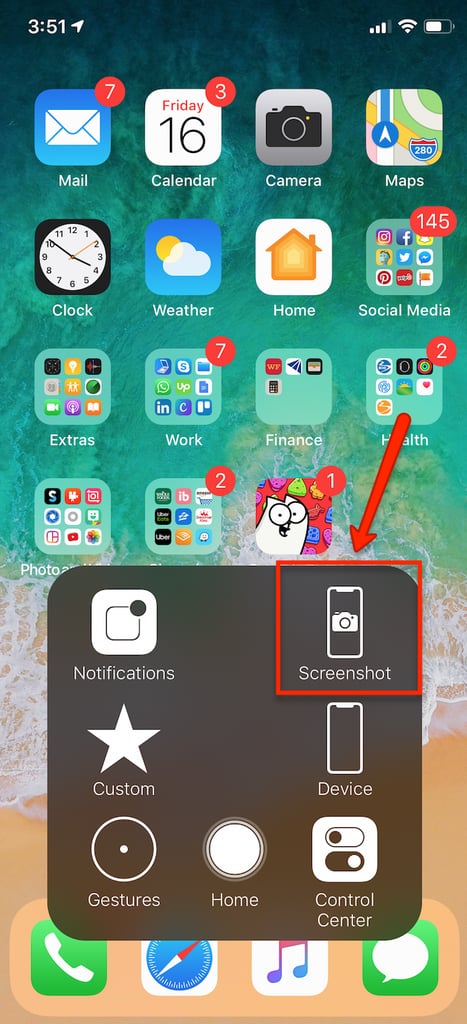
Using AssistiveTouch For Screenshots
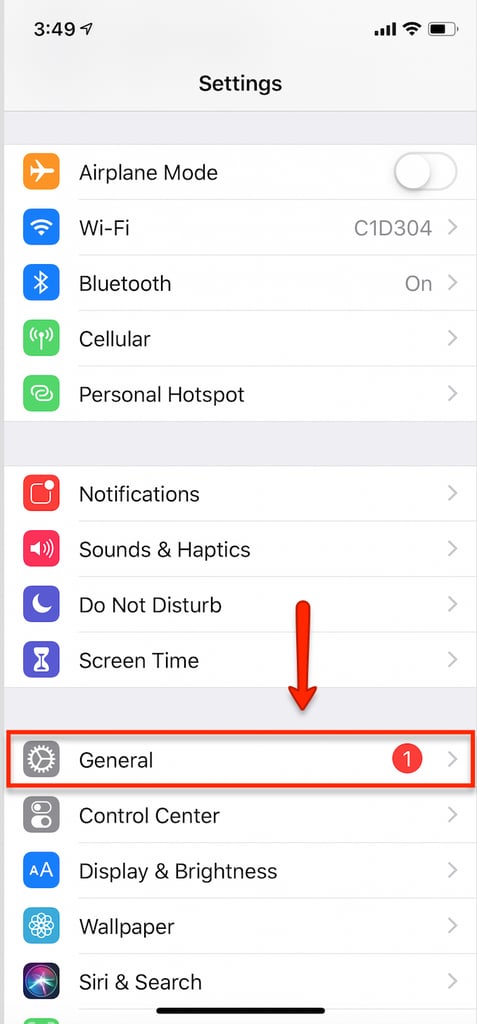
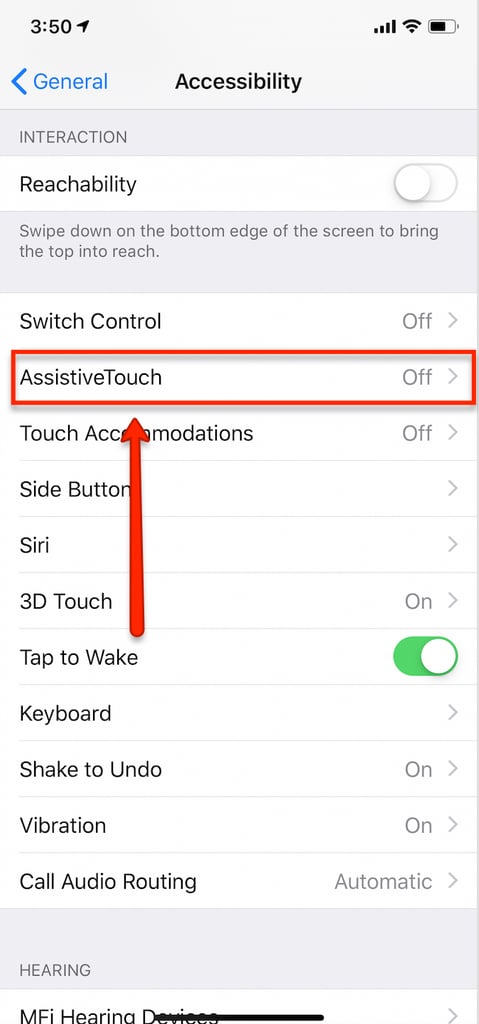
Find the Accessibility Tab
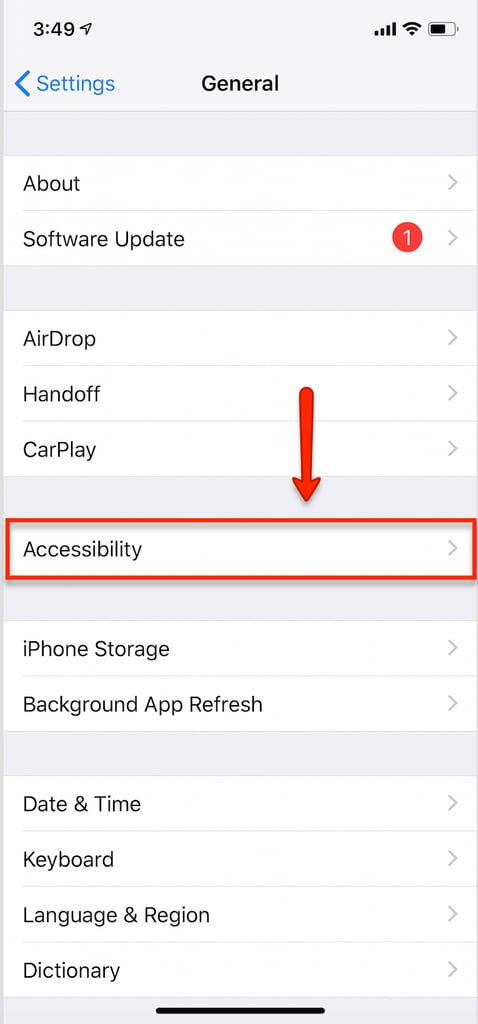
Open AssistiveTouch
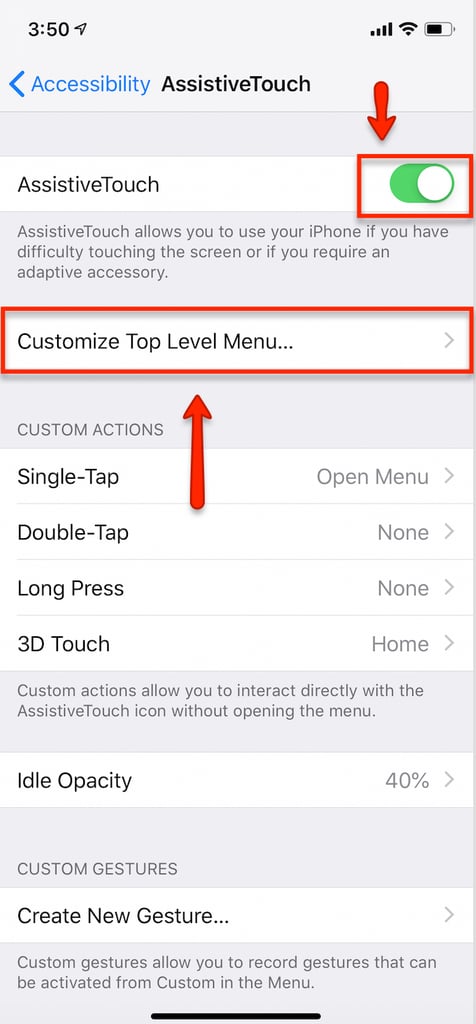
Customize AssistiveTouch Menu
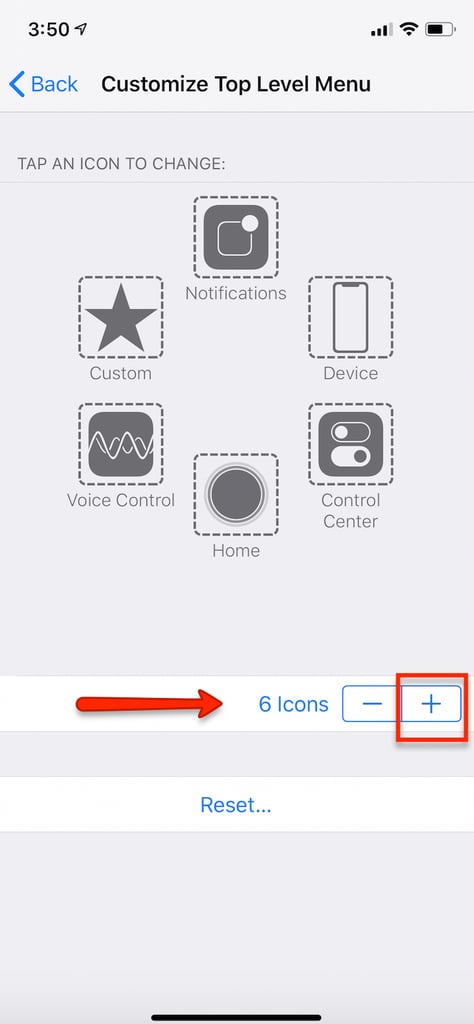
Add an Icon
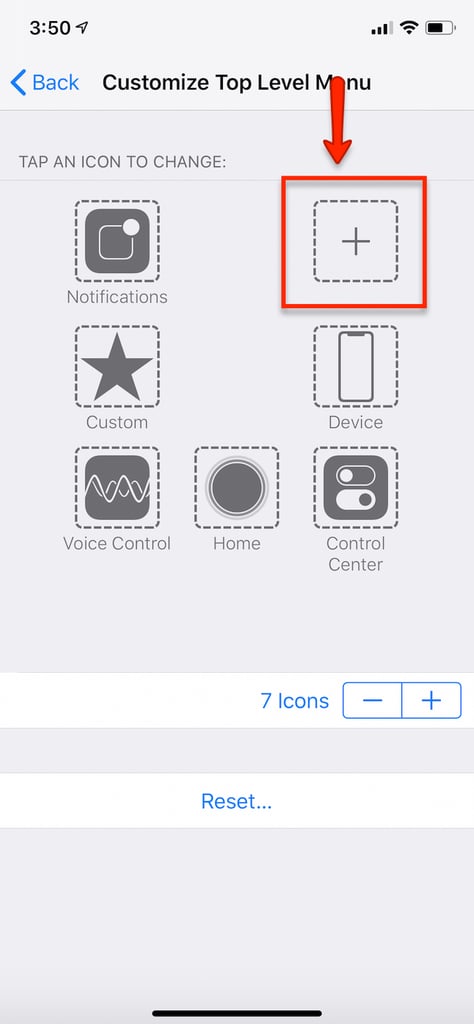
Add Screenshot to Your Icons
Your Phone is Ready to Take Screenshots with AssistiveTouch
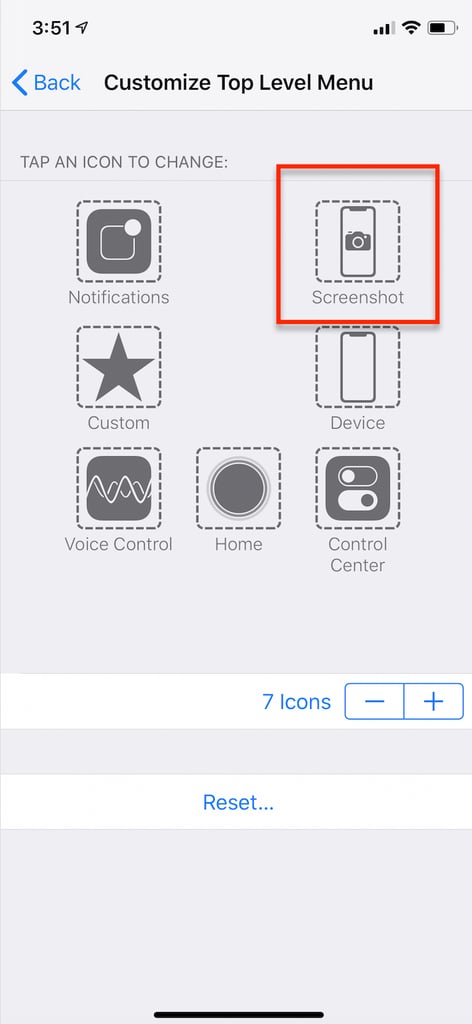
One-Touch Screenshots With AssistiveTouch