I Tried the Y-Contouring Hack From TikTok: Photos
I Tried the Y-Shape-Contouring Hack That's All Over TikTok
As POPSUGAR editors, we independently select and write about stuff we love and think you'll like too. If you buy a product we have recommended, we may receive affiliate commission, which in turn supports our work.

Image Source: POPSUGAR Photography / Jessica Harrington
In the summer, my bronzer is one of my most-used makeup products (though I use it year-round, too). It's truly a transformative product — a few swipes can warm up your face, make it look like you spent an afternoon in the sun, and even lift and sculpt your cheekbones. TikTok is jam-packed with contouring and bronzer hacks — many of which I've reviewed — but when I come across a new one, I jump at the chance to give it a try. My latest test: the Y-contouring hack, which comes reviewed by beauty queens Nikkie Tutorials and Mikayla Nogueira.
The Y-contouring trick (as I'm calling it because it has no name, as far as I know) involves using your liquid bronzer in the shape of an upside-down Y to frame your cheekbones and either side of your mouth. As someone who typically just applies contour under my cheekbones, along my jaw, and on my forehead, this was certainly a new one.
In both Nikkie and Nogueira's videos, they were shocked by just how well this makeup hack worked for them. Both said the technique made them look snatched, and judging by the end results, I'd have to agree. I've tested quite a few of the beauty tips both of these content creators have shared and have yet to be let down, so I was hopeful this bronzer method would also impress me.
@mikaylanogueira @kali.ledger and @nikkietutorials looked SNATCHED with this contour technique so I had to try 😭 #contour #makeuphack #beauty #makeup
♬ original sound - Mikayla Nogueira
I discovered that I didn't have a liquid bronzer with a wand applicator like they used in my overflowing collection of products, so I settled on the next best thing: the Milk Makeup Bionic Bronzer ($30) in the shade Time Travel.
Before applying it, I put on my base products, which included my foundation (the Jones Road What the Foundation ($44)) and my concealer (the Saie Hydrabeam Brightening + Hydrating Under Eye Concealer ($26)). Then it was time to try the bronzer.
Image Source: POPSUGAR Photography / Jessica Harrington
Because the Milk Makeup product doesn't come with a doe-foot or wand applicator, I put some on the back of my hand and used my fingertips to paint the pigment along my cheekbone, up under the apple of my cheek, and then down along the side of my mouth.
The product I chose blends well, so I wasn't fearful that I'd end up with a muddy makeup mess on my cheeks, but I definitely used way too much. My tip: use less than you think you'll actually need. To blend, I used a short, densely packed brush in a dabbing motion to keep the product from moving around too much on my skin.

Image Source: POPSUGAR Photography / Jessica Harrington
After doing one side of my face, I moved on to the other before I stopped to assess just how well the Y-contouring hack worked. When I finally did look at my face straight on in the mirror, I could definitely see more definition around my cheekbones and jaw. The unique shape of the bronzer helped give me more of a chiseled look.
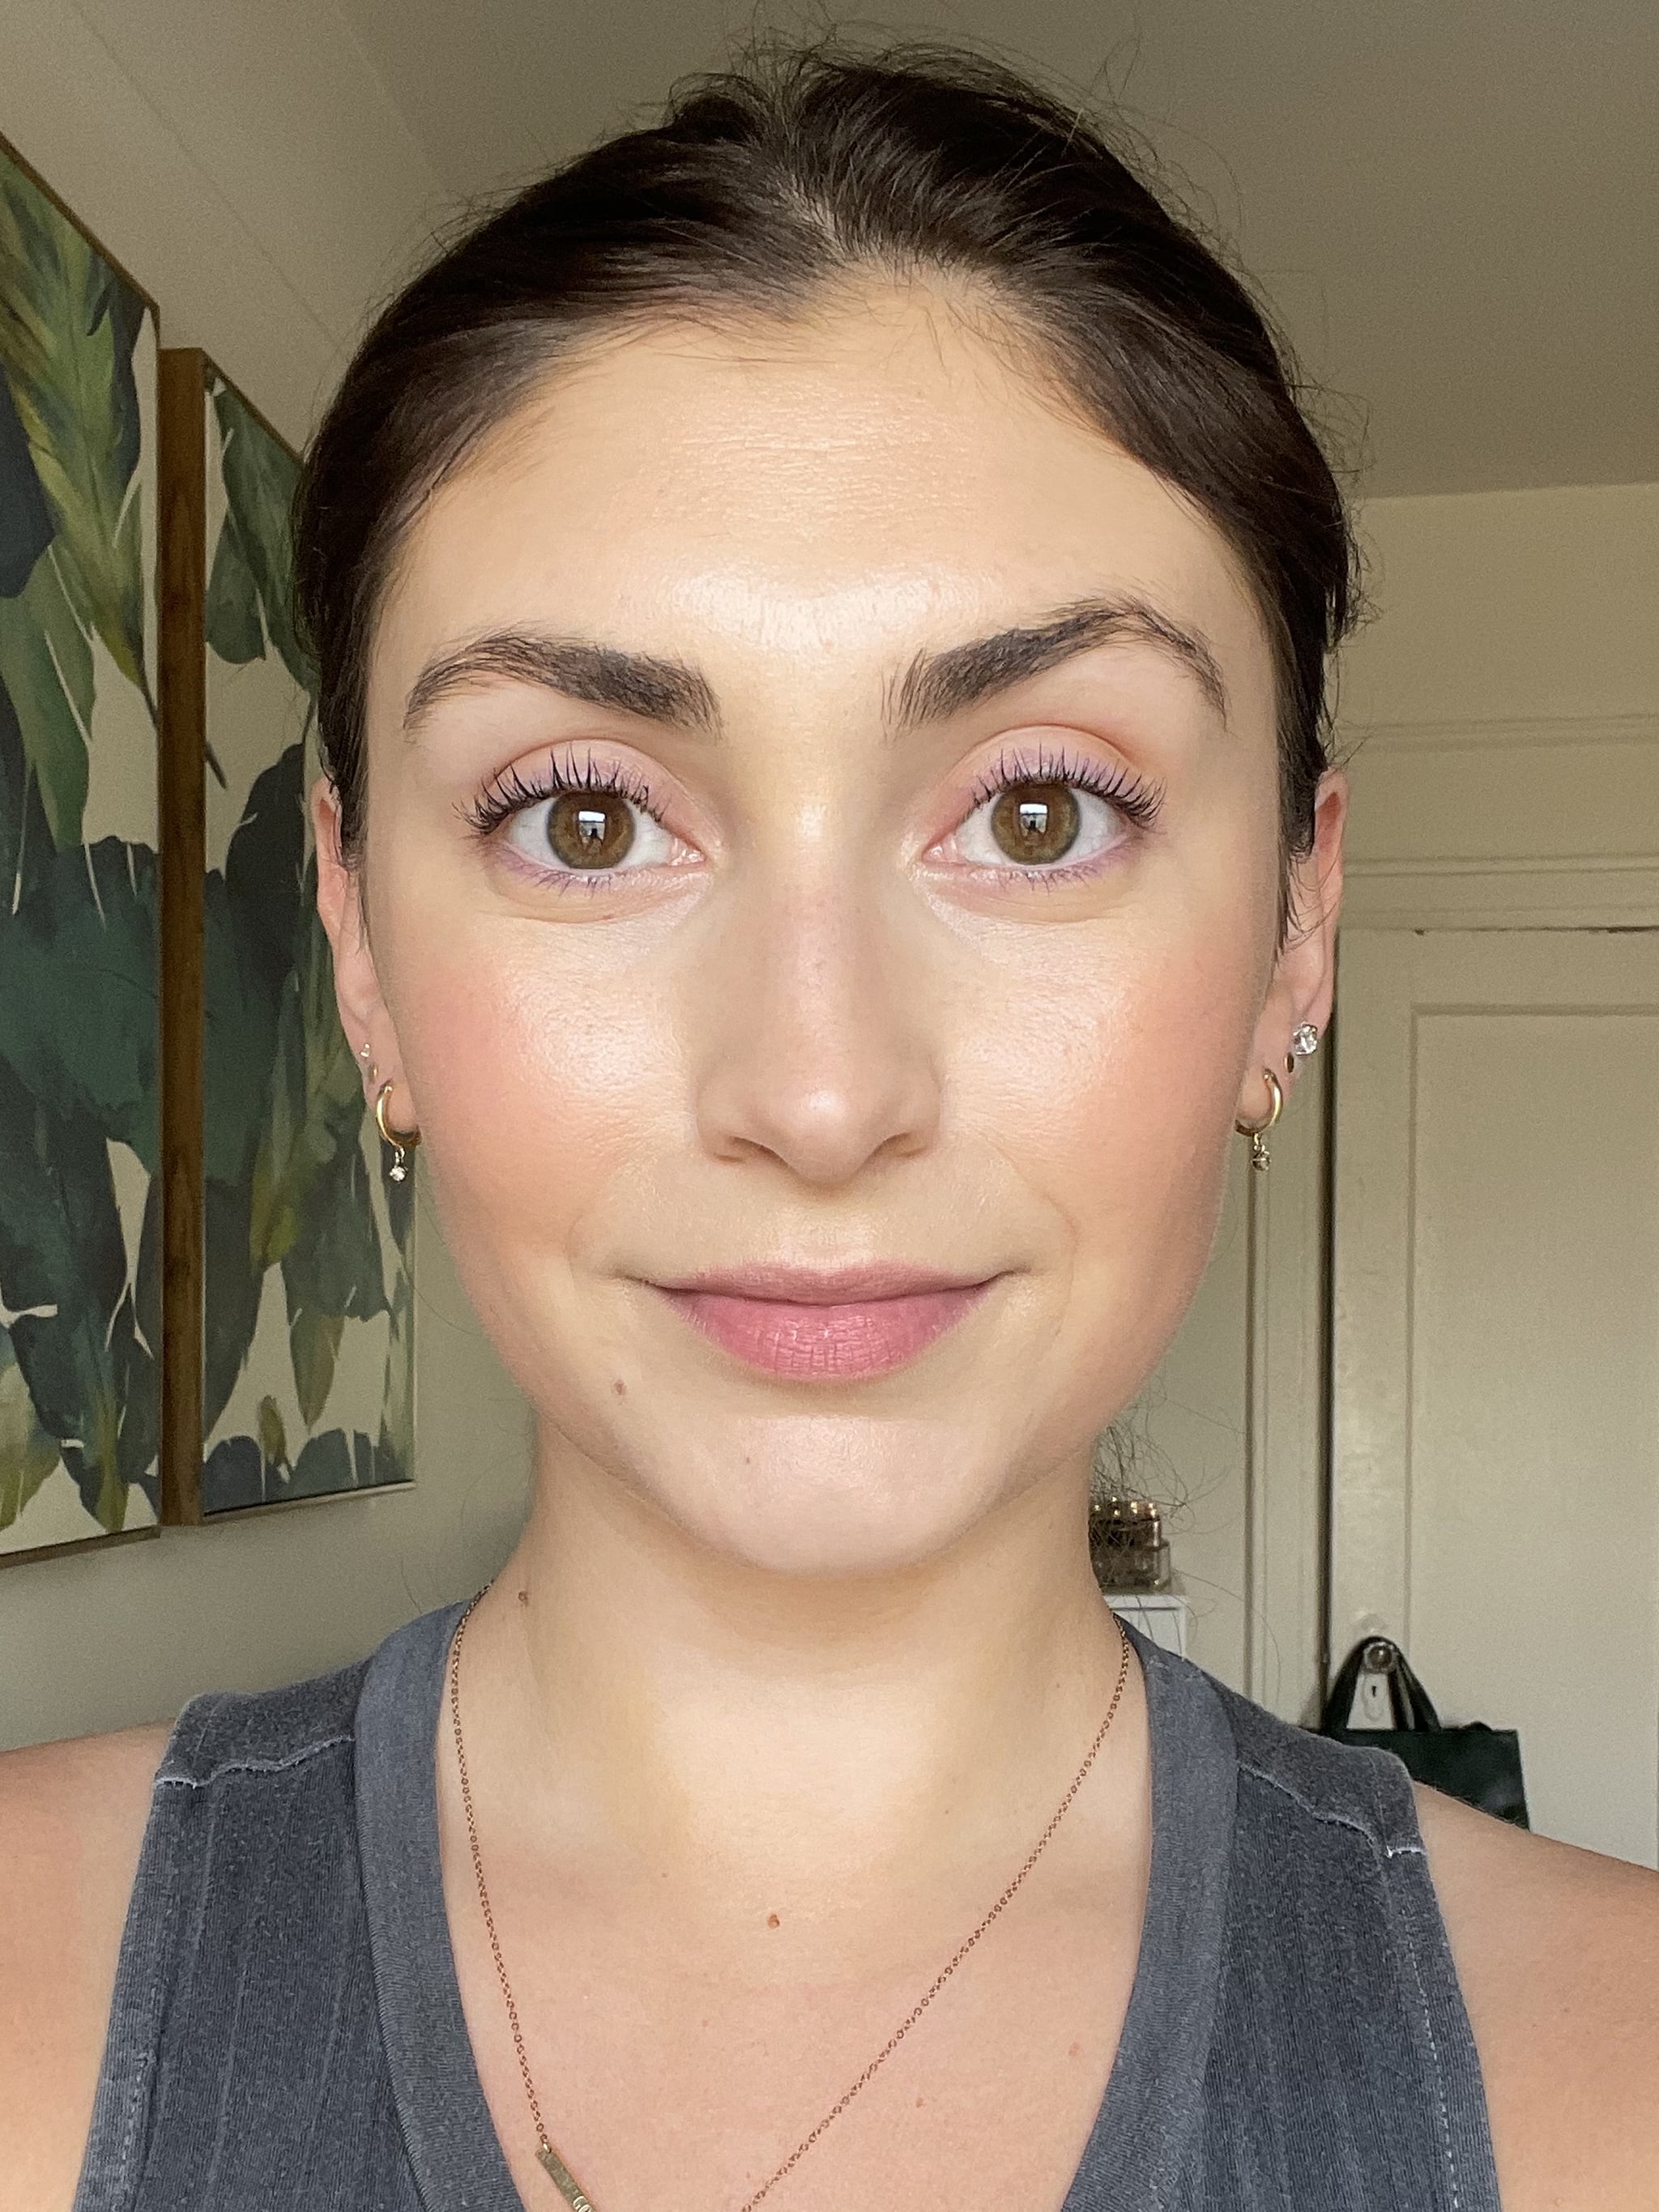
Image Source: POPSUGAR Photography / Jessica Harrington
Overall, I'd say this bronzer hack is a success. I ended up liking how it gave my face an all-over bronzed look as opposed to just sculpting under my cheekbones, but if you don't like wearing a lot of bronzer, this one may not be for you. With minimal makeup, it helps fake the look of layering multiple products, so it ends up looking like you put in more effort than you actually did. That's a win in my book.